1cr-wf10settings, 7pgmⅢ programmable ethernet control system – CREATOR CR-PGMIII User Manual
Page 14
CREATOR CHINA 2011-03
WWW.CREATOR1997.COM
7
PGMⅢ Programmable Ethernet Control System
being adjusted for best signal transmission
⑥
RESET
This is the reset button. There are two ways of
reset the device to the default settings: press and
hold the RESET button for 10 seconds, or, use
the web-browser based configuration tools.
The RESET button will eliminate all the
settings back to the default settings, which
include all the security settings and IP. The default
value will be: IP: 192.168.1.245,login user name:
admin, Password:admin.
⑦
ETHERNET
Ethernet interface, for connection to network card,
network switch or routers. The blue color means
the connection is good, while the orange color
means the communication is going on.
⑧
DC 12V
DC power supply interface: the device is powered
by DC 12V.
3.1.1 CR-WF10 Settings
Step One: Hardware installation
Connect the CR-WIFI10’s ETHERNET port to the
PC’s network card, and connect the power supply
to the CR-WIFI 10. Then the device should be on
automatically.
Step Two: Set the right IP
The
default
IP
of
the
CR-WF10
is:
192.168.1.245,the
default
subnet
mask
is:
255.255.255.0,and the default SSID is ciscosb, all
of which can be set to other value required.
1. Wired Network settings (example given in
Windows XP OS)
Power on the PC with Windows XP installed and
check whether the LAN port indicator is ON. If not,
please check and make sure the PC is well
connected to the router.
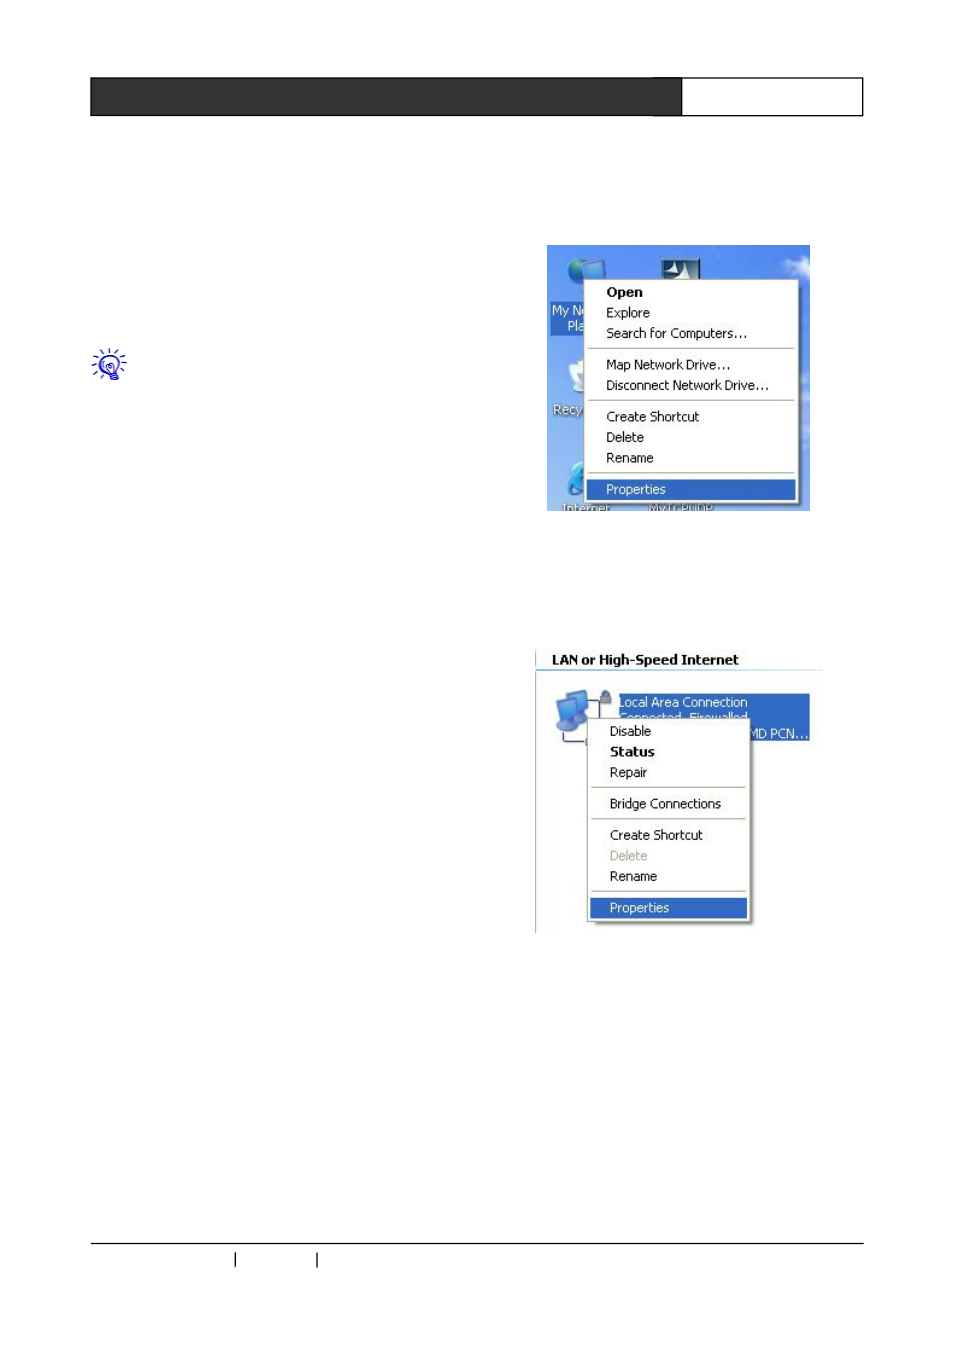
Firstly, right click on the desktop and choose the
“Network Neighbor” from the popup menu, then
choose and click “Prosperities”. Illustrated as Img.
3-1.
Img.3-1
Right click the “Local Connections” on the opened
window and click the “Properties” as shown in
Img. 3-2.
Img. 3-2
Choose the “Internet Protocols (TCP/IP) at the
popup dialog, as shown in the Img. 3-2. Then
right click and choose “Prosperities”.