3 additional exacqvision virtual servers, 4 installation, Additional exacqvision virtual servers – Exacq exacqVision Virtual User Manual User Manual
Page 3: Installation
www.e
x
acq.com
+1.317.845.5710
+44.1438.310163
USA (Corporate Headquarters)
Europe/Middle East/Asia
Page 3 of 44
4/12/2013
3
Additional exacqVision Virtual Servers
You can install multiple exacqVision Virtual appliances on the same host of the same vSphere cluster using unique guest names.
Each exacqVision Virtual Appliance must have a separate exacqVision Server license. Camera licenses are generated based on the
MAC address of each guest and cannot be combined or duplicated, even if both exacqVision Virtual servers reside on the same host.
Each exacqVision Virtual Appliance comes with the exacqVision Client and the exacqVision Web Service installed. Because of limited
video display capabilities of virtualized appliances, exacqVision client is recommended only for diagnostic activities when used with
exacqVision Virtual appliances (that is, it is not recommended for live video display).
4
Installation
The exacqVision Virtual server can be downloaded from th
r through the VA Marketplace accessible
from the File menu in the vSphere Client. The downloaded file can be saved to any computer that has the vSphere client installed
and which has an account with permission to deploy new virtual machines on the targeted host. To install the exacqVision Virtual
server, complete the following steps:
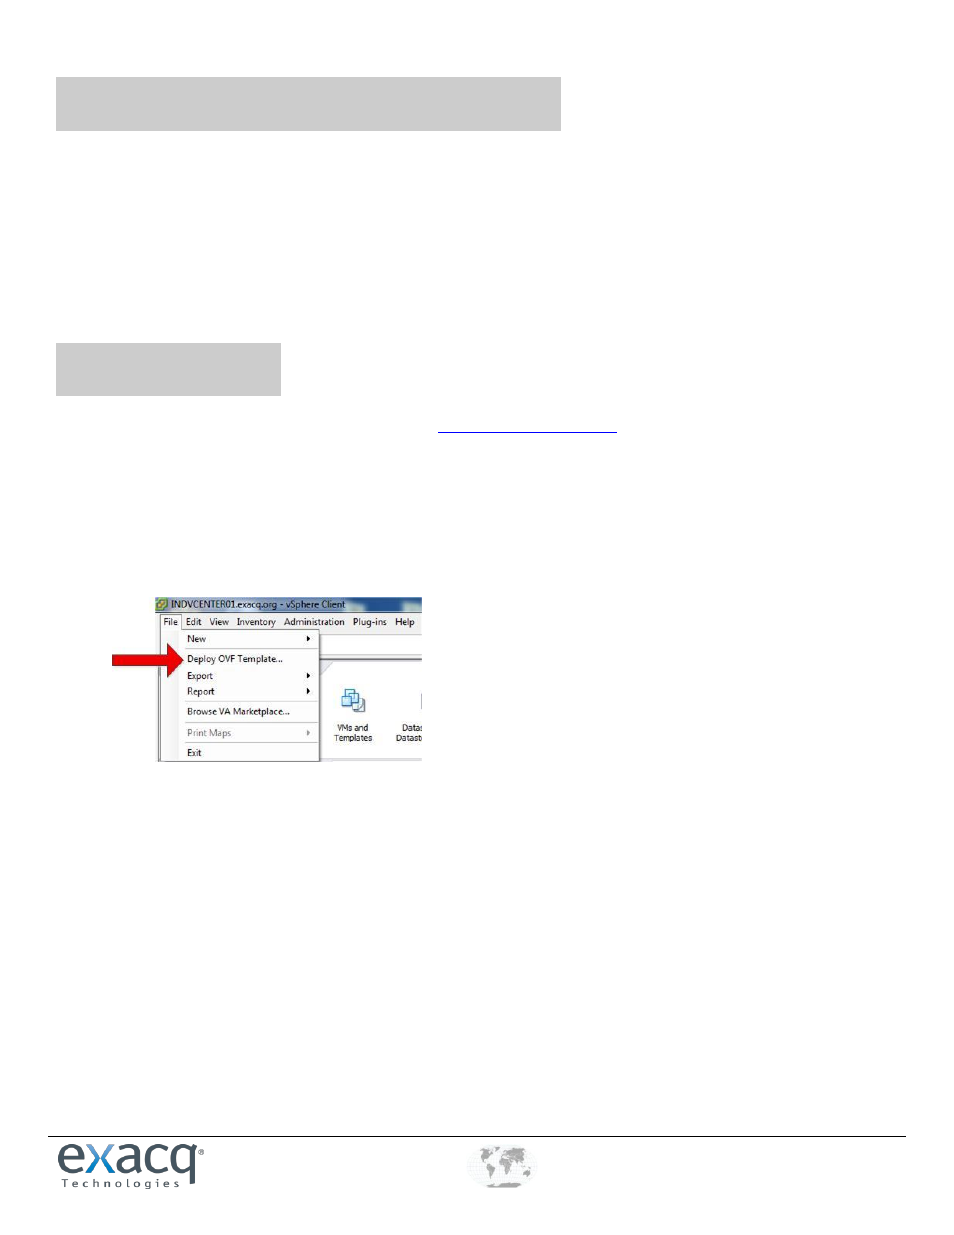
1. Open the vSphere Client and connect to your vCenter management server. If you do not have a vCenter server, connect
directly to your host.
2. From the File menu, choose Deploy OVF Template… . This opens the Deploy OVF Template wizard.
3. Click the Browse button and navigate to the downloaded exacqVision Virtual server. Click Next.
4. Click Next on OVF Template Details. Note the disk-size requirements.
5. Read and accept the license agreement. Click Next.
6. Rename the server if desired. Click Next.
7. Select the datastore you want to deploy to. Click Next.
8. Choose the type of provisioning. If you will modify the storage disk, choose thin provisioning to reduce the installation time.