Exacq exacqVision Virtual User Manual User Manual
Page 40
www.e
x
acq.com
+1.317.845.5710
+44.1438.310163
USA (Corporate Headquarters)
Europe/Middle East/Asia
Page 40 of 44
4/12/2013
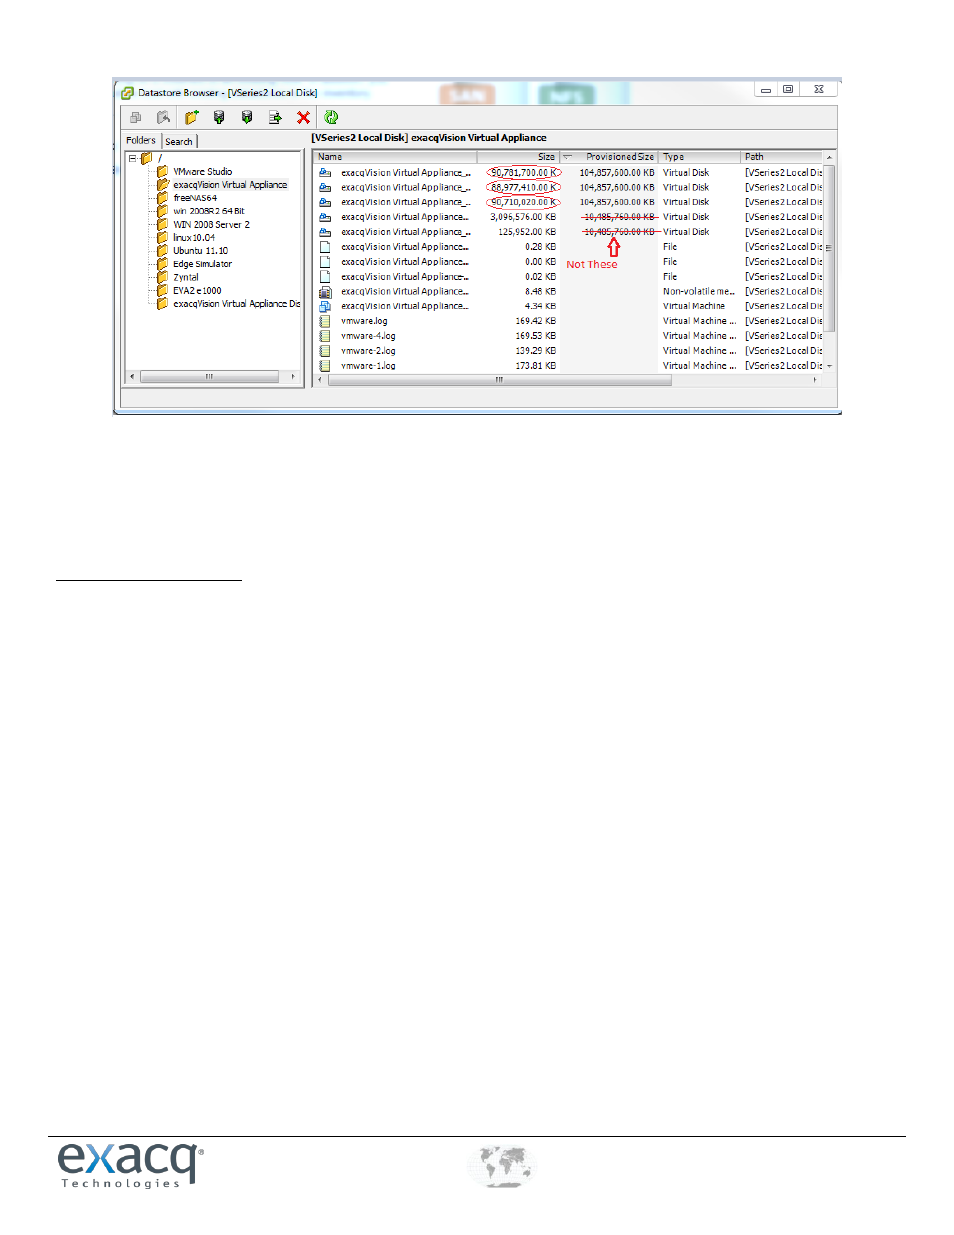
12. Right-click on the first drive and choose Move to … .
13. Click Yes to confirm the move and navigate the folder you created for your disk on the same datastore. The move should be
instantaneous if on the same datastore. Use the CTRL key to select multiple disks and move all at once.
14. When all the disks have been moved, right-click on the virtual server folder and click the red X to delete.
15. Minimize the datastore browsers window.
Deploy The New Server
1. In the vCenter client, press Ctrl+Shift+H to enter the Hosts and Clusters view.
2. Select File and choose Deploy OVF Template.
3. Browse to your new downloaded exacqVision OVA file. Click Open and then Next.
4. On the OVF Template Details screen, click Next.
5. Click Accept on the End Users License Agreement, and then click Next.
6. Enter the exact name of your old server.
7. Browse to the same data center from line 7 of the Pre-Migration Data Sheet. Click Next.
8. Click on the cluster from line 7 of the Pre-Migration Data Sheet. Click Next.
9. Choose the Host from line 8 of the Pre-Migration Data Sheet. Click Next.
10. Choose the datastore from line 10 of the Pre-Migration Data Sheet. Click Next.
11. Choose Thin Provision and click Next.
12. Select the drop-down under Destination Networks and select the Network Adapter 1 Connection Network label recorded
on line 9 of the Pre-Migration Data Sheet. Click Next.
13. Enter the Networking Properties for eth0 from line 4 of the Pre-Migration Data Sheet. Click Next.
14. Do not check Power On After Deployment. Click Finish.