MacroSystem Photo-Studio User Manual
Page 10
10
11
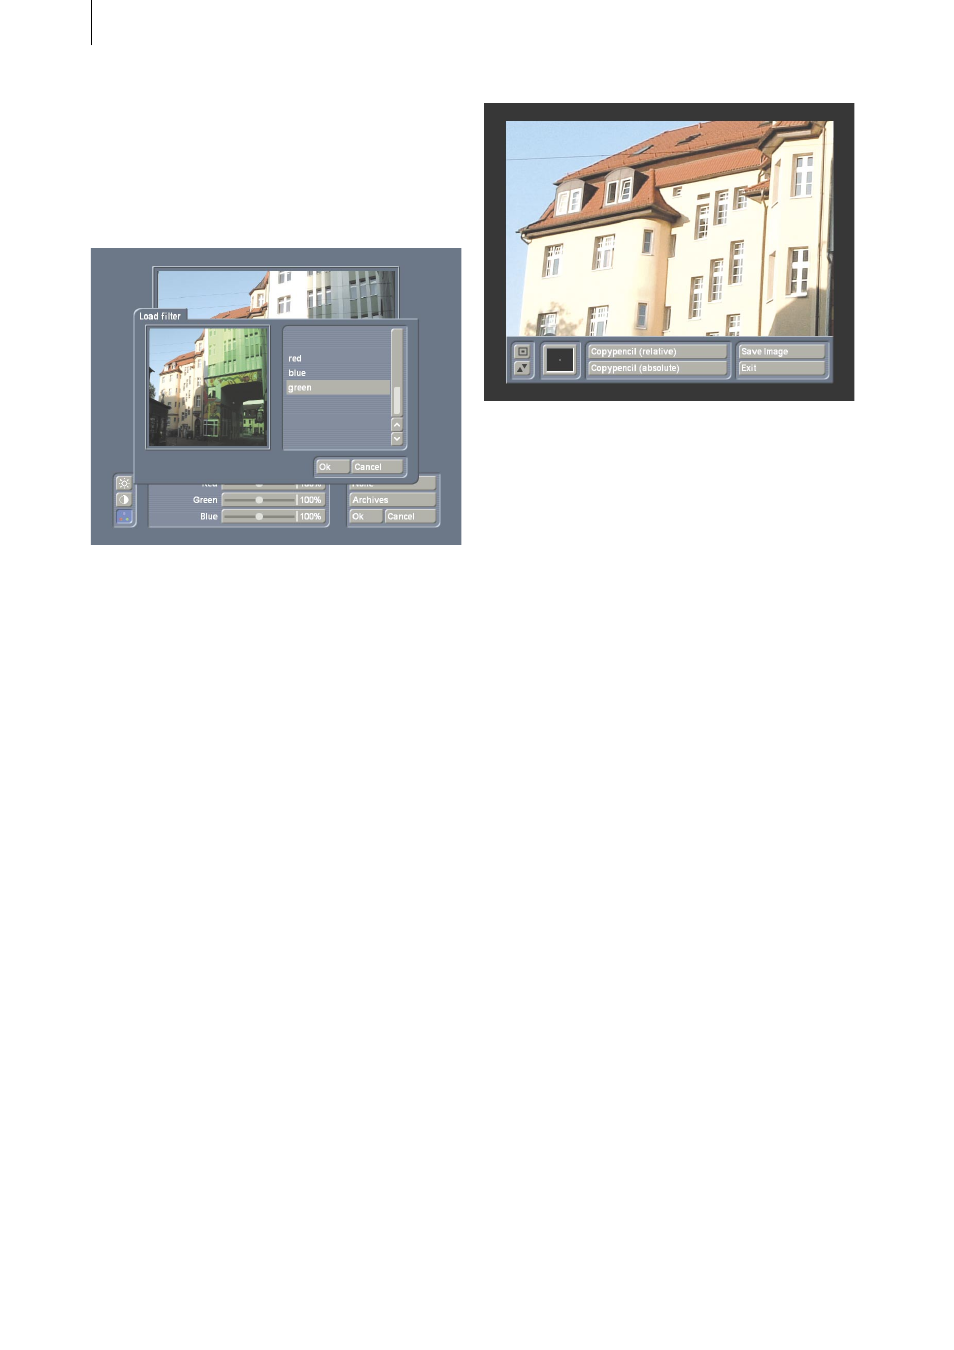
open in which you will see the photo to be
edited on the left. The list of your archived filters
will appear on the right. You can select the
desired one. You will see that the filter will be
applied to the right-hand side of your photo to
give you an impression of the result.
Clicking “Ok” will apply the filter previously
selected to the photo previously marked.
- “Retouch”: You can retouch the active photo in
the frame (not the marked photo), e.g. remove
a flaw, with this function. When you click this
button, the active photo will be displayed in
large format. A text on the lower edge of the
picture will prompt you to select the detail to be
changed. You will see a cross in a box, which
will first be located in the top left-hand corner
of the picture. Move the trackball to draw a
frame around the detail (i.e. the flaw in the
picture). The size of the box cannot be changed.
Confirm the new position of the box by clicking
the left-hand trackball button. The display of
the selected detail will be enlarged and a new
button bar will appear at the bottom of the
window.
The two left-hand buttons on this bar will move
it to the opposite edge of the screen and reduce
its size.
Clicking the framed colour box will open a
window in which you can specify a retouching
brush. Pre-defined square brushes are shown in
the upper row and round brushes in the lower
row. Select the desired brush by clicking the
appropriate box and specify any appearance
by using the attributes “Blur” and “Size”. You
will see a “Preview” of the settings made on
the right-hand side. If you have created a brush,
confirm the selection by clicking “Ok”.
You can now determine whether your copying
brush is to be “relative” (i.e. the selected
source area to be copied remains at the same
distance from the target area to be retouched)
or “absolute” (the source area to be copied is
to remain stationary). When you have selected
a function and clicked on the corresponding
button, you will see a green mark with a stamp
symbol. Move the trackball until the symbol is
located over the area to be copied and confirm
this selection by clicking the left-hand trackball
button. When the symbol has disappeared,
move the ball until the red mark is over the
area to be retouched (the flaw). When you have
reached the desired position, click the left-hand
trackball button and then move the ball to and
fro so that the selected area is copied. You can
stop the copying process by clicking the left-
hand trackball button again. You can now select
another point to be retouched and continue
copying. Then select the button bar by clicking