MacroSystem Photo-Studio User Manual
Page 18
18
19
Now apply cropping to all four edges. You do
not have to be too exact. We shall deal with
fine cropping later. The cropped parts of a
photo have not really been cut off. They can be
restored at any time.
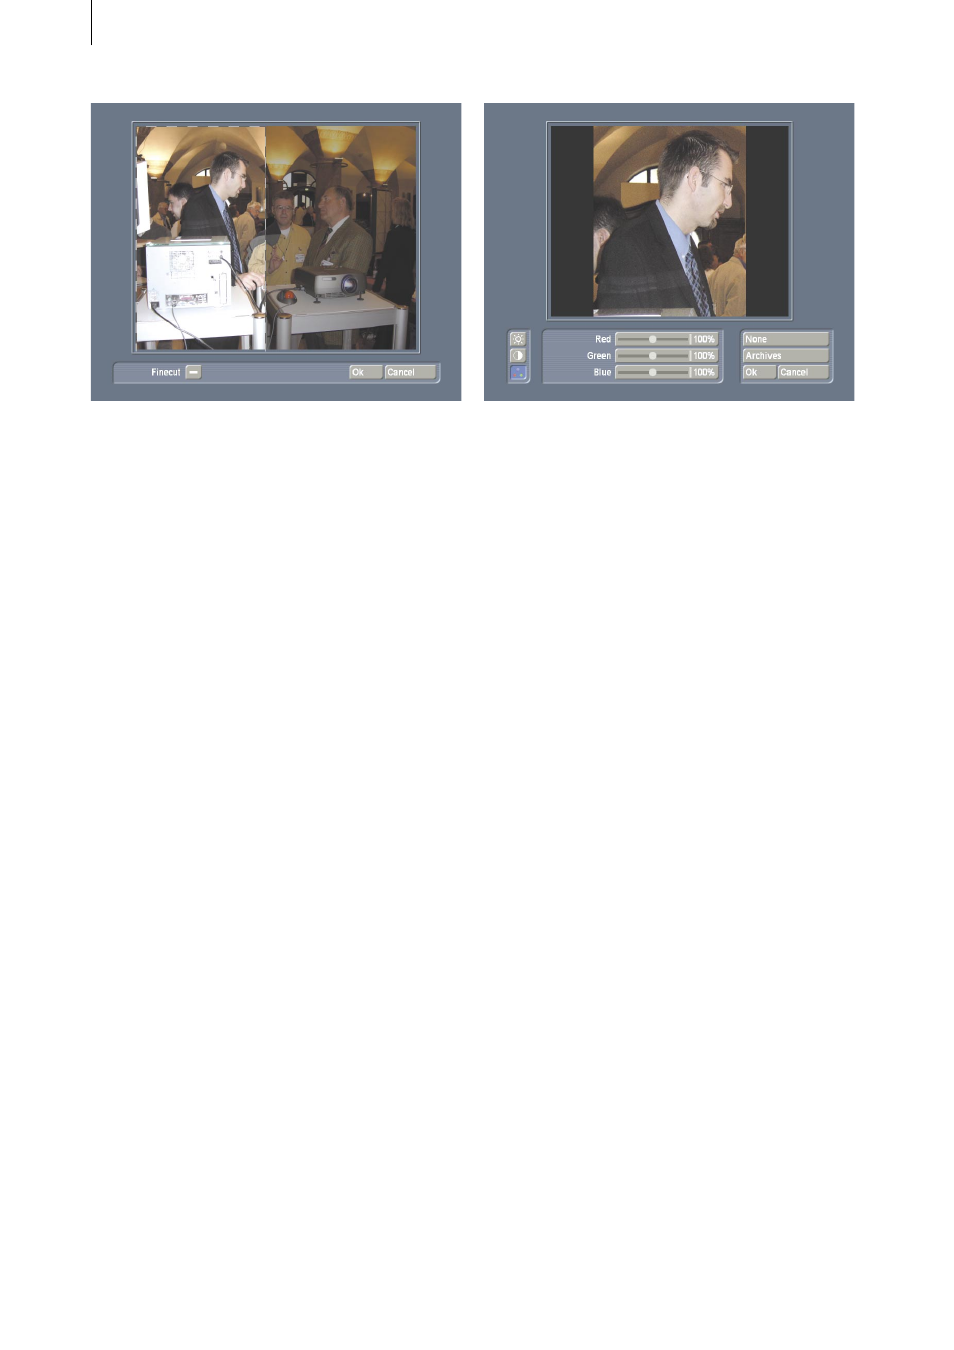
To carry out “Fine cut”, click the appropriate
button on the lower edge of the picture, so that
a tick appears. Then click again on the white
double-headed arrow on the desired edge to
see an enlargement of the area in which you
have clicked. When you have fine-cropped all
four edges, click “Ok” to return to the “Format”
menu window. Move the trackball until the edge
is in its correct position and click the left-hand
trackball button so that you see the normal
display again.
Exit from this menu by clicking the menu
symbol in the lower right-hand corner and click
the “Image processing” button in the main
menu window. You will notice that the new
menu window is similar to the previous one.
Only the “Edit images” area is different. We are
now going to consider this area. Click “Control
images” to access a new menu window.
You will see your cropped photo in large format.
There are three symbols on the left-hand edge
of the menu.
Activate the upper one first, so that you can
make brightness, contrast and colour saturation
settings. Experiment with the three sliders until
the desired settings are achieved. The symbol
in the middle represents gamma correction. You
can use this function to adjust the brightness
without compromising the contrast (white will
remain white and black will remain black).
Set the desired result here too.
These two functions correspond to the familiar
long-term “Control image” effect. The lower
button corresponds to the long-term “Control
color” effect, as you can specify new settings
for red, green and blue here. Should you wish
to return to the initial (cropped) photo, you can
cancel all your settings in this menu window by
clicking “None”.
You can save all the desired changes after
making them, if you wish. To do this, click
“Archives” and then “Save” in the window
which then opens. Enter the desired name for
the filter which you have created and exit from
the archive. When you have exited from the
“Control images” sub-menu window by clicking
“Ok”, you will see that the filter has already
been applied to your photo.
Now exit from the menu window by clicking
the menu symbol or on the right-hand trackball