MacroSystem Photo-Studio User Manual
Page 8
8
9
individual functions are only described once
here.
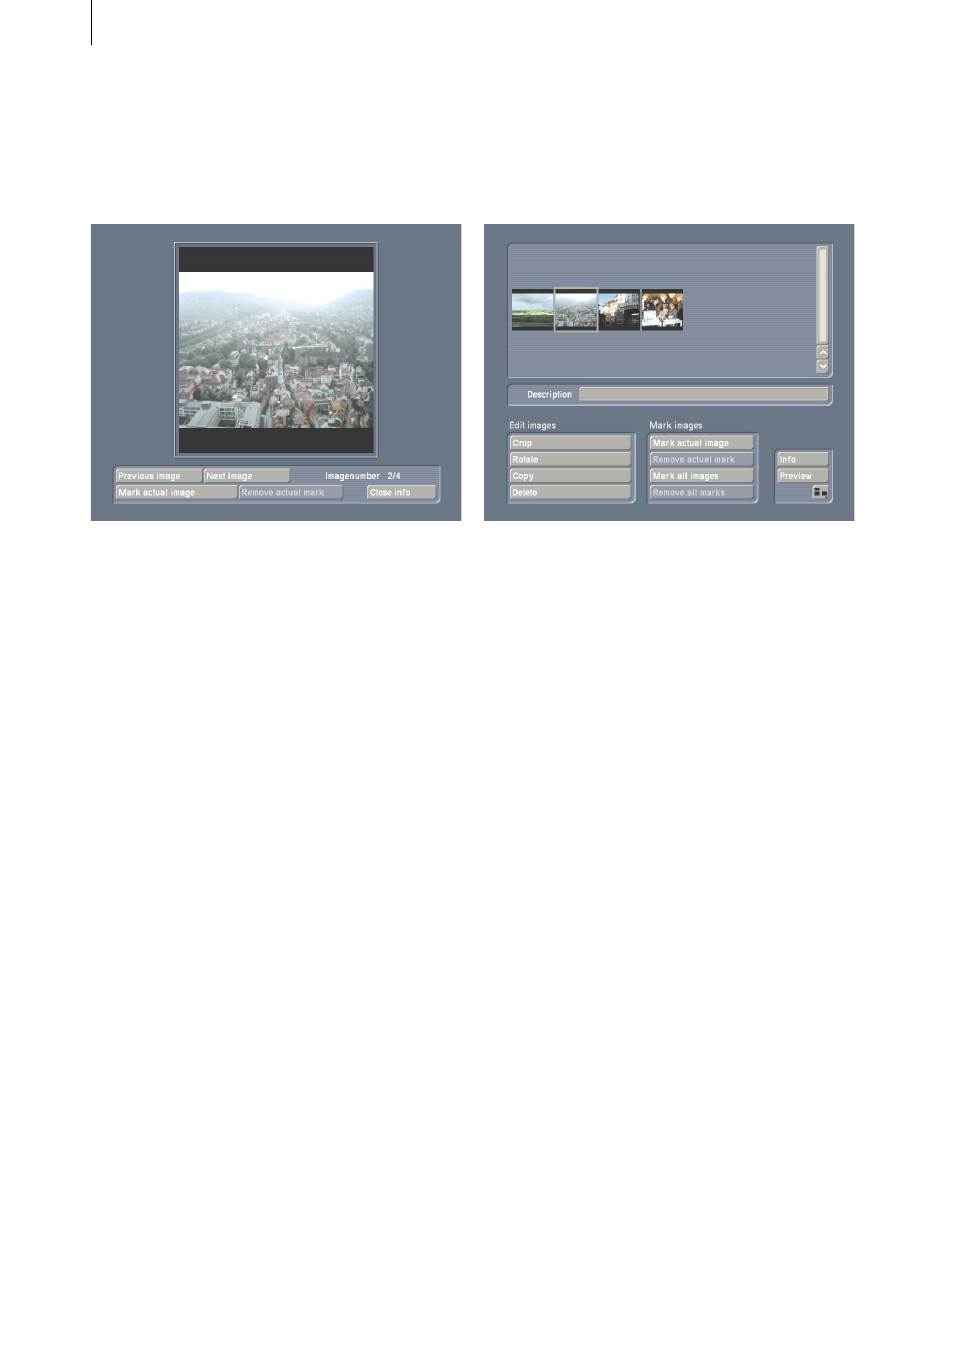
Clicking the “Preview” button will open a new
window.
In the upper window you will first see the active
photo from the list displayed in miniature
format, but the view will be enlarged in a few
seconds.
You can scroll through the whole Photo list with
the “Previous image” and “Next image” buttons
underneath it.
You will see the “Image number” and the total
number of photos on the right, where e.g. “5/
10” means that the fifth of a total of ten pictures
is being displayed. There are three further
buttons at the bottom of the screen with which
the photo displayed above can be marked or its
marking removed and the menu window closed
again, in order to return to the “Import” menu
window. You can remove the memory card after
importing.
5.2 Editing
“Edit” includes several options which are
explained in more detail in the following
sections.
5.2.1 Format
Clicking “Format” will display a new menu
window similar to the “Import” menu window,
The Photo list above, the “Mark images” area
and the “Info” and “Preview” buttons involve
the same functions as the “Import” menu
window. Please refer to these sections for
further information.
Please note that only photos which have
previously been imported will be displayed here.
In the “Format” menu window, you will see
the “Description” button under the Photo list. If
you click the text box alongside, the keyboard
familiar to Casablanca users will appear
alongside and you can use it (or an external
keyboard), e.g. to enter a name for the photo.
You will also see the option “Edit images”,
which, however, differs from the option of the
same name in other menu windows.
- “Crop”: Click the “Crop” button to display the
photo in large format. You can then move the
cursor on to the dotted frame so that it turns
into a double-headed white arrow. Then click
the left-hand trackball button and move the
trackball towards the centre of the picture, so
that photo is cropped at the edge which you
have selected. This works on all four sides and
corners. In the background you will see the
“cropped” part of the picture, darkened. Click
the left trackball button to confirm the changes.
(Clicking the right-hand trackball button would
cancel cropping).
N.B.: Please note that the margins are frequently
not visible if the picture is displayed later on a
TV screen. Do not crop too much of the photo.
You can also move the section selected by
moving the cursor inside it, so that it turns into