MacroSystem Photo-Studio User Manual
Page 24
24
25
to reduce the size of the box until the head of the
person has a generous frame round it.
Click “Append new” again, position the new
point on the head of the second person and
adjust the size of the box as required. Continue
as described above. Then add another point,
position it on the head of the third person and
frame the head.
Finally, double-click the yellow end point to
turn it blue. Move the trackball to pull the end
point into the centre of the photo and position
it beside or on the start point. Then enlarge the
box until all three people are inside it again.
Now view your result under “Preview”.
If you are not satisfied with the result, you can
make corrections before it is processed. For
example, you yourself can determine the length
of time the camera stays on one head. See 5.2.3
Animation for details.
Your result can then be processed. After
processing, which may take more time in this
example, you will see your finished animation
at the end of the scene bin in the “Edit” menu
window.
6.6 Slide show consisting of several
photos
This example guides you step by step through
creating a slide show from your individual
photos. You must already have several photos
loaded into the system.
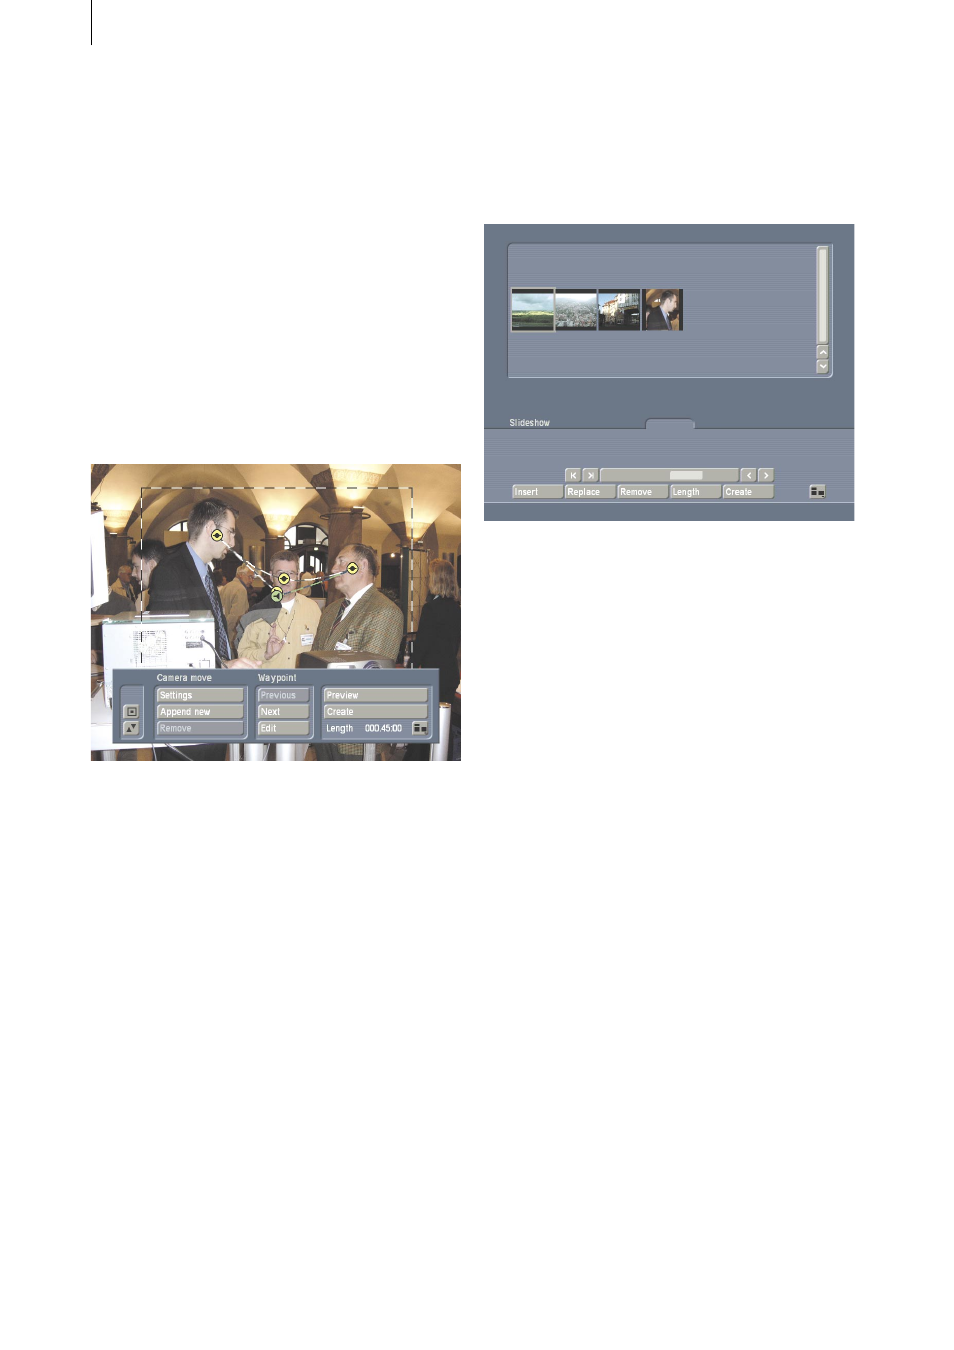
Click the “Gallery” button in the “Photo-Studio”
main menu window. The following menu will
appear:
The photos loaded appear at the top in a list,
and the board for the slide show appears at
the bottom. This board is comparable with the
storyboard in the “Edit” menu window of your
Casablanca. It shows the subsequent final result
and the individual photos can be moved around
using the scrollbar or slider and the photo in the
centre frame is active.
Now select one of your photos from the list,
activate it and click “Insert”. The default length
(i.e. dwell time) of the photo is 5 seconds
which, of course, you can change at any time
by clicking the “Length” button and set to a
different time using the slider.
Then activate another photo and click “Insert”.
As you are on the first photo in the board, you
will be asked whether you wish to position the
new photo in front of or behind the picture (as
with the Storyboard prompt).
After you have added it at the end, position all
the other photos required.
Of course, you can add other photos in the
centre of the board by simply selecting the
photo you want on the board and clicking
“Insert”. The new photo from the top list will
then be added to the board behind the active
photo.