MacroSystem Photo-Studio User Manual
Page 17
16
17
are explained in the examples. Please refer to
Section 5. Operation for explanations of each
button.
6.1 Editing a photo
This tutorial will teach you the basics of the
program and how to edit an individual picture.
Open the “Edit” menu window of your
Casablanca, click “Special” and find the “Photo-
Studio” program, arranged alphabetically in the
upper part of the list. After you have activated it,
“Start Photo-Studio” will appear to the right of
the button and you should select it.
The main program menu will then appear.
Now insert a memory card containing your
photos in the desired drive (e.g. in a connected
card reader).
Then click the “Import” button in the top left-
hand corner, to display a new menu window.
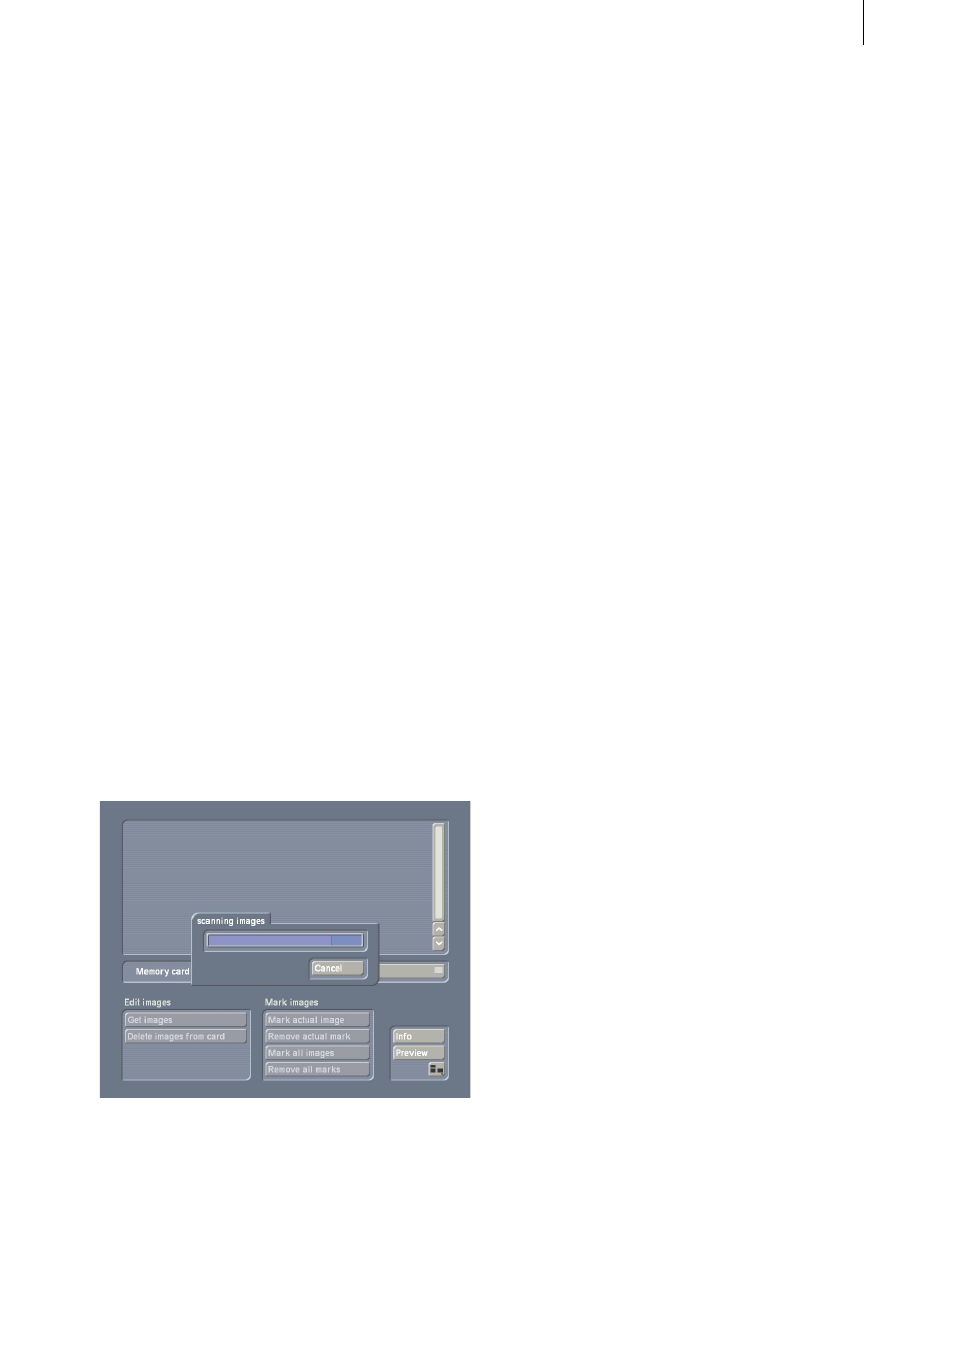
You can use the “Memory card” selection button
to set the type of your card, so that the pictures
on the card are displayed in the top part of the
menu.
Now click the photo which you wish to edit (e.g.
a group photo), so that it appears in a frame.
Then click the “Get images” button so that the
photo will then be loaded into the program.
Clicking the “Info” button will provide you with
information on the current photo.
Exit from the menu window by clicking the
menu symbol located in the bottom right-hand
corner by clicking the right-hand trackball
button. Then click the “Format” button in the
main menu window.
You will see that only the loaded picture is
displayed in the Photo list in the top section.
If you want to give your photo a title, click the
text box next to “Description” to display the
keyboard with which you can enter a name
for the photo. Of course, you can also use an
external keyboard.
As you have only loaded one picture, it is not
necessary to mark it for further editing. All
further steps will automatically relate to this
photo.
If your photo is shown the wrong way round,
click the “Rotate” option. A window will open
in which you can decide whether the picture
should be rotated by 90° clockwise or anti-
clockwise, or by 180°. The photo will appear in
the desired position after you have made your
selection.
You can then click the “Crop” button to select
one person from the picture and “airbrush” the
others out.
Your photo will now be displayed in large
format. As soon as you move the screen cursor
on to one of the four edges or corners, it will
change into a white double-headed arrow. If you
now click the edge, you can move the trackball
towards the centre of the picture to set a new
position for the edge of the photo (e.g. a little
above the hairline of the desired person). Do
not crop the picture too tightly, as the edges
will frequently be invisible when displayed on a
monitor. Once you have specified the position,
click the left-hand trackball button to confirm it.
You will see that the “cropped edge” appears as
a darkened area in the background.