MacroSystem Photo-Studio User Manual
Page 13
12
13
When you have exited from “Photo-Studio”,
you will see the processed animation in the
scene bin of the “Edit” menu window.
If you open the “Animation” menu window
from another photo, a warning that the previous
settings will be lost will appear.
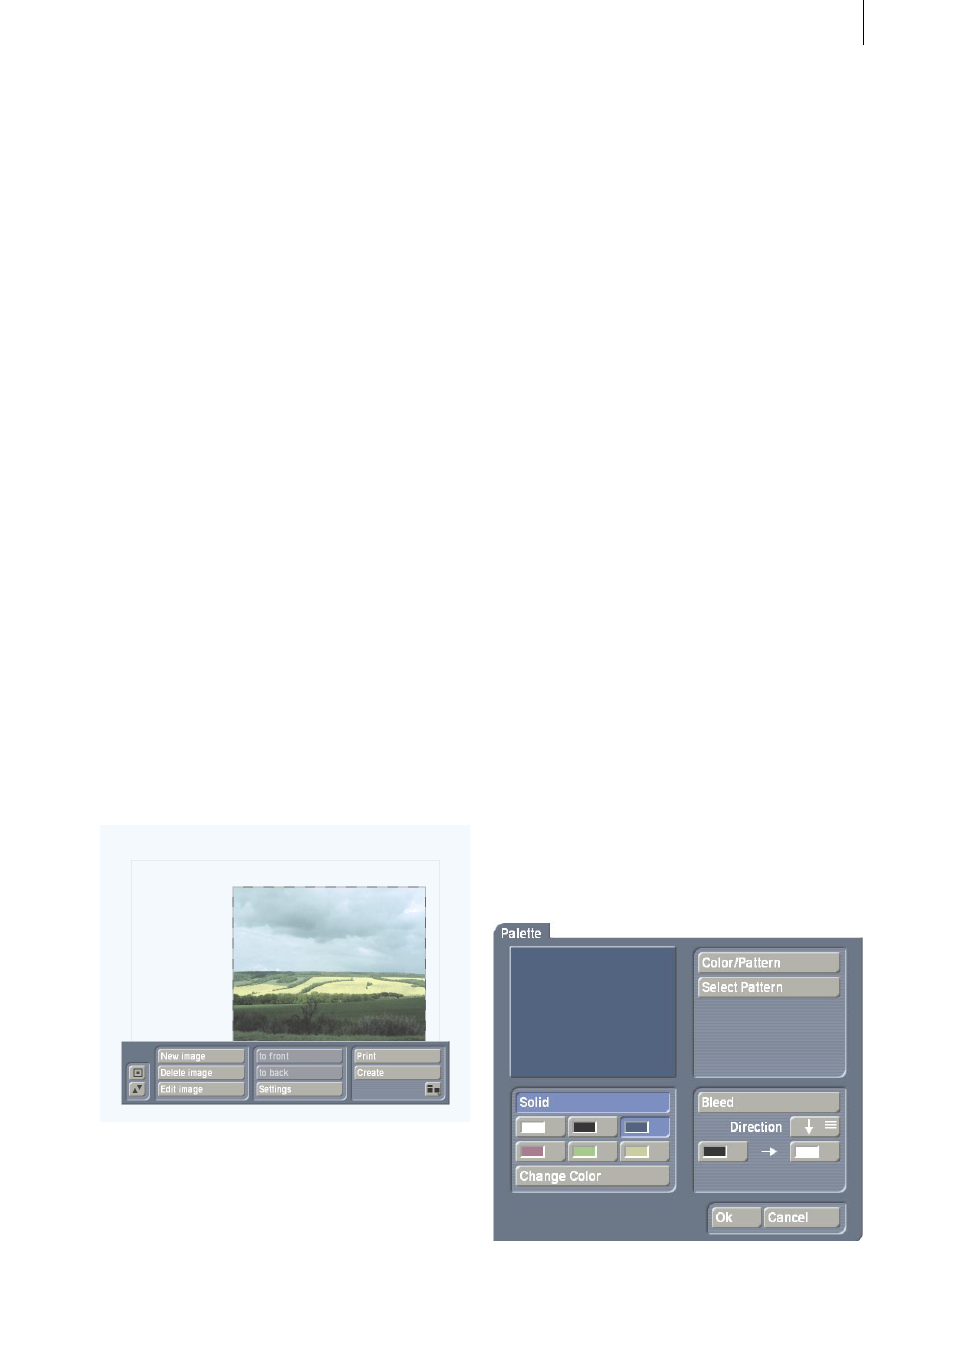
5.2.4 Collage
You can use this menu function to create a
collage from several of your photos. If you click
this button, a window will open which contains
a button bar and a white box.
- “New image”: Click this button first. A window
will open in which you can select a photo from
your list. A cross with a small box will appear
after confirming with “Ok”. Move the trackball
until the cross (representing the upper left-hand
corner of the picture) has reached the desired
position and confirm the selection by clicking
the left-hand button. Now move the ball again
to set the size of the box and thus the position
of the lower right-hand corner, then confirm
it. You will then see that the box drawn will be
filled with the photo which you selected. If the
proportions of the photo do not match those of
the box, the picture will be partly cropped, to fill
the box completely.
Of course, you can also move the boxes directly.
To do this, activate a box and click the left-hand
trackball button as soon as the screen cursor
has changed into a hand. A cross will now
appear and you can move the ball until the box
has reached its desired position, which you
can confirm by clicking the left-hand trackball
button. Of course, you can also modify a box
later by clicking directly on its sides or corners.
- “Delete image”: Of course, you can delete
photos which have already been inserted.
To do this, click this button, so that a prompt
appears asking whether all the photos or only
the active photo are to be deleted. After making
the selection, both the desired picture and the
relevant box will be removed.
- “Edit image”: Clicking this function will display
a new button bar. Clicking “Change image” will
display the Photo list, from which you can select
the picture to place in the selected box instead
of the previous picture.
Clicking “Rotate image” allows you to rotate the
active picture. If you move the trackball to the
right, the picture will rotate to the right. If you
move it to the left, the picture will rotate to the
left. The angle will be displayed at the edge of
the screen.
Clicking the “Border” option will display a
button bar, in which you can make adjustments
to the frame. Clicking the framed colour box
will open the “Palette” window, which will be
familiar to users of the “Caladan” and “Akaba-
New Concept” programs. This window contains
a selection of colours, patterns and shades with
which you can vary the appearance of the box.