MacroSystem Photo-Studio User Manual
Page 19
18
19
button.
Then click the “Print, Export” button in the main
menu window. You can save your photo on your
memory card in the menu window which then
appears. To do this, click the “to memory card”
button and select the desired memory card and
quality in the window which appears. When you
have confirmed your selection with “Ok”, please
enter a name for the photo in the “Save image”
window. After confirming with “Ok”, the photo
will be stored on the card inserted.
You can then print your photo, if you have
connected a suitable printer. To do this, access
“Printer settings” and select the size of your
printout from three different options. As this is
only an example for tutorial purposes, select size
“15 x 10”. You can then make any corrections
to brightness, contrast and colour saturation for
printing. After you have confirmed the settings
with “Ok”, click “Print” under “Export images”.
Your photo will be printed once you have clicked
on this button.
If the printer will not start, you will see an
appropriate warning message telling you to
check all the cables, the paper and cartridge. If
you have only installed the demo version of the
Photo-Studio program, you will not be able to
use the Print function.
If there are photos on the list, you can open
the “Archives” in the “Cotrol images” menu
window later and then click “Load”. A window
will appear in which you will see the current
photo on the left. There is a list containing
the saved filters on the right-hand side. When
you have activated a filter there, you will see
that your photo will be divided in the middle,
whereby the right-hand side of the photo will
appear with the filter applied to it. If you are
satisfied with the result, confirm it by clicking
“Ok”.
6.2 Retouching a photo
In this tutorial you will learn how you can
retouch flaws in your pictures. Start “Photo-
Studio”, insert a memory card into a drive and
click “Import” in the main menu window. In
the menu window which then opens, use the
“Memory card” button to select the card type,
so that the pictures on the card are shown in the
upper section of the menu window. Now click a
photo which contains a flaw. Select the “Mark
actual image” function and then click the “Load”
button.
Now access the main menu again and click
“Format” to make any changes such as
“Description”, “Rotate” or “Crop”. Please refer
to the previous section for the precise use of
these functions.
Exit from the “Format” menu by clicking the
menu symbol in the lower right-hand corner and
click the “Image processing” button in the main
menu window.
If you have already loaded several photos,
ensure than the one to be edited is in the active
frame. Click the “Retouch” button to access
a new menu. Your photo will be displayed in
large format and you will be prompted to select
a detail which you want to retouch. Move the
trackball until the box shown is located in the
desired position (i.e. over the flaw). After you
have confirmed the position by clicking the left-
hand trackball button, you will see the selected
detail enlarged. A new button bar will also be
displayed at the bottom of the screen.
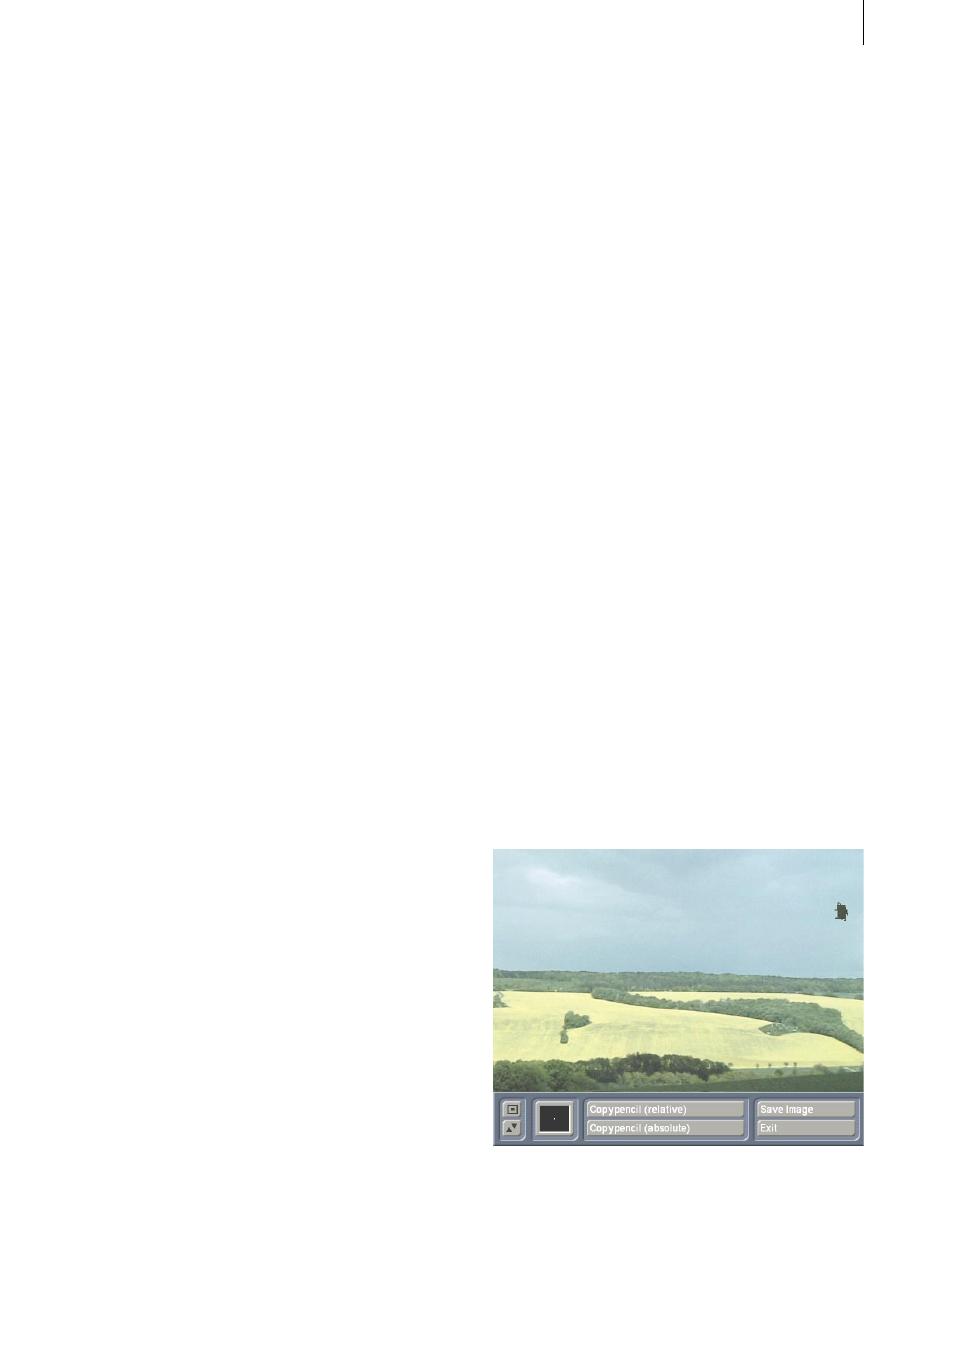
You can now begin to retouch the flaws in your
picture.
Click the coloured box on the left to open a
window in which you can specify a brush for