MacroSystem Photo-Studio User Manual
Page 15
14
15
The “Grid distance” slider is used to determine
the distance (in mm) between the lines of the
invisible grid.
If you check “Snap to images and auxiliary
lines”, the boxes can be better positioned, as
they will be aligned automatically with the
specified lines or lines of an existing box. This
option is comparable to the “magnetic grid
lines” or “axes”, familiar from PCs.
You can use the “Image-Snap threshold” slider
to set the distance between the edge of a box
and the gridline in order to “snap” (be placed)
on to it, in pixels.
You can open the paint box by using “Auxiliary
line colour”, with which you can determine the
colour of the guidelines, whereby the guidelines
defining the outer limits in the collage will be
shown. None of the pictures placed outside the
guidelines will be printed or included in the later
scene. The gridlines will not be visible in the
scene or printout later.
- “Print”: Click this button to start printing the
collage previously created.
Printing will only be possible if you have a
suitable printer (see paragraph 2).
- “Create”: You can create a scene from your
previously-created collage here. When you click
this button, a window will open in which you
can set the desired length of the scene. When
“Ok” is clicked, the scene will be processed and
will appear in the scene bin of the “Edit” menu
window.
Then exit from “Collage” by clicking the menu
symbol. Clicking the right-hand trackball button
is not possible in this case, to prevent accidental
cancellation.
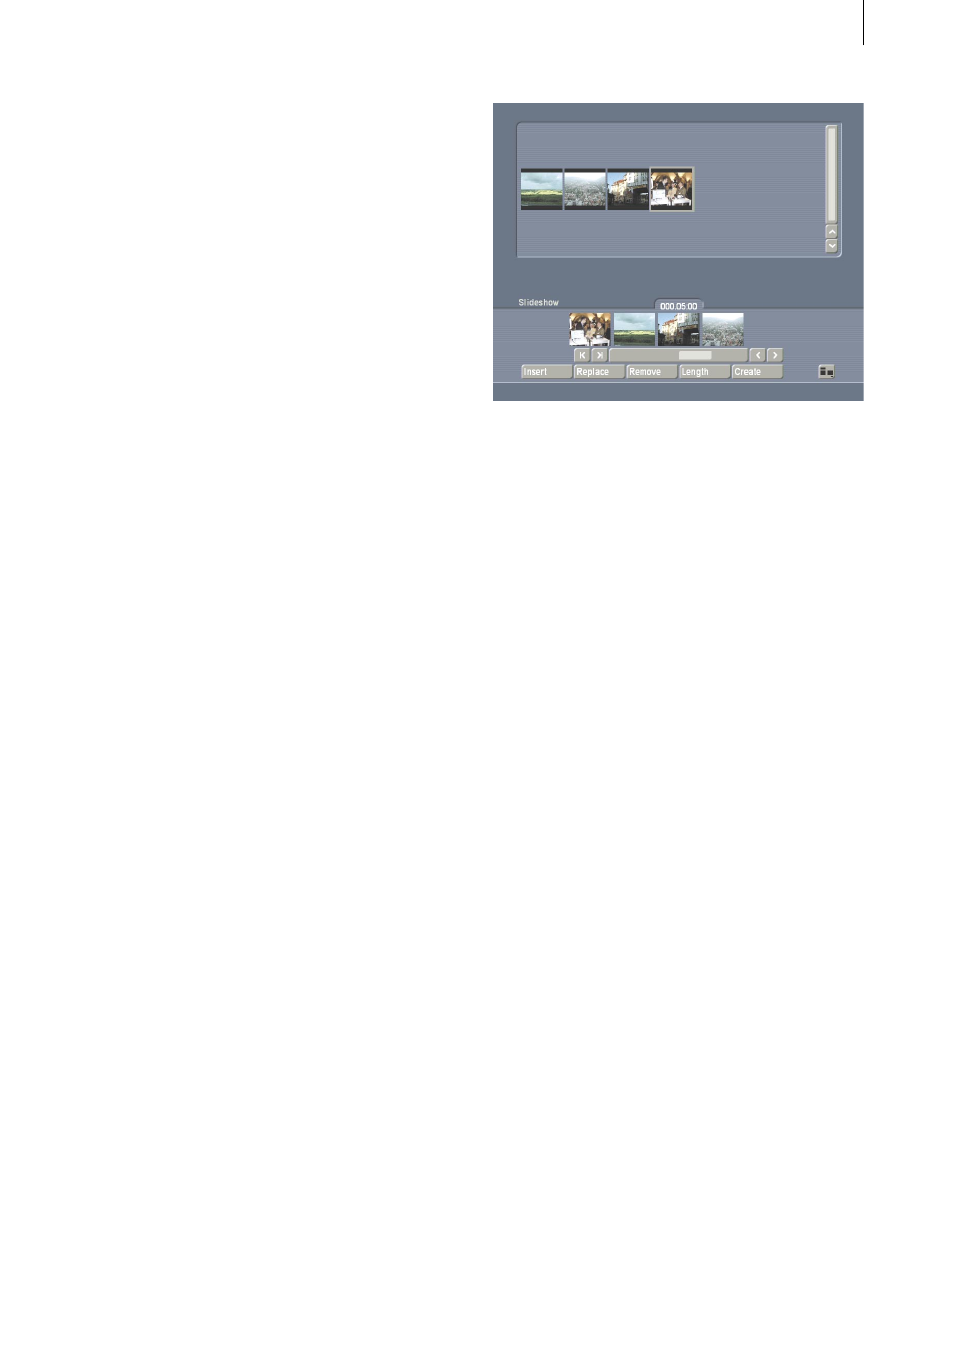
5.2.5 Gallery
You can use this menu to generate a slide show
from your individual photos. Clicking this button
will open a menu window, in the upper part of
which you will see the list of your photos.
Your later slide show will be shown on a
storyboard in the lower section, similar to the
storyboard of the final show. You can scroll or
jump along this storyboard by using the controls
below it or the arrow buttons.
- “Insert”: Clicking this button will insert
the active photo from the above list into the
storyboard. If the first photo in the storyboard
is active, the familiar storyboard prompt will
appear, asking whether the new photo should be
added at the beginning or the end.
If the new photo to be added is an edited photo
or one of a different size, clicking the button
will open a selection window in which you can
adjust the photo to video size. There are four
ways of doing this:
If you click “White border” or “Black border”,
the whole photo will remain visible. Borders
have to be created for this purpose, which will
be shown in white or black. Clicking “Crop
to size” will adjust the photo by cropping the
edges.
If you select “Scale to size”, the picture will be
shown in full, but its proportions will not be
retained.
- “Replace”: Clicking this function will replace
the active photo, the pattern or colour on the
board with the active photo on the list. If the
new photo is not the same size as the one to be
replaced, please refer to “Insert” for instructions
on how to adjust it.