MacroSystem Photo-Studio User Manual
Page 9
8
9
a hand. Then click the left-hand trackball button
and move the trackball until you have reached
the desired position. Following confirmation
with the left-hand trackball button, you will see
that the content of the picture has changed,
due to the new position. If you would now like
to undertake “fine cut” (e.g. in order not to cut
off a head), click the left-hand button below, to
display a tick. Then place the cursor on another
edge of the picture and click the left-hand
trackball button. You will see that the view will
be zoomed in instantly to the point which you
have selected, so that you can crop accurately.
After you have established the position of the
frame and confirmed it by click the left-hand
trackball button, the picture will be displayed
in full again. Exit from the menu window by
clicking “Ok” to adopt these settings and return
to the “Format” menu window. The menu
window can be exited without adopting the
cropping of the photo by clicking “Cancel”.
- “Rotate”: Clicking this button will allow you
to rotate all the photos previously marked
(in green). If no photo has been marked, the
currently active photo (in the frame) will be
rotated.
After you click the “Rotate” button, a window
will appear in which you can select whether
the photos are to be rotated clockwise or anti-
clockwise by 90° or by 180°. Clicking “Cancel”
will close the window again.
- “Copy”: If you click this button, all the photos
previously marked will be copied and thus
appear twice in the list above. If no photo is
marked, the currently active photo (in the frame)
will be copied. Several details from a single
original can thus be used.
- “Delete”: Clicking this button will remove the
currently marked photos from the list (and thus
from the Casablanca) after a warning message.
If no photo is marked, the currently active photo
(in the frame) will be deleted.
5.2.2 Image processing
The “Edit images” option in this menu window
includes the following functions:
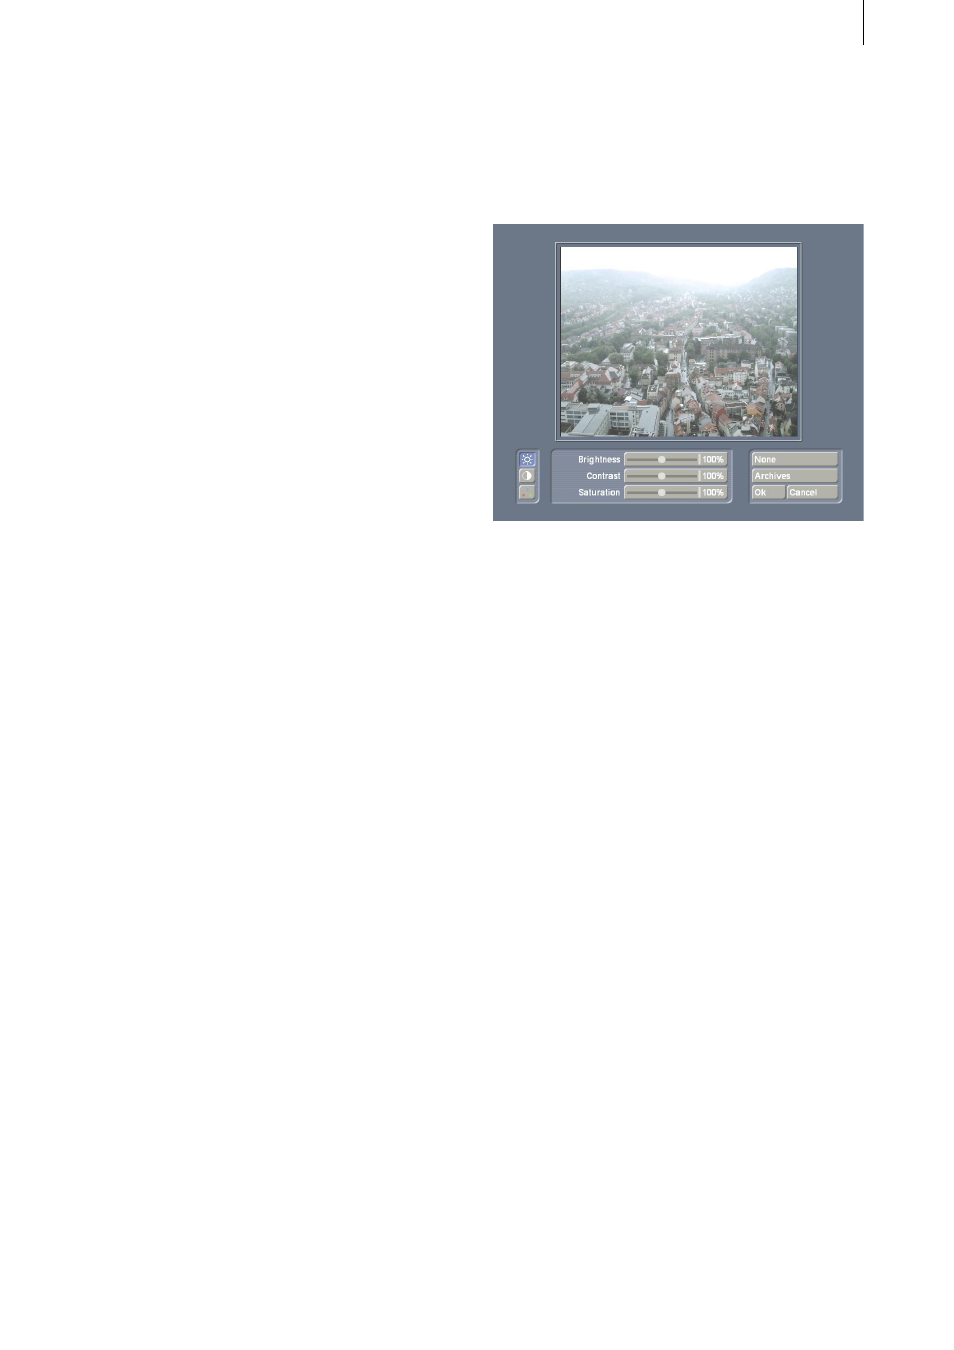
- “Control images”: Clicking this button will
open a menu in which you can make a variety
of picture and colour corrections to the active
photo (in the frame).
The marked or, if no or several photos are
marked, the active photo, will be displayed in
the upper part of the menu window. You will see
three symbols at the left-hand edge, with which
you can toggle between different modes. If you
click the upper symbol, you can set brightness,
contrast and colour saturation as percentages.
The middle symbol allows the gamma value
to be adjusted as a percentage and the lower
symbol allows the colours red, green and blue
to be specified as a percentage.
If you have created a filter which you want to
use again later, you can save it by clicking the
“Archives” button. Click the “Save” button and
then enter a name for the filter. The “None”
button will enable you to restore the photo to
its original state. (This will also work if you have
already confirmed a filter and open the menu
window again.).
Exit from the menu without making a setting
with the “Cancel” button. Click “Ok” to confirm
the specified filter.
If you have specified one or more filters and
have saved them in the archive, you can use
them later for as many other photos as you
wish.
Mark the desired photo(s) first and then
click ”Control images” again to retrieve the
“Archives”. If you click “Load”, a window will