MacroSystem Photo-Studio User Manual
Page 11
10
11
the right-hand trackball button again. Clicking
the “Save iamge” option will save the changes
which you have made to the picture. Exit the
menu window by clicking “Exit”. Only the
changes already saved will be adopted.
5.2.3 Animation
This function makes it possible for you to add
an animated camera track across your photo, so
that it looks like a video clip.
Clicking the “Animation” button will open a
window in which you can select one of the
photos listed. If you confirm the selection with
“Ok”, a new menu window will open.
Your selected photo will be shown in large
format with a box superimposed on it containing
a point representing the detail of the later
camera position. If you want to change the size
of the box in proportion (the smaller the box,
the further the zoom into the picture), place
the cursor on one of the four corners, so that a
double-headed white arrow appears. Now click
the left-hand trackball button and move the ball
until the desired size is reached. During this
process, you will see the enlargement/reduction
factor at the edge of the screen. It does not
matter if the factor increases although you are
reducing the size of the box. As the box will fill
the screen during tracking, the factor will show
the enlargement in the box. The smaller the box,
the larger the display inside it.
Note: As pictures from a digital camera have
higher resolution than TV images, your photos
will retain TV quality if you zoom in. However,
the limit is factor 1, as this is where video quality
is reached. The quality will deteriorate at a
higher factor.
To define the route of the track, you must first
specify the starting point.
To do this, click the symbol inside the box so
that it turns blue and move the ball until the
box is located in the desired position. Clicking
the left-hand trackball button will turn the point
green again, locking the box in place. The
position and size of the point can, of course,
also be set using the button bar described below
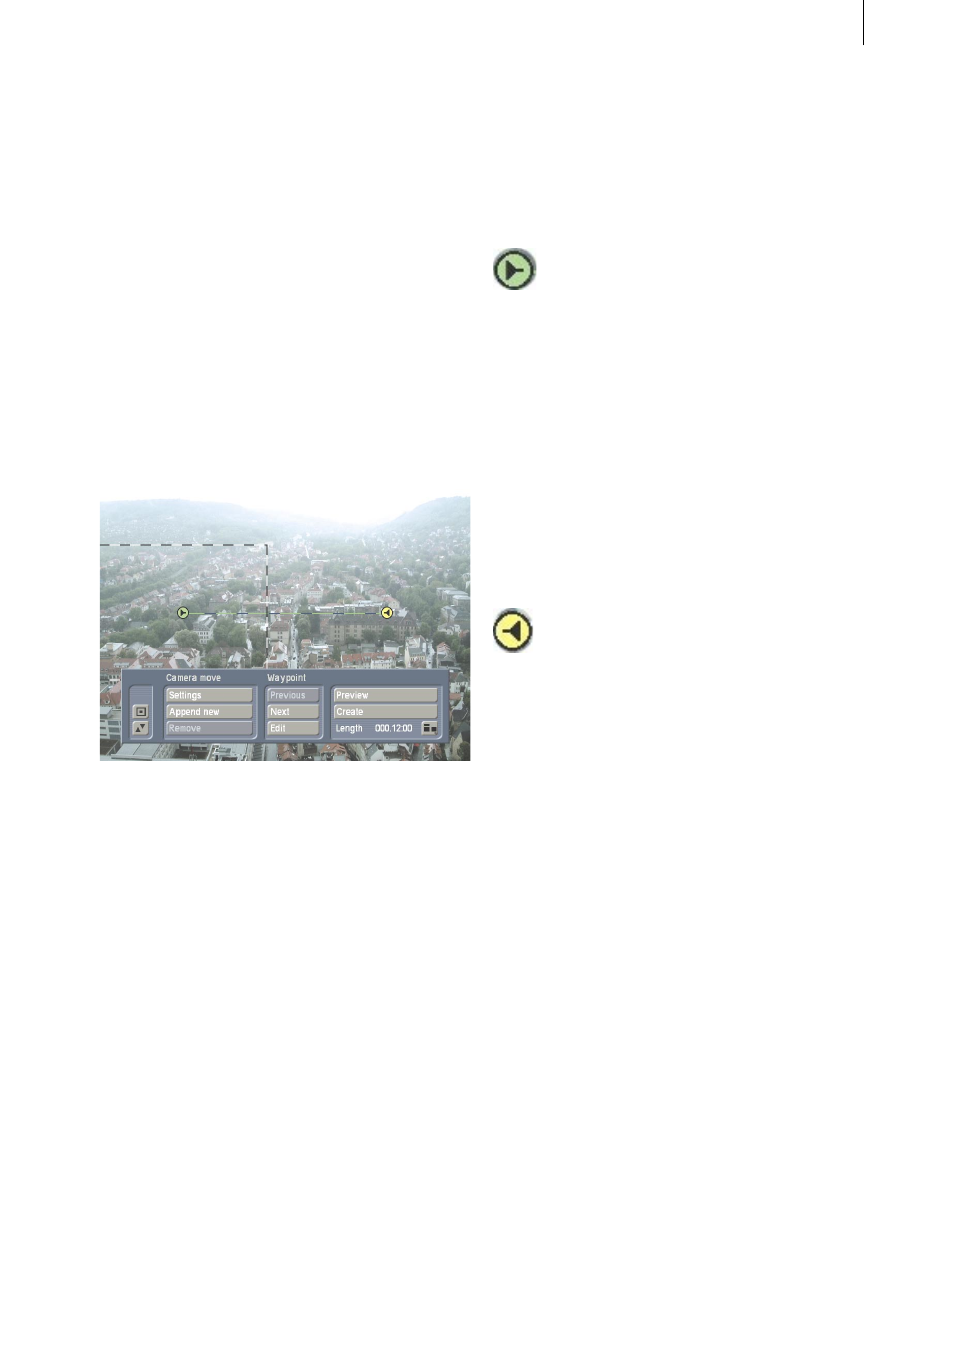
(under the “Waypoint” option). You will see that
another (yellow) symbol will appear on your
picture. connected to the starting point by a
green dotted line.
This symbol represents the end and the line
represents your later camera track, which you
will, of course, wish to change.
You can now concentrate on the button bar
which is superimposed on the photo, but was
not displayed while the box was being placed.
Use the two buttons located on the left to reduce
the size of the bar or to move it to the opposite
edge of the screen.
You will now see the “Camera move” option.
- “Settings”: Clicking this button will open a
window in which you can make various settings
for the active (green) part of the track.