Main screen functions, Polling for alarms, Smts technical guide 18 – Orion System OE392-10 System Manager TS User Manual
Page 18: Alarm polling
Zone
Zone
Main Screen Functions
SMTS Technical Guide
18
Next Unit: Touch
<Next Unit>
to access the next unit’s alarms.
Clear All: Touch
<Clear All>
to clear all alarms logs. Active alarms
will remain. You must be a Level 3 user to access this option. When all
alarms have cleared, the following message will appear on the screen:
NOTE:
You can also view alarms while in individual controller’s
status screens. For more information, see pages 21, 22
& 50.
All alarms cleared.
Any remaining active alarms will re-appear.
OK
Polling for Alarms
Alarm Polling
In order for Alarm Polling to appear on the Main Screen, you must have
the following items in place:
1. Alarm Polling Enabled must be selected in the Systems
Settings
Screen (see Figure 15 on page 17).
2.
You must have a MiniLink connected to your system and
have your System Manager TS set to Network Mode.
3.
You must confi gure each unit to poll for alarms on the
MiniLink Polling Device Setpoint Screen using Prism II.
See the Appendix in this guide for more information.
The
< Alarms>
icon on the Main Screen allows you to check for
alarms, review alarms, and clear alarms. Only a Level 3 user can clear
the alarm log.
A green
< No Alarms>
icon appears on the Main
Screen when no alarms are present. This icon changes to
a red
< Active Alarms>
icon when alarms are present.
To check for alarms, review alarms, or clear alarms,
from the Main Screen, touch the
< Active Alarms>
icon. The System Alarm Status Screen will appear. See
Figure 16.
NOTE:
Even if you don’t set up Alarm Polling using Prism II,
a controller’s fi rst status screen will still alert you of an
active alarm.
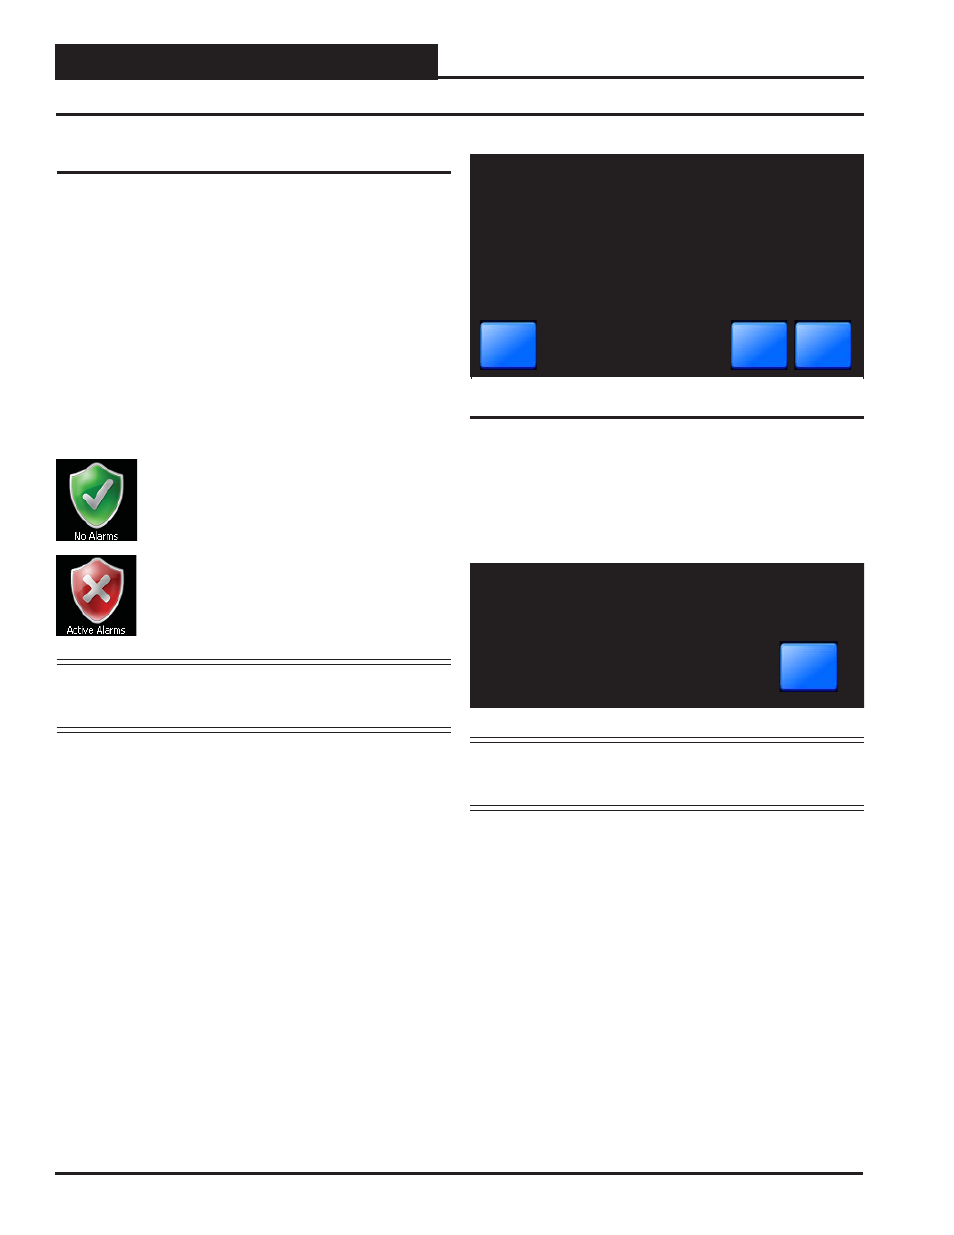
Back
System Alarm Status
Checking
Next Unit
Clear All
Figure 16: System Alarm Status Screen