ARM Electronics JDVR User Manual
Page 21
B e s t p ic tu re q u a lity D V R
JP E G 2000 S tan d- alo ne D VR
20
CHAP. 5 Set Up
5-2. DIPLAY SETUP
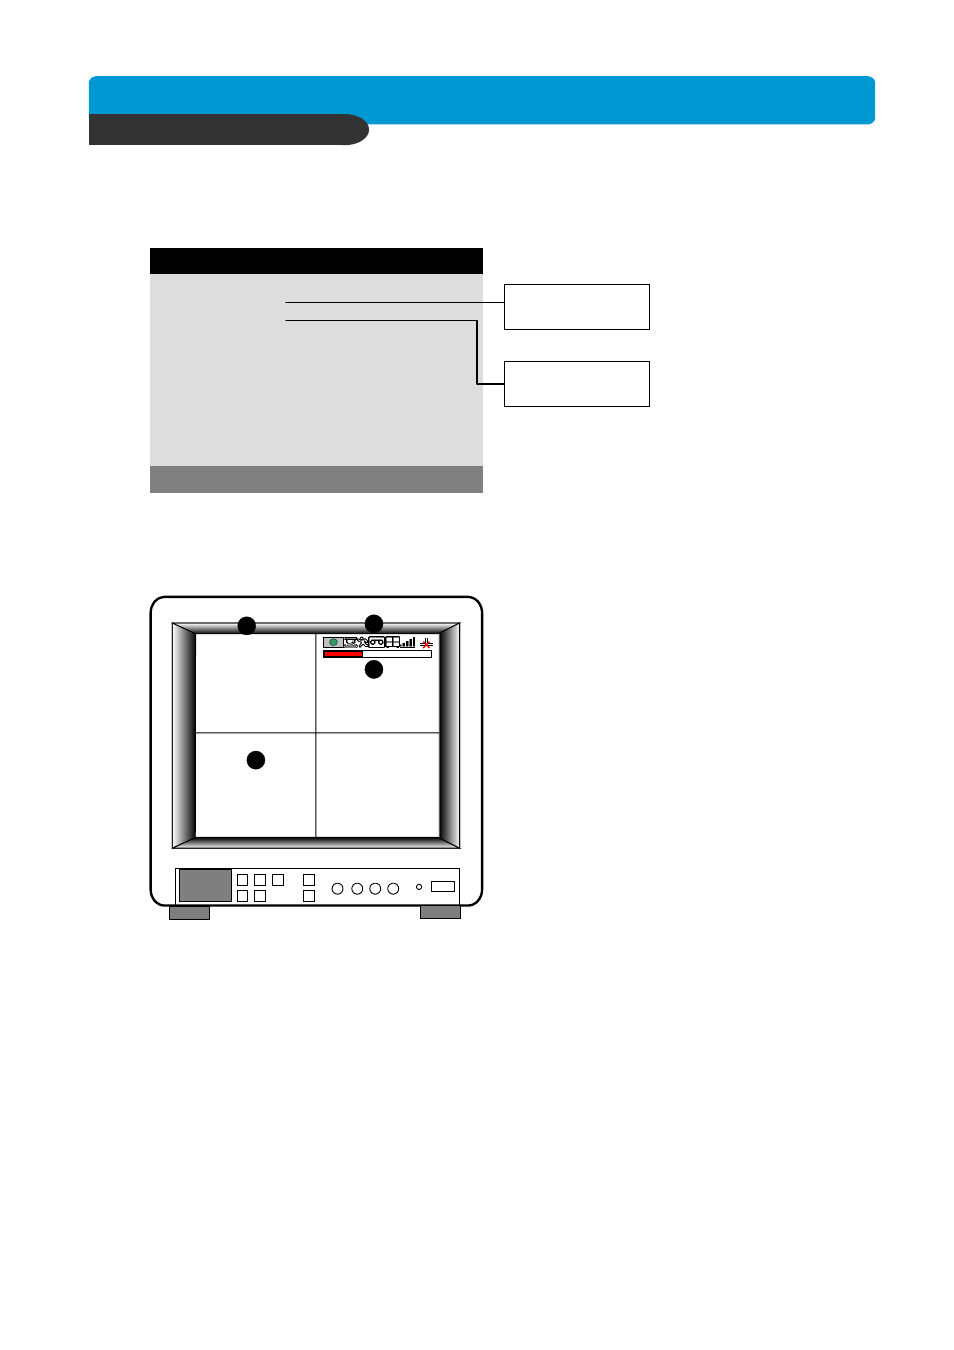
Setting up parameters for monitor and display on screen.
Enter into SYSTEM MENU-DIPLAY SETUP.
SELECT MENU : ▲▼, & [ENTER]
SCREEN DISPLAY
MONITOR SETUP
DISPLAY SETUP
Setting up the screen display in LIVE mode and PLAYBACK mode.
Select the sub-menu which you would like to set using
direction buttons and then change ON/OFF with
[ENTER] button.
1. TIME/DATE : Display time & date
2. DVR STATUS : Display system setting status
3. REC/PLAY BAR : Display record / playback status
4. CAMERA TITLE : Display camera title
2) MONITOR SETUP
VGA SETUP : User have to select one the below option to optimize with the monitor using [+] [
−
]
button. After setting the below option, press [ENTER] button then the DVR unit will be
rebooted automatically.
- 800-600 / 60Hz : set when the VGA monitor(800x600 / 60Hz) is connected to DVR unit
- 640-480 / 60Hz : set when the VGA monitor(640x480 / 60Hz) is connected to DVR unit
- 800-600 / 75Hz : set when the VGA monitor(800x600 / 75Hz) is connected to DVR unit
- 640-480 / 75Hz : set when the VGA monitor(640x480 / 75Hz) is connected to DVR unit
COLOR BAR TEST : Necessary to adjust color tone of monitor.
※ NOTICE : In the very first operation of this DVR unit which has VGA card in it, when the user
turn on the DVR, it takes a few second to boot up for initialization of VGA.
1) SCREEN DISPLAY
LIVE
PLAYBACK
VGA SETUP
COLOR BAR TEST
2005/JUN/03 pm 08:05:18
CAM-01
CAM-02
CAM-03
CAM-04
1
2
3
4