Neupanel series - mini - quick start guide – Xilica NeuPanel Series User Manual
Page 11
NeuPanel Series - Mini -
Quick Start Guide
XILICA AUDIO DESIGN CANADA / ASIA / EUROPE
Pag
e
11
16. NeuConsole Software - Project View/Design Mode:
(Begin to Program the Mini Wall Control)
Once you have completed setting up your network connection and have applied any required
firmware updates you are ready to work with and program the Mini Series wall control device.
In the following example all devices are connected/operational and we are working from
the premise that an Uno U0808 processors device design project has already been
completed and saved on your PC. We will now open it and add a Mini wall control to that
saved U0808 design and then program the Mini device with the required parameter
controls from our saved project design that we want controlled by the Mini wall control.
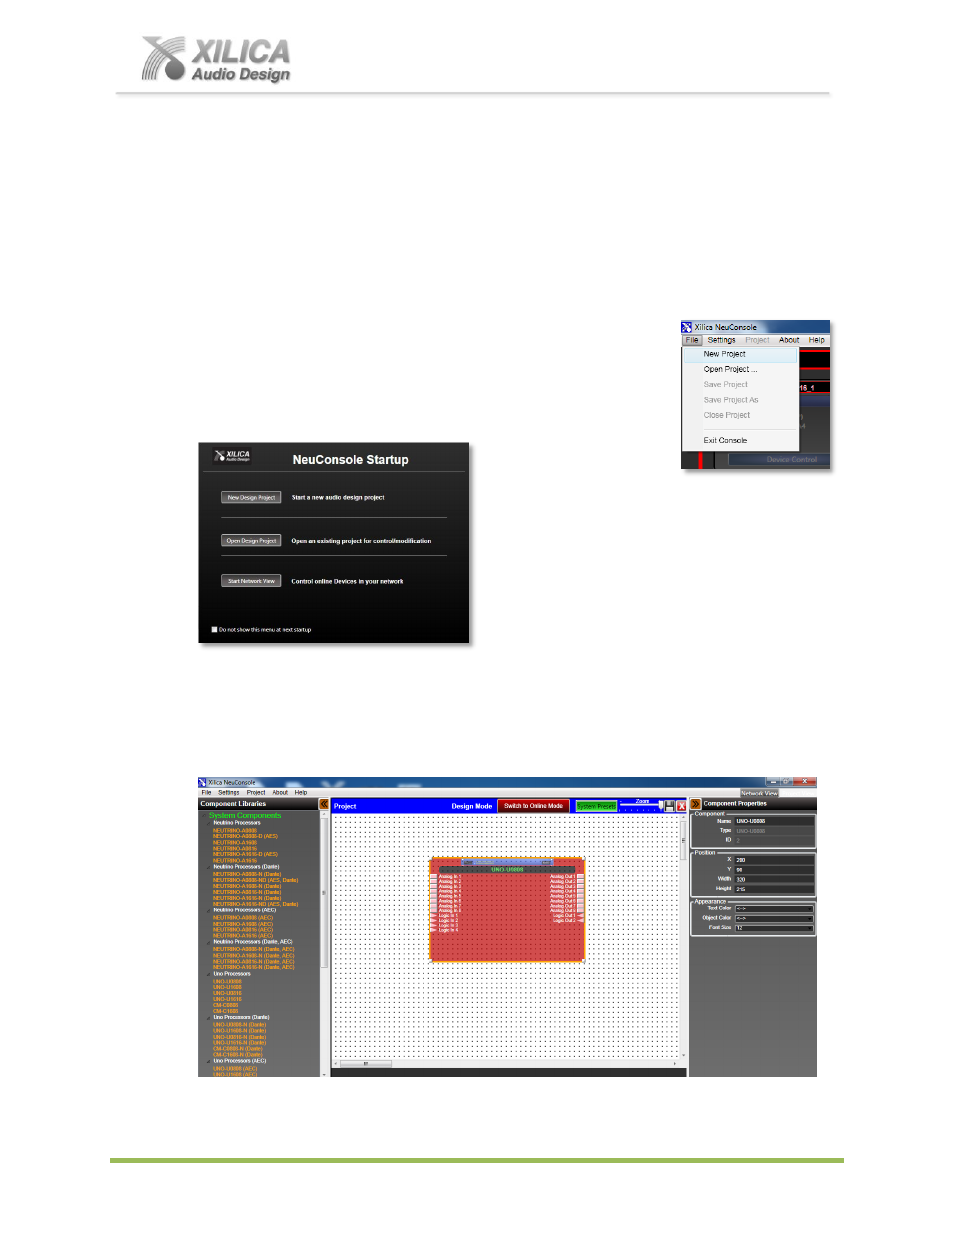
Open Design Project
If you are still in the Network View window
– Go to “File” at the top
left and select
“Open Project”. Select the saved DSP design
project you want to work with control using the programmable Mini
wall control.
If you have just opened the software - from the
NeuConsole Startup window (as shown to the
left) you can select
“Open Design Project” in
order to select your saved DSP design project.
Either will open our saved DSP device design project in the Project View/Design Mode work
area. As shown below, our saved project was designed using an Uno U0808 DSP model
and that U0808 processor module (and its hidden DSP design schematic) are placed into the
work area when the saved device design project is opened.