System setup – American Time Wireless Remote Transmitter User Manual
Page 10
© American Time
10
Wireless Remote Transmitter Installation Manual
Glossary
Appendix
Tr
oubleshooting
Clock
Installation
Transmitter and System Setup
Intr
oduction
System Setup
All configuration and control of the Remote Transmitter is performed through the Remote Transmitter Connect Web interface utility via a
web browser. This includes Event and Circuit programming, manual circuit activation, time/date settings and other system configurations.
Note: Java SE Runtime Environment (JRE) 7 Update 7 will need to be installed to run the Events Applet.
–This should be downloaded at http://www.java.com/en/
–Ensure that you have the most current web browser (ie. Firefox, Internet Explorer, Chrome)
To access Remote Transmitter Connect:
1. Ensure that the SiteSync IQ Remote Transmitter installation has been performed (pages 5-8). The default Ethernet setting
has DHCP enabled to automatically obtain an IP address from a DHCP server.
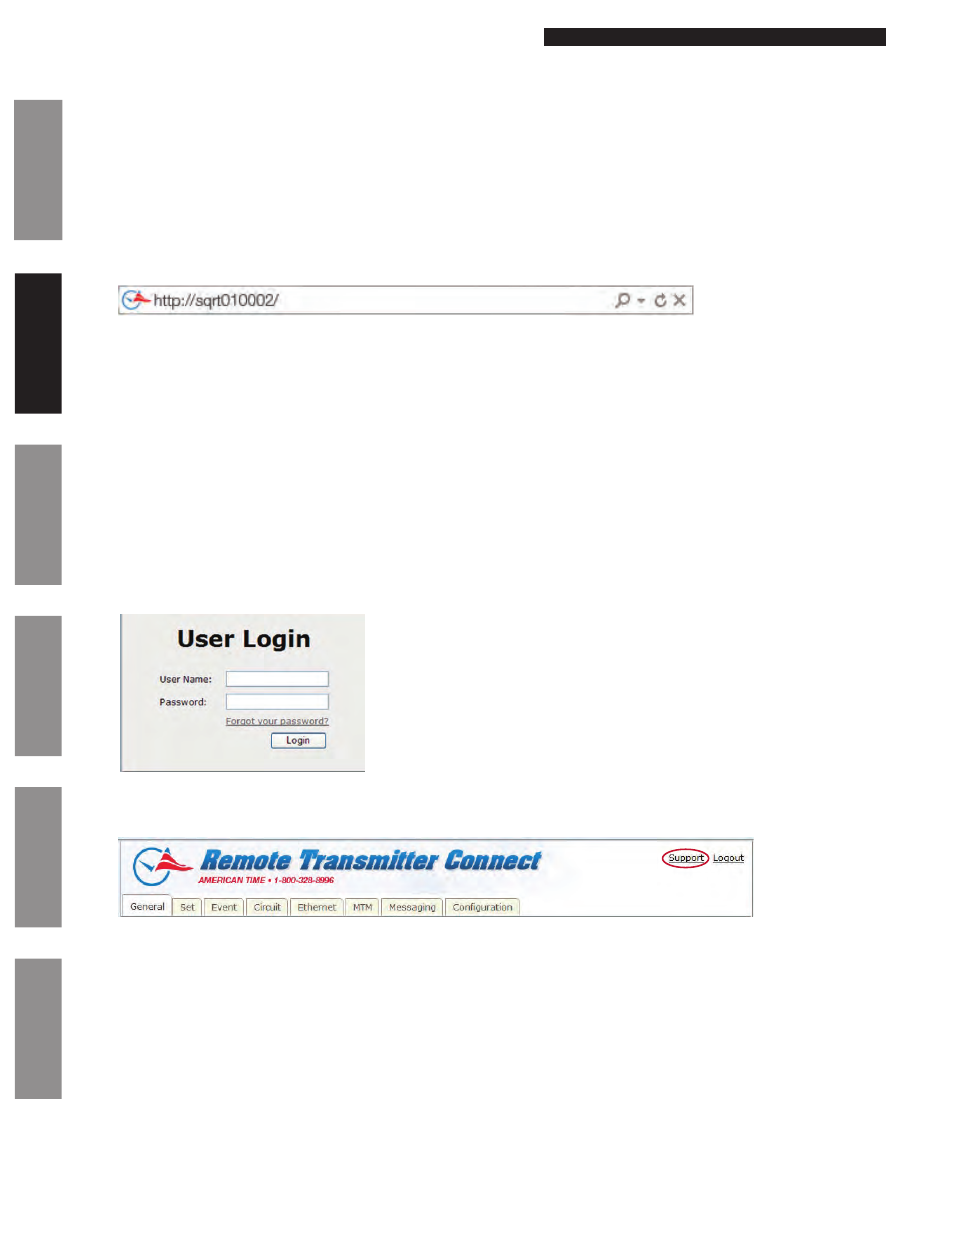
2. Open a web browser. Enter the Host Name from page 8 as http://sqrtxxxxxx/ in the web browser’s Address field (Figure 1).
Press the
Enter key.
Figure 1
n
Note: If the Remote Transmitter is on a network without a DHCP server, the default address of the Remote Transmitter will be
192.168.10.10. In this situation, directly connect an Ethernet patch cable from the Remote Transmitter to a computer that is on
the same Subnet. Example: Set the connecting computer IP address to 192.168.10.11. See your Network Administrator if you do
not know how to do this.
3. A User Login window, (Figure 2) will appear. There are two available user names,
uclock and sclock, which represent the user
and service access levels. The user security level allows access to everything but the Configuration Tab.
User Level Access:
Enter
uclock in lowercase letters in the User Name field and uclock in the Password field. This is a user login which will allow
access to time/date and event menus.
Service Level Access:
Enter
sclock in lowercase letters in the User Name field and sclock in the Password field. This is a service login which will
allow access to all menus.
**Passwords may be changed in the Configuration Tab.
Then, click the
Login button.
Figure 2
4. The Remote Transmitter Connect utility will appear with the
General tab selected. The tabs displayed may differ depending on
the configuration of the unit.
Figure 3
For more details on the features of Remote Transmitter Connect, click on the Support link in the upper right-hand corner of the utility
(Figure 3).