Wireless digital clock installation – American Time Wireless Remote Transmitter User Manual
Page 24
© American Time
24
Wireless Remote Transmitter Installation Manual
Glossary
Appendix
Tr
oubleshooting
Clock
Installation
Transmitter and System Setup
Intr
oduction
©American Time
Wireless Digital Clock
Installation
SiteSync IQ Installation Manual
Wireless Digital Clock Sync Procedure
n
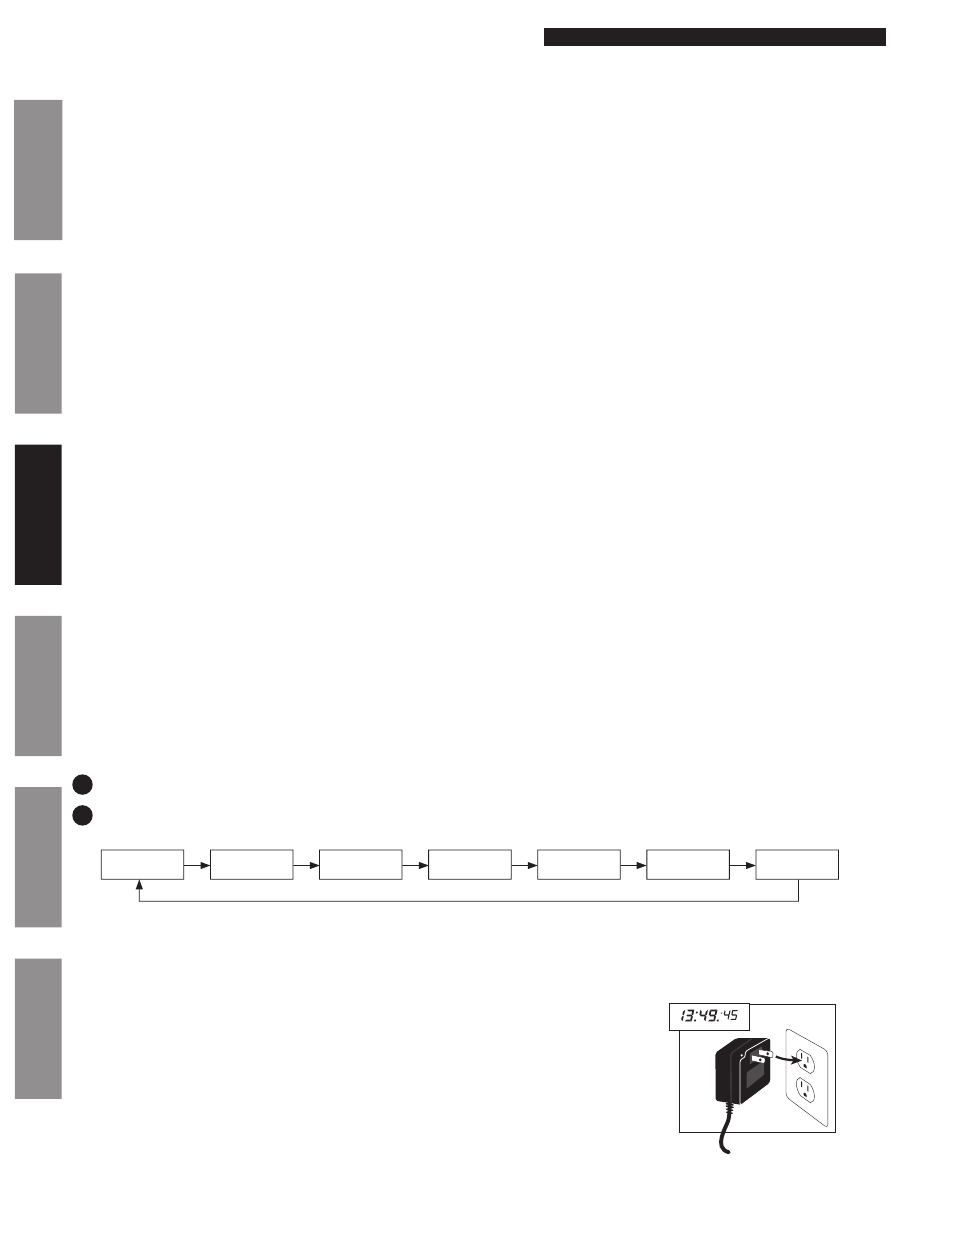
Note: American Time recommends testing each digital clock at the installation location prior to
mounting. The Remote Transmitter must be installed and transmitting. Clocks should be installed
within 24 hours of installing the Remote Transmitter. After 24 hours, the Remote Transmitter will
enter Quiet Mode. Quiet Mode can be manually toggled off. Reference Appendix F for more details
on Quiet Mode.
u
Plug AC wall adapter into 120vac wall outlet. Adjust time to an incorrect setting using
the Set 1 or Set 2 buttons. For American series digital clocks, there are no buttons. See
Step 2.
v
Verify synchronization takes place within 2-5 minutes. American series digital clocks will
display “U 40” or other message at startup and synchronize within 1 minute of power-up.
Digital Clock Manual Operation Instructions (Does Not Apply for American Series)
There are eight modes. They are time, month/day, year, 12/24 hour format, Daylight Saving Time, time zone location,
brightness and time correction. The display button will display these modes. To modify settings in any mode use the
Set 1 and Set 2 buttons.
n
Note: If the SiteSync IQ Remote Transmitter is operating properly, there is no need to set the digital clocks. They
should automatically correct themselves from the Remote Transmitter every minute when they are receiving a signal.
The only functions that you may wish to change are the time format (12/24 hour) and time zone code.
To manually set the digital clock, complete the following:
u
Press the display button to begin the sequence.
v
Set the Month and Day. The Set 2 button will advance the month and the Set 1 button will advance the day.
w
Press the display button to continue to the year selection
x
Set the year. The Set 2 button decreases the year and the Set 1 button increases the year.
y
Press the display button to continue to the 12/24 hour selection
y
Set the time format to 12 or 24 hour using the Set 1 or Set 2 buttons.
Press the display button to continue to Daylight Saving Time.
Set the Daylight Saving Time. The Set 2 button increases the Daylight Saving Time code and the Set 1
button decreases the Daylight Saving Time zone.
n
Note: 0 = No Daylight Saving Time - with SiteSync IQ Remote Transmitter automatic synchronization
1 = Automatic Daylight Saving Time (USA)
Press the display button to continue to the time zone settings. A 7 will be displayed as the first digit
indicating the time zone selection.
Set the time zone code. The Set 2 button increases and the Set 1 button decrease the time zone code.
n
Note: 0 should be used for wireless operation. Time zone codes run from 0 to 31. 0 is UTC time. Codes
1 to 12 add to UTC and 31 to 21 subtract from UTC. For example: Code 5 is UTC + 5 hours and Code 26 is UTC
- 5 hours.
Press the display button until the time is displayed.
Set the time. The Set 1 button advances the hours and the Set 2 button advances the minutes.
11
12
Time
Month
Year
12/24 hour
Daylight Set
Time Zone
Brightness
Flowchart: Digital Clock Modes