Max tm spl setup, Calibration check for probe module – Audioscan Axiom User Manual
Page 57
Axiom
®
User's Guide Version 1.8
May 2015
4. Hold the probe module 15 - 90 cm (6 – 36 inches) away from and directly in front of the sound-field
loudspeaker. Orientation of the probe module is not critical.
5. Click on the [Calibrate] button. The resulting curve should be similar in shape to that shown but may be
shifted +/- 5 dB.
6. Click on
and repeat steps 2 - 5 for the second probe module.
7. To change the calibration interval, click to choose[Daily] or [Weekly].
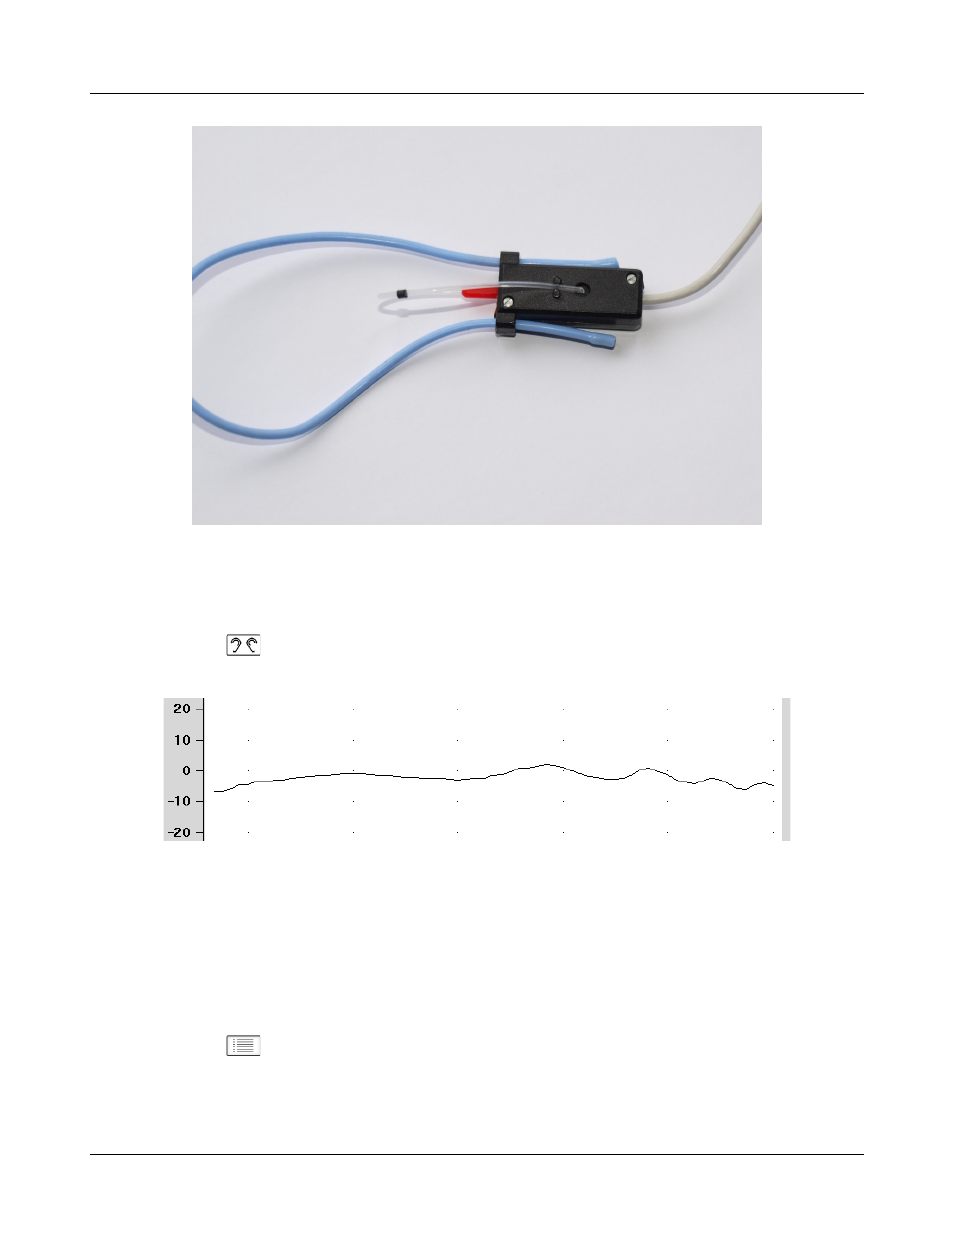
Calibration check for probe module
The calibration curve for the probe module is a comparison of the response of the probe microphone (with tube)
to the response of the on-ear reference microphone. Any change in the curve indicates a change in one of these
microphones (or the probe tube). See Calibration of on-ear probe microphone. As part of a regular calibration
schedule, or to investigate changing calibration curves, the on-ear reference microphone may be checked against
a high quality sound level meter.
1. Click on
then click on [Manual control] in the [On-ear] menu.
2. Click on the [Level] pull-down menu arrow and then select 70 from the drop-down list.
3. Click on the [Frequency] pull-down menu and then select 2000 Hz from the drop-down list.
57