Step 9 – gpio configuration – Digital Alert Systems DASDEC-II QUICK START UP GUIDE User Manual
Page 35
Quick Start Guide for Your DASDEC II
Page 35 of 40
Step 9 – GPIO Configuration
The DASDEC-II ships with two General Purpose Inputs and two general purpose outputs,
depending upon your hardware configuration your DASDEC-II may have additional GPIO
inputs and outputs.
The GPIO inputs are used to trigger the DASDEC-II to perform certain tasks, such as
sending a weekly test or forwarding a received EAS message. The GPIO outputs allow the
DASDEC-II to signal or control external hardware, such as an external switcher for additional
station interfaces.
1)
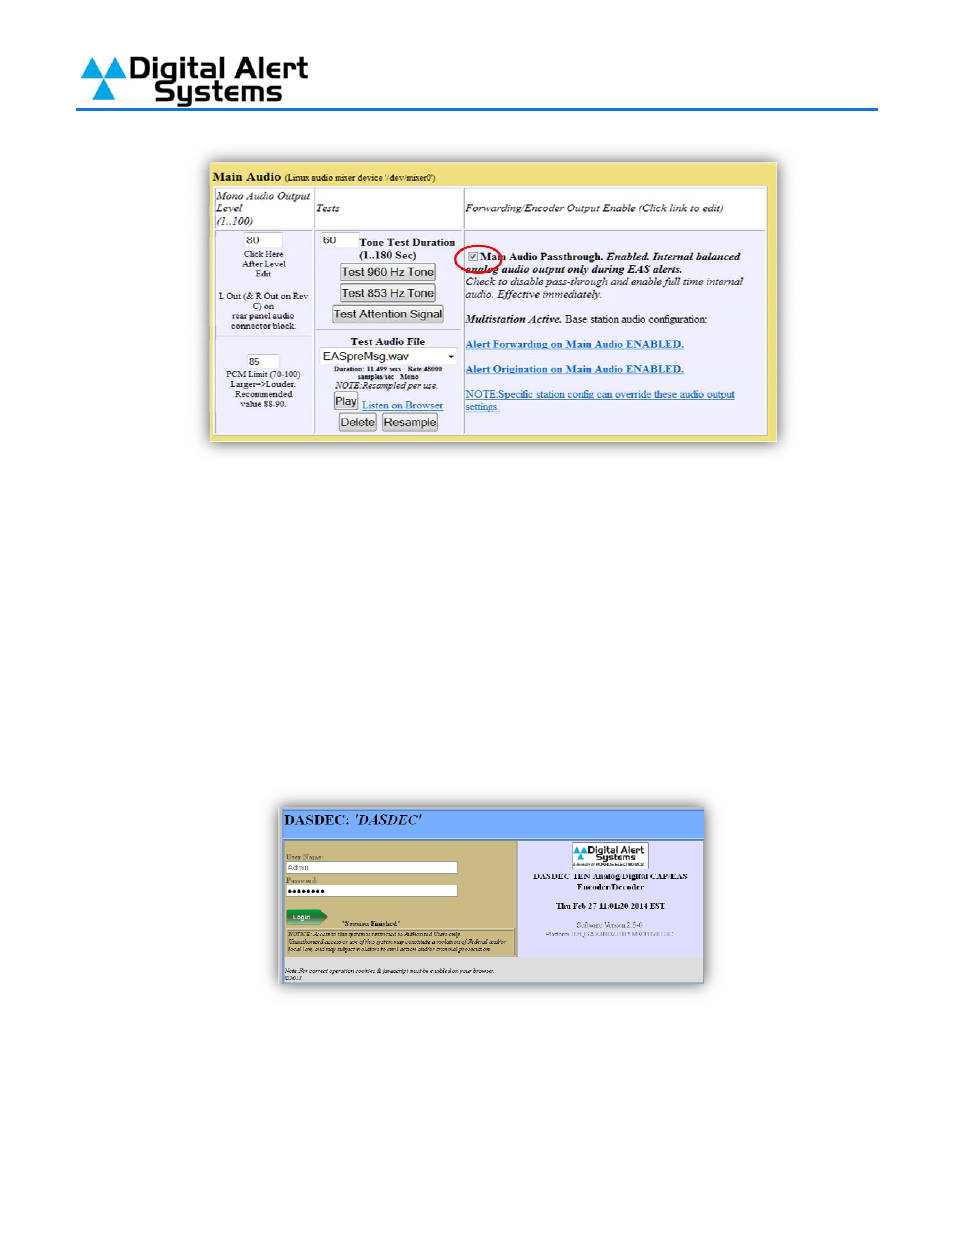
Log into your DASDEC-II by launching an Internet browser and typing the IP Address of your
DASDEC-II into the browsers address bar. Enter the User Name “Admin” and then enter the
password for the Admin account. Then click the “Login” button.
2)
After logging in Click on the “Setup” tab (circled in red), then click on the “GPIO” radio button
(circled in blue).