Using phantom power, Recording from external equipment (line 1), Recording from external equipment (line 2) – Teac DR-100MKII User Manual
Page 29: 4 – recording
TASCAM DR-100MKII
29
4 – Recording
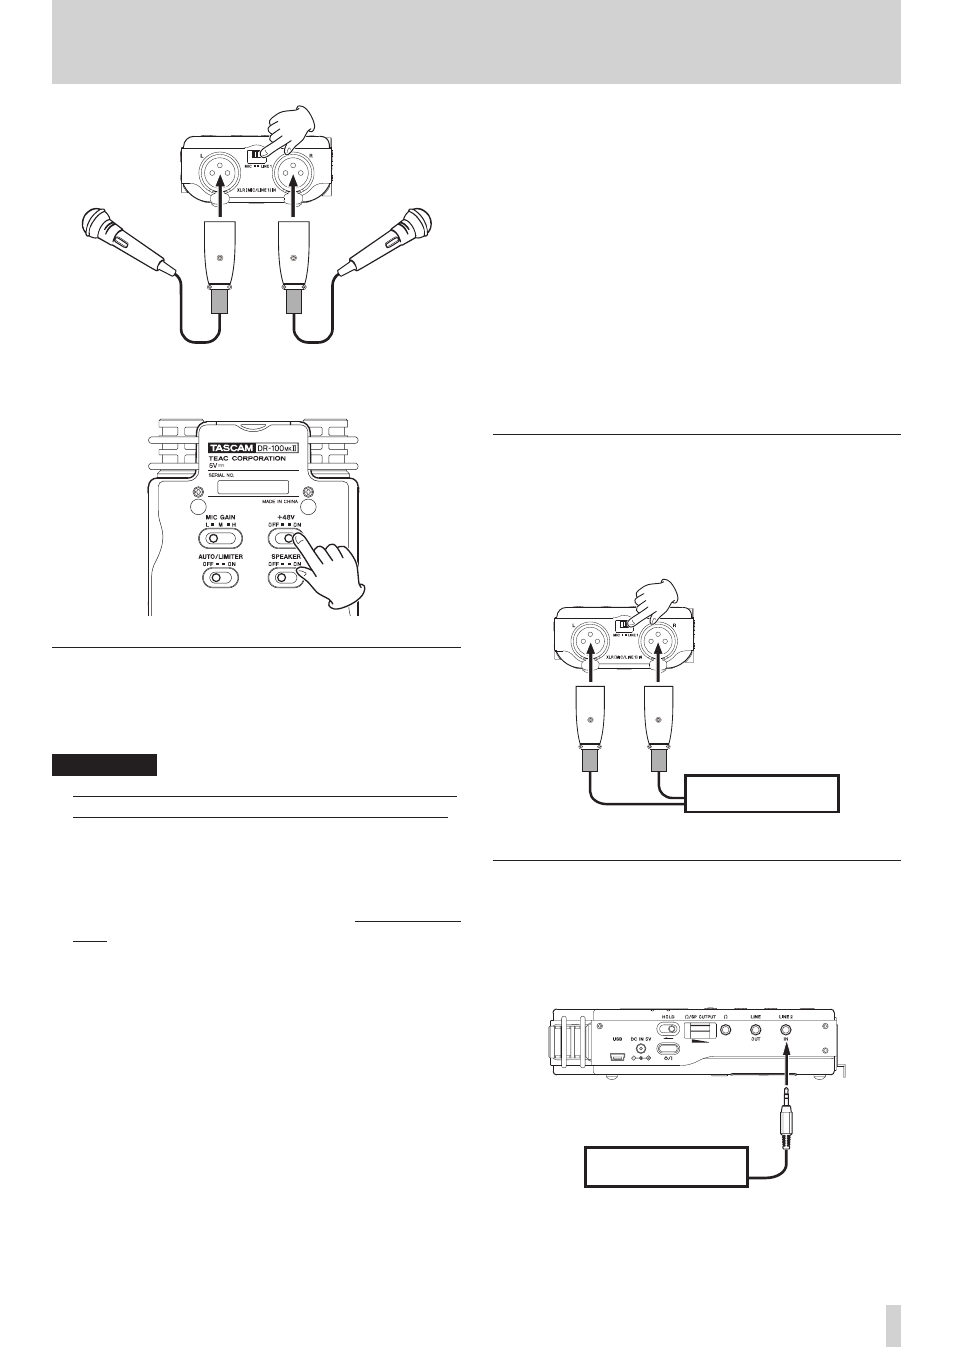
Mics
When using a condenser mic that requires phantom power,
set the +48V switch on the bottom panel to ON.
Using phantom power
When the +48V switch on the bottom panel is set to ON,
phantom power is turned on and sent to the connected
mics.
CAUTION
Confirm that phantom power is OFF before connecting
•
a line level device to a XLR (MIC/LINE 1) IN connector.
If you connect a line level device while phantom power
is being supplied, that device and this unit could be
damaged.
When using a condenser microphone, before
•
connecting to and disconnecting from a XLR (MIC/LINE
1) IN connector, confirm that the phantom power for
that connector is OFF. If you connect or disconnect a
mic while phantom power is being supplied, that mic
and this unit could be damaged.
Do not supply phantom power to the
•
XLR (MIC/
LINE 1) IN connector when an unbalanced dynamic
microphone is connected to it. Doing so could damage
the mic or this recorder.
Turn phantom power ON only when using a condenser
•
microphone that requires phantom power.
Supplying phantom power to some types of ribbon
•
microphones could break them. Do not supply phantom
power to a ribbon microphone if you are in doubt.
Do not connect or disconnect the AC adaptor when
•
using phantom power. Doing so could damage this
device.
Since using phantom power reduces the amount
•
of time the unit can operate on battery power, we
recommend that you use a TASCAM PS-P520AC adaptor
(sold separately) or TASCAM BP-6AA external battery
pack (sold separately).
If alkaline batteries are used to supply phantom
•
power, some microphones will only be able to be used
for a very short amount of time. For this reason, we
recommend that you use a TASCAM PS-P520AC adaptor
(sold separately) or TASCAM BP-6AA external battery
pack (sold separately).
The amount of time that the unit can operate on battery
•
power varies greatly according to the type of mic used.
See the mic manual or documentation for additional
information.
Recording from external equipment (LINE 1)
Set the INPUT switch on the top panel to XLR, and set the
MIC/LINE 1 switch on the front panel to LINE 1.
Using an XLR stereo cable, you can connect the output
of an external audio device to the XLR (MIC/LINE 1) IN
connector on the front panel.
Other audio equipment or
external sound source
Recording from external equipment (LINE 2)
Set the INPUT switch on the top panel to LINE 2.
Using a stereo miniplug cable, you can connect the output
of an external audio device, including the headphone
output of a portable CD player, for example, to the LINE 2
IN jack on the right side of the recorder.
Other audio equipment or
external sound source