Calibration procedure – Amprobe MEGATEST-1000 Megohmmeter User Manual
Page 8
4. CALIBRATION
PROCEDURE
1. Select mode CAL by means of the FUNC key.
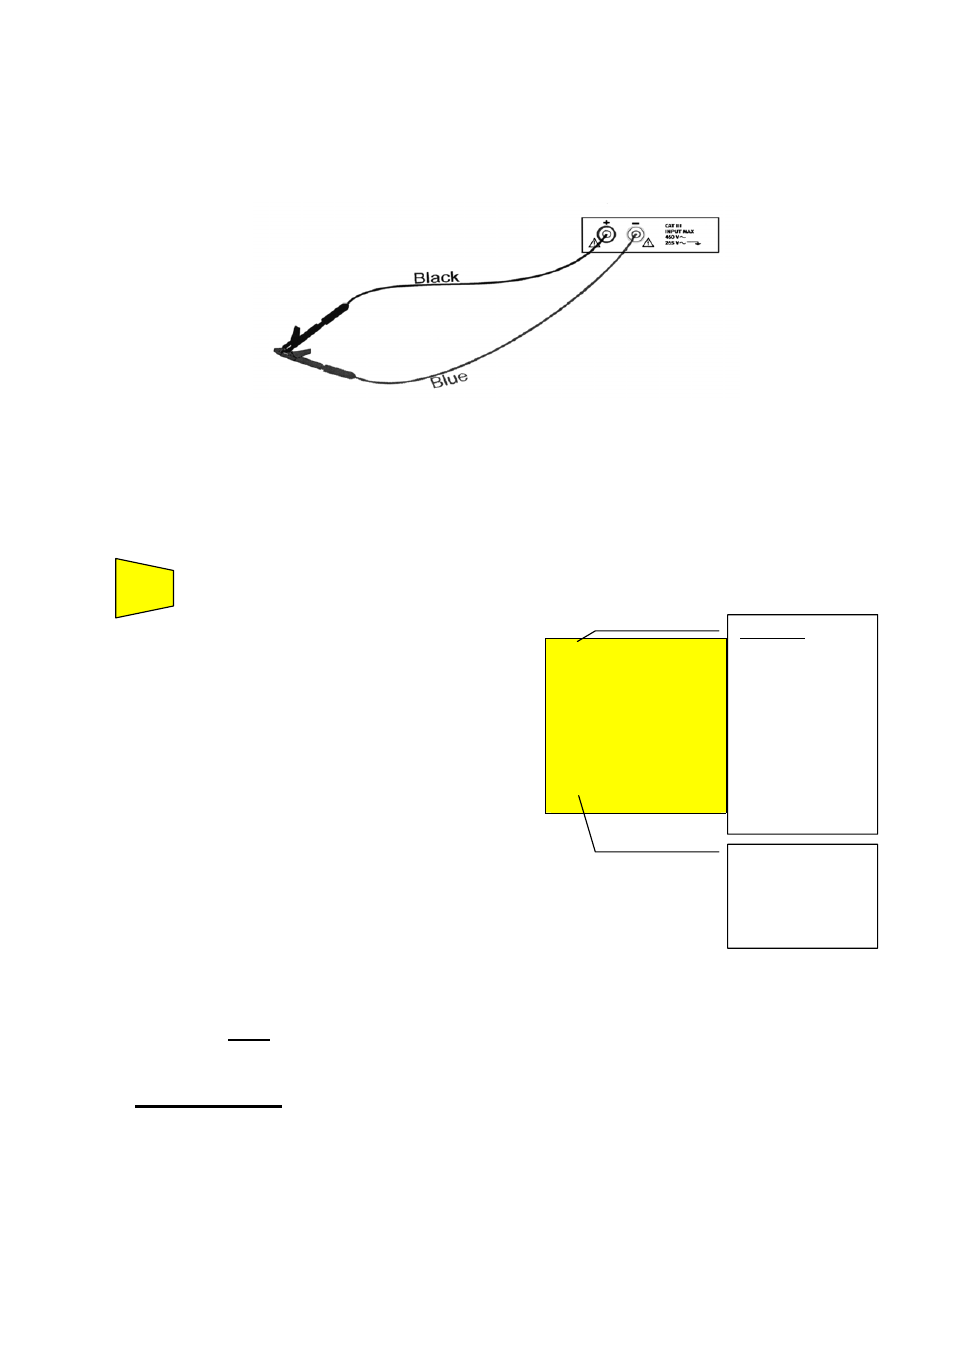
2. Connect the black and blue cables to the instrument input terminals P and N
respectively:
Connection of instrument terminals during calibration procedure.
3. Connect the alligator clips to the test leads.
4. Short-circuit the test leads by joining the alligator clips together, making sure there is good
contact between them. (See figure above).
6. Press
the
GO key. The instrument carries out the calibration.
GO
CAL
LOW
Ω
0.00
Ω
203
mA
At the end of the test the
result is stored and used as
an OFFSET (that is to say
that it is subtracted from
any continuity test
carried out) for all the
subsequent measurements
until a new calibration is
carried out.
This screen is displayed for only 2 seconds then
the instrument emits a double sound signal
(indicating that the calibration is completed) and
displays the default screen relative to the LOW
Ω test
under AUTO mode.
Message CAL:
means that the
instrument was
calibrated; this
symbol remains
on the display
for any further
measurement
even though the
unit is switched
off and on again.
Current supplied
by the instrument
during the
calibration
procedure.
Note: The instrument compensates for resistance of the cables when the
resistance is lower than 5
Ω.
o
ATTENTION:
The display of “Measuring” means that the instrument is
measuring and voltage is present. Never touch or disconnect
test leads during this phase.
7