PLANET ICA-8200 User Manual
Page 32
2 Mega-pixel PoE / Wireless Fish-Eye IP Camera
ICA-8200/ICA-W8200
32
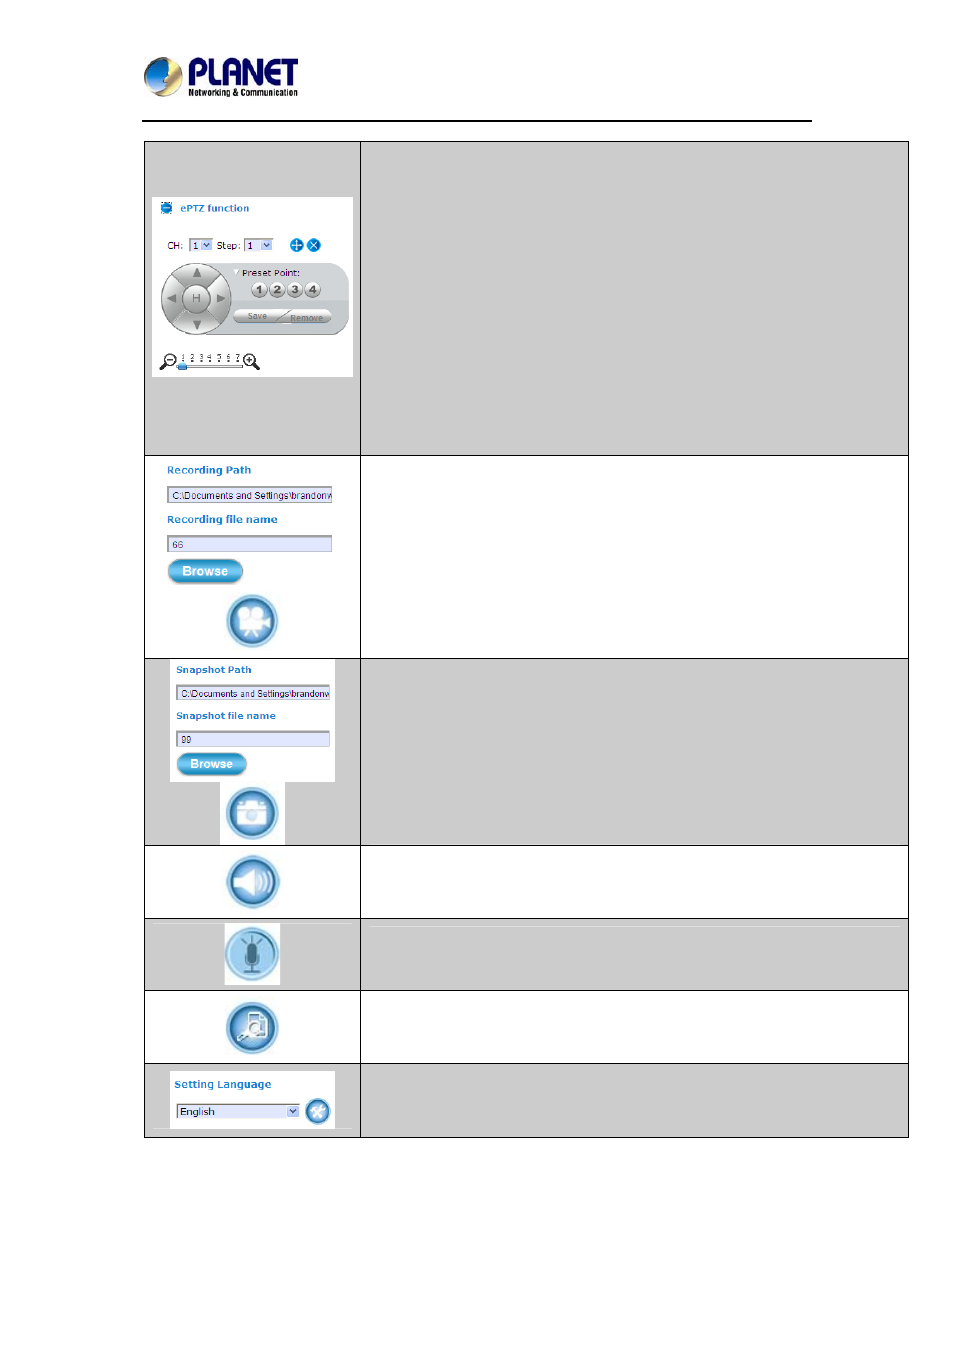
CH: Select the PTZ channel or display window (1 or 2) to implement PTZ
setting.
Step: Adjust and set the speed of live view panning motion.
Directional Buttons: They are used to manually pan the scene to select
and zoom a specific area (1 of 4 maximum) to be monitored. To reset the
scene back to its previous status, click the center Home (H) button. You
can also directly click on the video to pan, zoom, and tilt a selected area.
Preset Point: After panning and zooming, assign the selected area a
Preset Point (1 to 4) and click Save button to store the setting. The
pre-defined point of view areas will be monitored in sequence. To cancel
the selection, click Remove button.
Zoom Slider: Drag slider to zoom-in and zoom-out the selected scene.
Zoom setting is saved with the selected pre-defined point of view area.
Click Browse button to define Recording Path and Recording Filename for
the video you are preparing to record.
Recording Path: Specify a storage destination path for the video you are
going to record.
Recording file name: Define a base filename for the video recordings you
are going to take. The base filename will auto-expand for each saved video
recording.
To start recording, click the Recording button.
Click Browse button to define Snapshot Path and Snapshot Filename for
the snapshots you are preparing to capture.
Snapshot Path: Specify a storage destination path for the snapshot
images you are preparing to capture.
Snapshot file name: Define base filename for the snapshots you going to
capture. The base filename will auto-expand for each saved snapshot.
To start capturing snapshots, click the Snapshot button.
Mute: Turn On/Off the host computer speaker.
Talk: Click this button to talk to someone facing the network Camera from
your computer. For ideal voice reception, the distance of the person on
view should be kept within 2 meters from the Camera.
Digital Zoom: Digital “zoom in” and “zoom out” of a particular area of the
live view. To display the whole live view into full screen, double-click on the
video.
Setting Language: Select the default language of the user-interface.
Setup: The Setup dialog will then display to provide the range of setup
categories you will be able to change.