Installing the pc software – Olympus PEN-F Pancake Zoom 14-42mm Kit User Manual
Page 137
137
EN
Connecting the camera to a computer and a printer
6
• If you are using Windows Photo Gallery, choose [MTP] in Step 3.
• Data transfer is not guaranteed in the following environments, even if your computer is
equipped with a USB port.
Computers with a USB port added by means of an extension card, etc.
Computers without a factory-installed OS
Home-built computers
• Camera controls cannot be used while the camera is connected to a computer.
• If the dialog shown in Step 2 is not displayed when the camera is connected to a
computer, select [Auto] for [USB Mode] (P. 108 ) in the camera custom menus.
Installing the PC software
OLYMPUS Viewer 3 is software for importing to your computer, and then viewing,
editing and managing the photographs and movies you have shot on your camera.
• You can also download OLYMPUS Viewer 3 from “http://support.olympus-imaging.com/
ov3download/”. You must enter the product’s serial number to download OLYMPUS
Viewer 3.
Windows
1
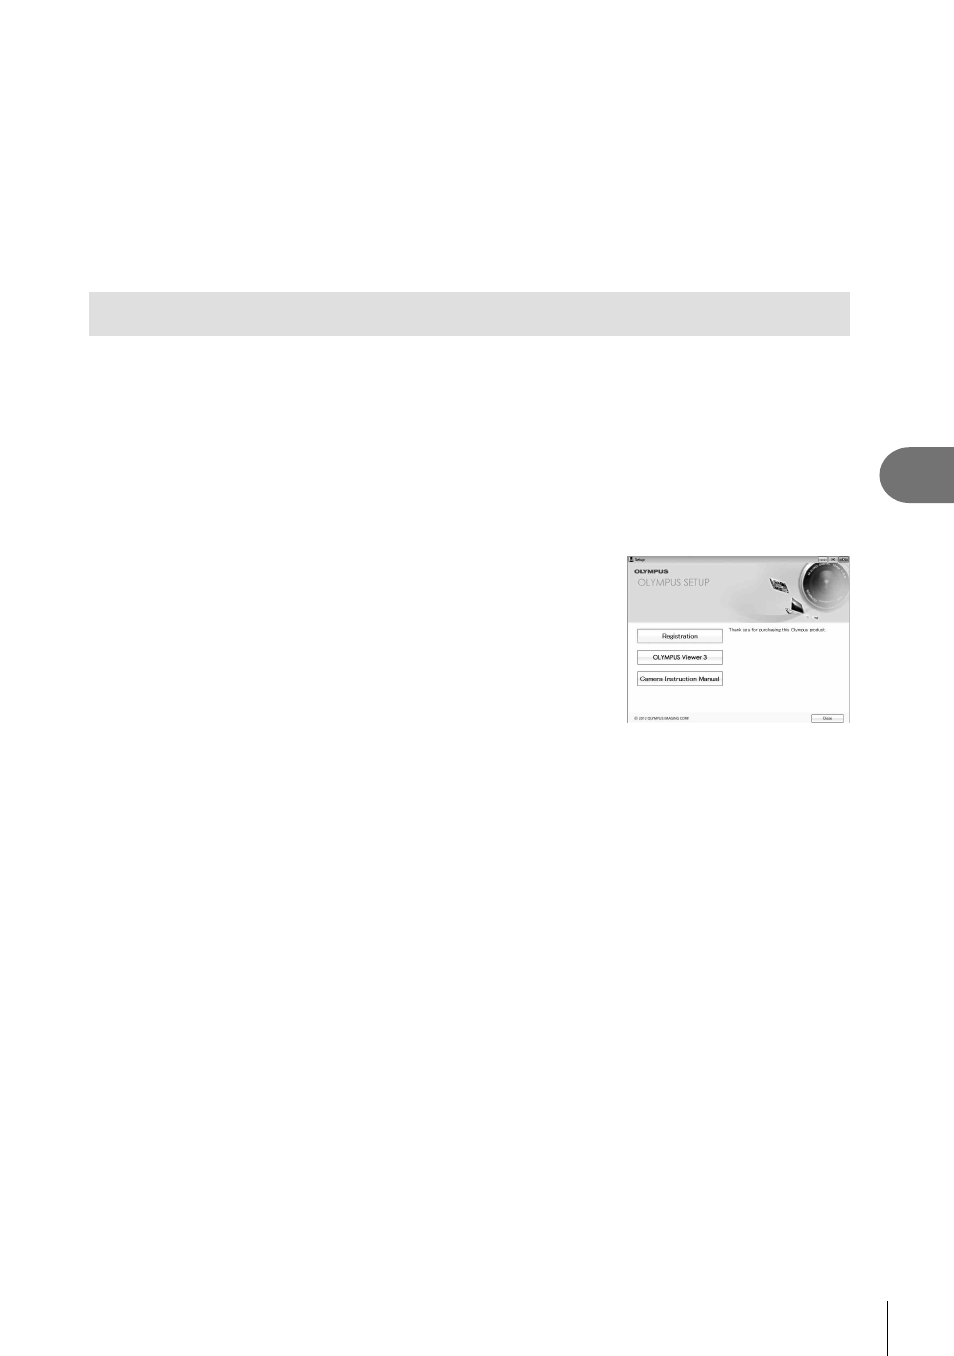
Insert the supplied CD in a CD-ROM drive.
• An Autorun dialog will be displayed. Click “OLYMPUS
Setup” to display the “Setup” dialog.
• If the “Setup” dialog is not displayed, open CD-ROM (OLYMPUS Setup) in Windows
Explorer and double-click “LAUNCHER.EXE”.
• If a “User Account Control” dialog is displayed, click “Yes” or “Continue”.
2
Connect the camera to your computer.
• When the camera is connected to another device via USB, a message will be
displayed prompting you to choose a connection type. Select [Storage].
3
Register your Olympus product.
• Click the “Registration” button and follow the on-screen instructions.