Print reservation (dpof), Connecting the camera to a computer and a printer, Creating a print order – Olympus PEN-F Pancake Zoom 14-42mm Kit User Manual
Page 141
141
EN
Connecting the camera to a computer and a printer
6
Setting printing data
Select whether to print printing data such as the date and time or fi le name on the picture
when printing. When the print mode is set to [All Print] and [Option Set] is selected, the
following options appears.
<×
Sets the number of prints.
Date
Prints the date and time recorded on the picture.
File Name
Prints the fi le name recorded on the picture.
P
Trims the picture for printing. Use the front dial (
r) to choose the
crop size and
FGHI to specify the crop position.
3
Once you have set the pictures for printing and printing data, select [Print],
then press
Q.
• To stop and cancel printing, press
Q. To resume printing, select [Continue].
Cancelling printing
To cancel printing, highlight [Cancel] and press
Q. Note that any changes to the print order
will be lost; to cancel printing and return to the previous step, where you can make changes
to the current print order, press
MENU.
Print reservation (DPOF)
You can save digital “print orders” to the memory card listing the pictures to be printed
and the number of copies of each print. You can then have the pictures printed at a
print shop that supports DPOF or print the pictures yourself by connecting the camera
directly to a DPOF printer. A memory card is required when creating a print order.
Creating a print order
1
Press
Q during playback and select [<].
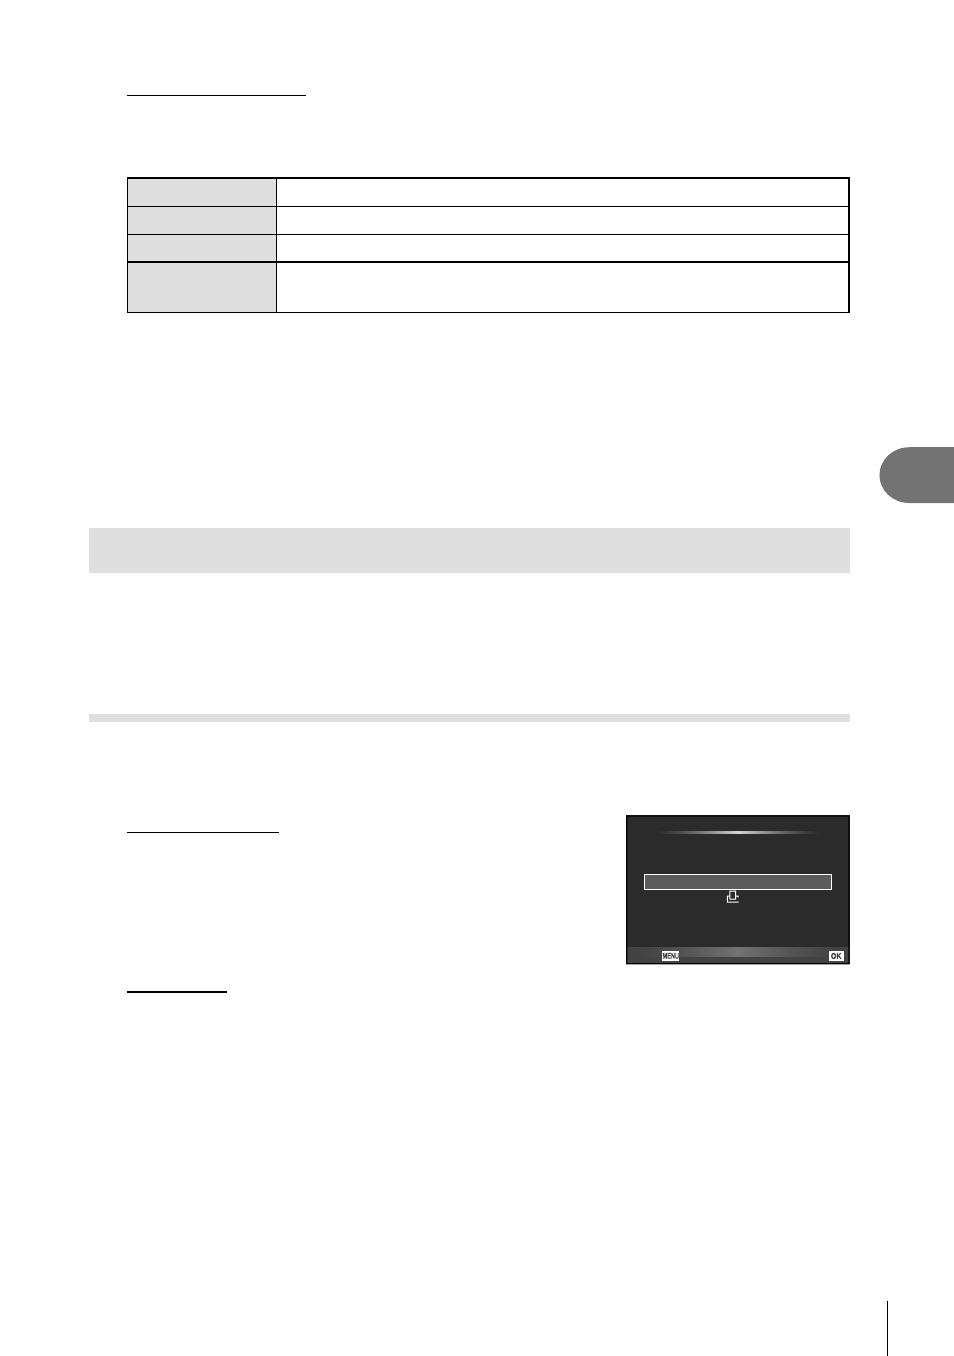
2
Select [
<] or [U] and press Q.
Individual picture
Press
HI to select the frame that you want to set as print
reservation, then press
FG to set the number of prints.
• To set print reservation for several pictures, repeat this
step. Press
Q when all the desired pictures have been
selected.
<
ALL
Print Order
Back
Set
All pictures
Select [
U] and press Q.