Canon PowerShot SX540 HS User Manual
Page 113
113
Before Use
Basic Guide
Advanced Guide
6
Playback Mode
7
Wi-Fi Functions
8
Setting Menu
9
Accessories
10
Appendix
Index
1
Camera Basics
2
Auto Mode /
Hybrid Auto Mode
3
Other Shooting Modes
4
P Mode
5
Tv, Av, and M Mode
4
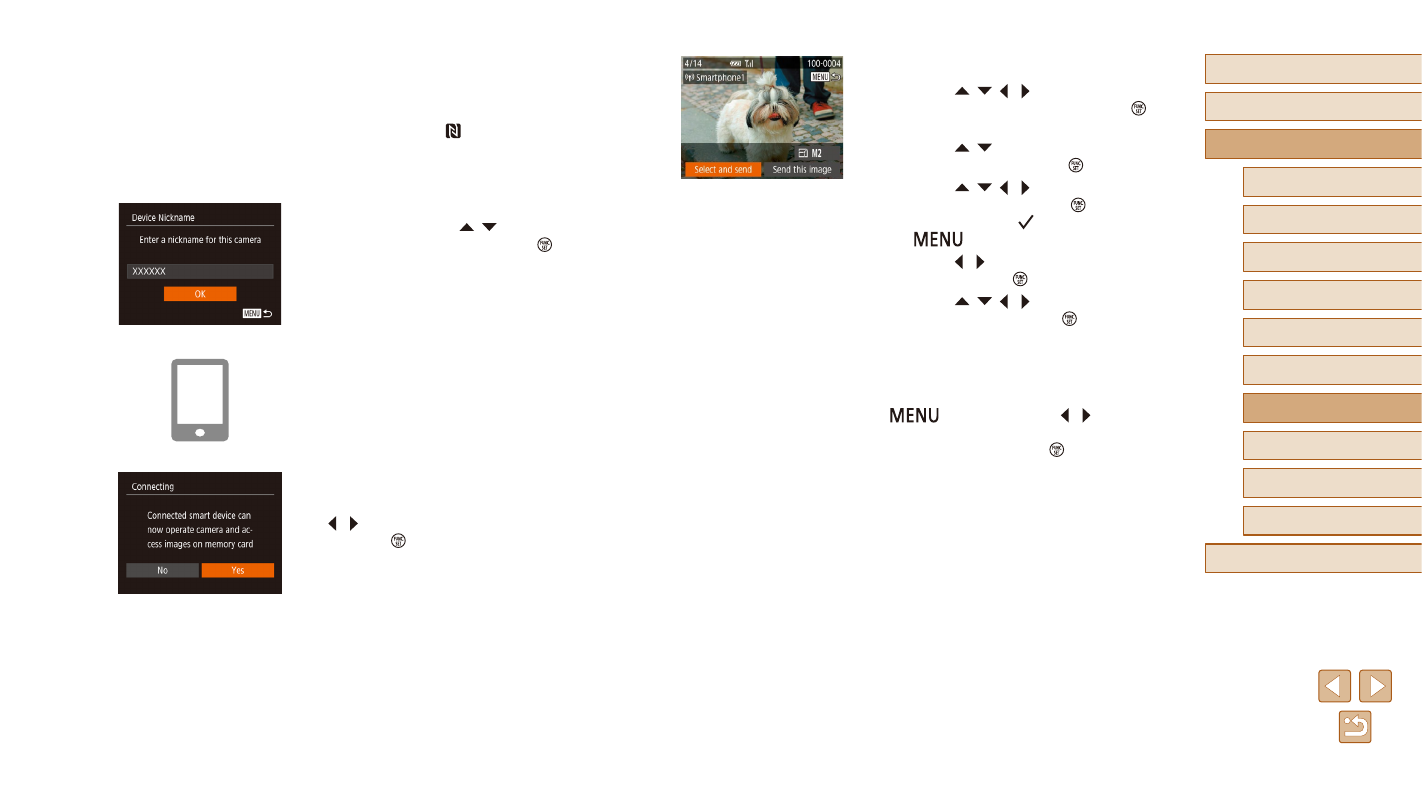
Send images.
●
Press the [ ][ ][ ][ ] buttons to choose
[Select and send], and then press the [ ]
button.
●
Press the [ ][ ] buttons to choose
[Select], and then press the [ ] button.
●
Press the [ ][ ][ ][ ] buttons to choose
an image to send, press the [ ] button to
mark it as selected ([ ]), and then press
the [
] button.
●
Press the [ ][ ] buttons to choose [OK],
and then press the [ ] button.
●
Press the [ ][ ][ ][ ] buttons to choose
[Send], and then press the [ ] button.
●
[Transfer completed] is displayed after
the image is sent, and the image transfer
screen is displayed again.
●
To end the connection, press the
[
] button, press the [ ][ ] buttons
on the confirmation screen to choose
[OK], and then press the [ ] button. You
can also use the smartphone to end the
connection.
2
Establish the connection.
●
Make sure the camera is off or in
Shooting mode.
●
Touch the N-Mark ( ) on the smartphone
with Camera Connect installed against
the camera’s N-Mark.
●
The camera starts up automatically.
●
After the [Device Nickname] screen is
displayed, press the [ ][ ] buttons to
choose [OK], and then press the [ ]
button.
●
Camera Connect is started on the
smartphone.
●
The devices are connected automatically.
3
Adjust the privacy setting.
●
After this screen is displayed, press the
[ ][ ] buttons to choose [Yes], and then
press the [ ] button.
●
You can now use the smartphone to
browse, import, or geotag images on the
camera or shoot remotely.