Registering other web services – Canon PowerShot SX540 HS User Manual
Page 125
125
Before Use
Basic Guide
Advanced Guide
6
Playback Mode
7
Wi-Fi Functions
8
Setting Menu
9
Accessories
10
Appendix
Index
1
Camera Basics
2
Auto Mode /
Hybrid Auto Mode
3
Other Shooting Modes
4
P Mode
5
Tv, Av, and M Mode
Registering Other Web Services
You can also add Web services besides CANON iMAGE GATEWAY to the
camera.
1
Log in to CANON iMAGE GATEWAY
and access the Camera Web Link
Settings page.
●
From a computer or smartphone, access
http://www.canon.com/cig/ to visit
CANON iMAGE GATEWAY.
2
Configure the Web service you want
to use.
●
Using your computer or smartphone,
display the Web service settings screen.
●
Follow the instructions displayed on the
screen to set up the Web service.
3
Choose [
].
●
Press the [ ] button.
●
Press the [ ][ ][ ][ ] buttons to choose
[
], and then press the [ ] button.
●
The Web service settings are now
updated.
●
If any configured settings change, follow these steps again to
update the camera settings.
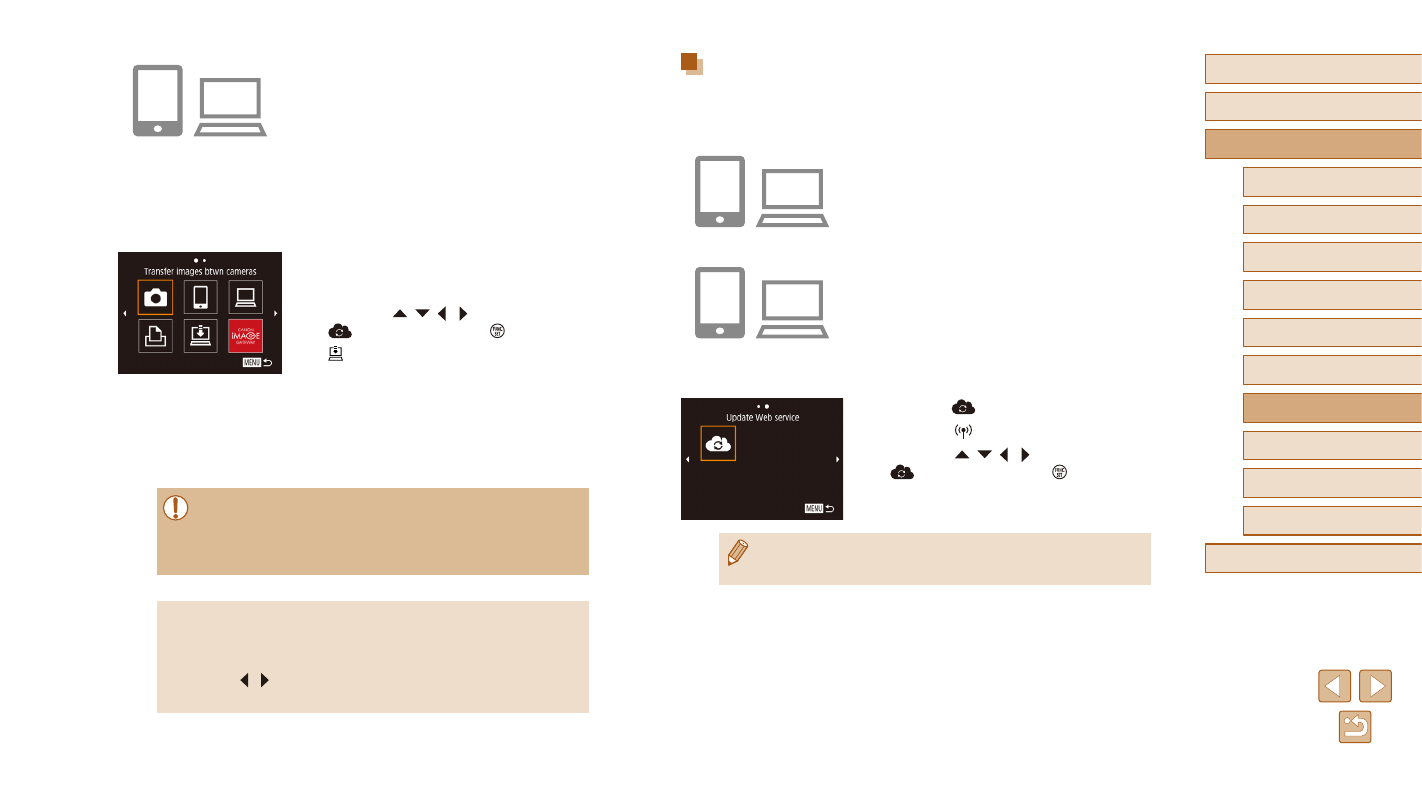
8
Access the URL in the received
e-mail notification and set the
camera web link.
●
From a computer or smartphone,
access the page linked in the notification
message.
●
Follow the directions on the Camera
Web Link Settings page to configure the
settings.
9
Set CANON iMAGE GATEWAY on
the camera.
●
Press the [ ][ ][ ][ ] buttons to choose
[
], and then press the [ ] button.
●
GATEWAY are now added as
destinations.
●
You can also add other Web services.
To add other Web services, follow the
procedure in “Registering Other Web
Services” (= 125) from step 2.
●
Depending on your e-mail settings on your computer or
smartphone, e-mail from specific domains may be rejected, and
you may not be able to receive the e-mail notification. Please
check your settings ahead of time.
●
You can change the nickname of the camera displayed on the
screen of step 1 (= 124).
●
Once you have connected to devices via the Wi-Fi menu, recent
destinations will be listed first when you access the menu. Press
the [ ][ ] buttons to access the device selection screen and then
configure the setting.