HP Velotechnik Go SwissDrive system for HP Velotechnik User Manual
Page 22
Notes for the user
20
identified by checking the cabling and physical
connections.
To assist with fault correction, possible
remedial measures are provided in the form
of a brief guide. If the fault cannot be rectified
despite these measures, you should have the
vehicle inspected by a specialist dealer.
You can clear the list of past faults by
navigating to the "Liste löschen" [Clear list]
on-screen button using the "+" and "–"
buttons on the remote control and then
pressing the confirm button.
Underneath the fault list, the Service menu
when your vehicle is due for its next service
at your specialist dealer displays in the form of
a date or predicted kilometre reading.
Note: The availability of the service
interval indicator depends on the
manufacturer of your vehicle. If this
function is not enabled, no information will
be displayed here
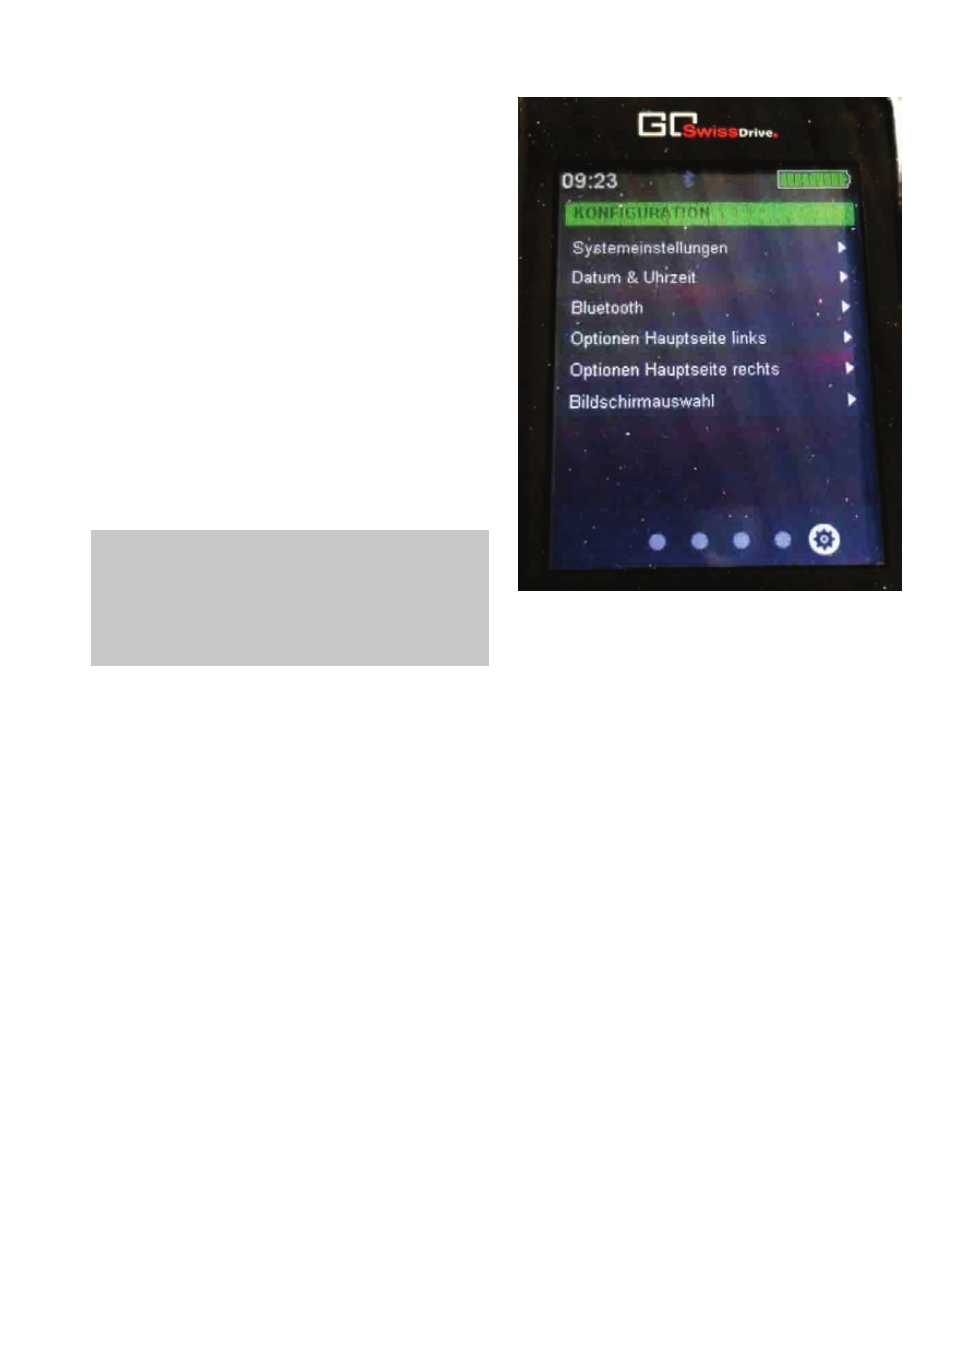
Configuration and setup options
In the "Konfiguration" [Configuration] menu,
you can make changes to various default
settings and also personalise your Evo to suit
you.
Picture 21: Configuration screen
The "Konfiguration" [Configuration] menu is
divided into 6 submenus. To open a submenu,
navigate to the desired item using the "+" and
"–" buttons on the remote control and then
press the confirm button. The item currently
selected is highlighted in green. To go back to
the main menu from a submenu, navigate to
the "Konfiguration" [Configuration] item at
the top of the submenu – this will then be
highlighted in green – and then press the
confirm button on the remote control.
Within the submenu, you can go from one
item to another using the "+" and "–" buttons
on the remote control. The item currently
selected is highlighted in green. Where
alternative options are available for a
particular setting, the option currently active
appears against a grey background and is
marked with a tick. To activate a different
option, navigate to the desired option using
the "+" and "–" buttons on the remote
control and then press the confirm button on
the remote control.