MacroSystem Photo-Studio 2 User Manual
Page 10
10
11
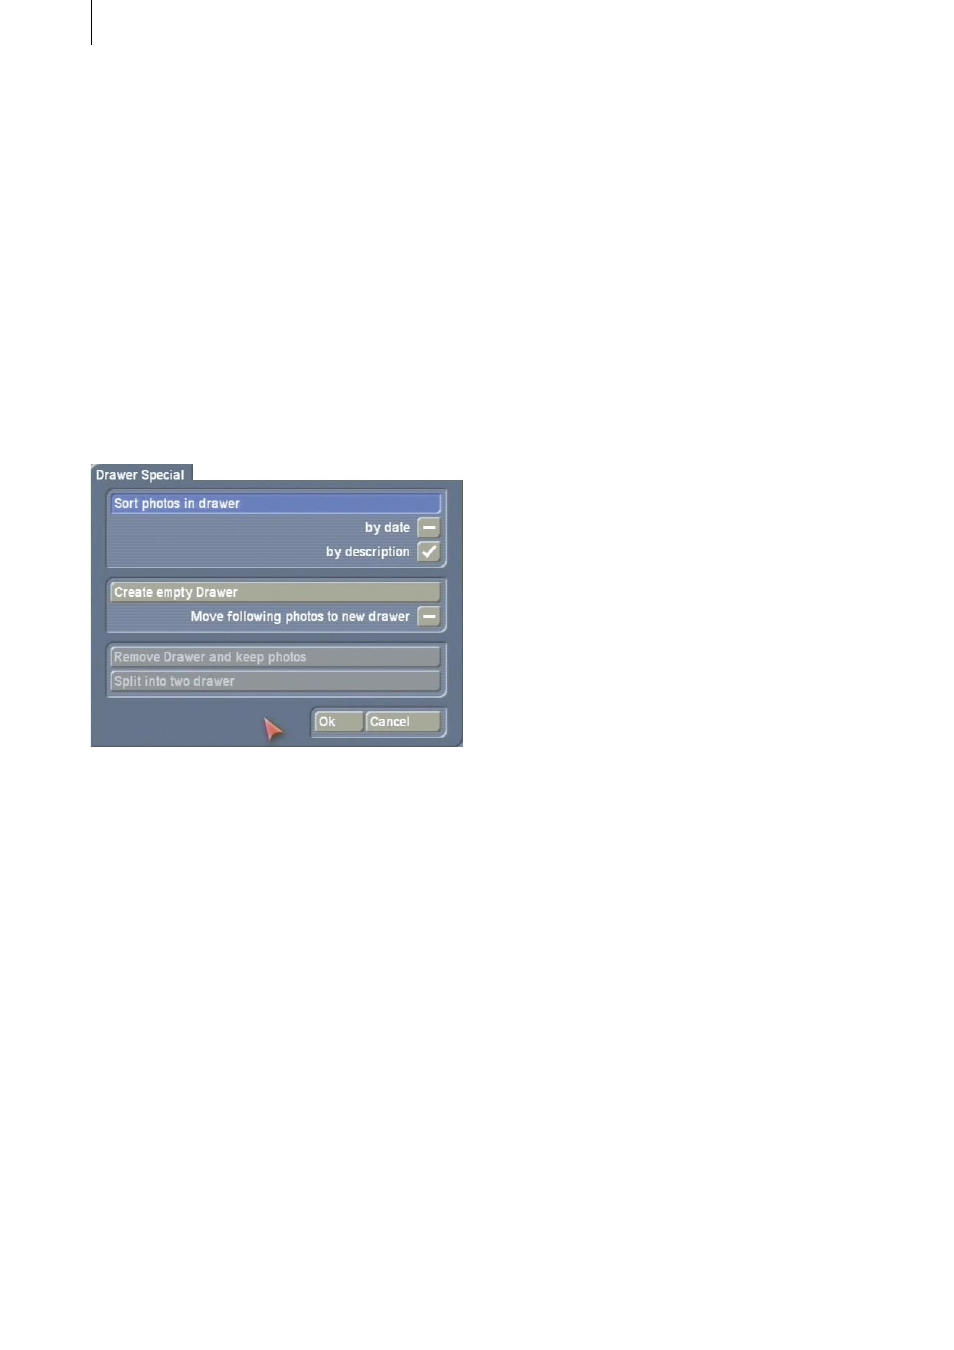
and close the window with the Ok button, a new
directory is created on the same level as the
currently active directory and is displayed with a
white border.
If you have also activated the Move following
photos to new folder function (by clicking on
the checkbox so that a checkmark is displayed),
the currently marked photo and all the photos
that follow are stored in the new directory which
is displayed at the position of the previously
marked image. The new directory now displays
a dot (indicating a subdirectory) and the number
of photos contained in it. (If this information is
not seen, please select a larger display setting
using the Size button).
If you mark a directory and click on the Remove
folder and keep photos option in the Folder
Special window and then click on Ok, the
previously selected directory will be deleted and
the photos contained in it are displayed in the
list again.
If you previously marked a photo and click on
the Split into two folders option and then click
on Ok, a new directory is created which now
contains the previously active photo and all the
subsequent images from the same directory.
The new directory is located on the same level
as the existing directory in which the selected
photos were previously located.
- Choose input: You can use this button to
select the source of the storage medium, i.e.
the memory card type or a CD/DVD. Generally,
however, the source is selected automatically.
- Date filter: You can use this button to set
the date filter before you use the Get photos
function to save the photos to the hard drive.
You can of course already activate or change the
filter before you display the photos in this menu.
The date filter causes any number of directories
to be created depending on the settings you
have configured. If, for instance, you have set a
time interval of two hours, this will cause all the
photos that were taken within the space of two
hours to be stored together in the first directory.
If there is a “pause” between photos that is
greater than two hours, a new directory will be
created.
The filter selection function can also be switched
off completely (off setting).
If you have activated the Directory setting,
the photos will be imported as they are stored
on the storage medium (including directory
structures and directory names). This is
particularly useful for importing collections of
photos from a CD that has been created on a
computer.
In the lower area of the Import photos menu,
you have the option in the Import Photos
section of importing the photographs that are
present on the storage medium into the system.
Afterwards, you can remove your memory card
or CD:
- Get photos: Clicking on this button starts
importing the photos or directories marked in
the upper list. This takes a few moments and
progress is displayed by the progress bar. You
can import as many photos as you like one after
another.
If you deactivate the date filter (see above), only
one directory will be displayed and none of the
photos are marked inside it. You can now import
all of the photos from the storage medium in
one go.
Afterwards, the photos will be stored on your
device’s hard drive. All the photos that have just
been imported will be marked in color in this
menu.
If you are importing a whole directory and
you choose to cancel the import operation
by pressing the Cancel button (located on