MacroSystem Photo-Studio 2 User Manual
Page 12
12
13
- Sort out: If you click on this button, the
currently selected photo or the activated
directory is sorted out. This function is very
useful, for instance, when you want to put some
photos aside that you do not intend using at the
moment or that you probably want to delete.
A separate directory is created called Sorted out
and is placed at the end of the photo list. You
can, of course, access this directory whenever
you need to or you can delete it (see below).
- Delete: If you click on this button, the marked
photo is deleted from the hard drive without
a warning message appearing or the marked
directory is deleted after a warning message
has been displayed. This operation cannot be
undone – though if need be, you can import the
photos again from the memory card / CD.
- Menu icons: If you click on these menu icons,
you can switch to the Show detail, Compare,
Edit and Filter menus as well as to the main
menu.
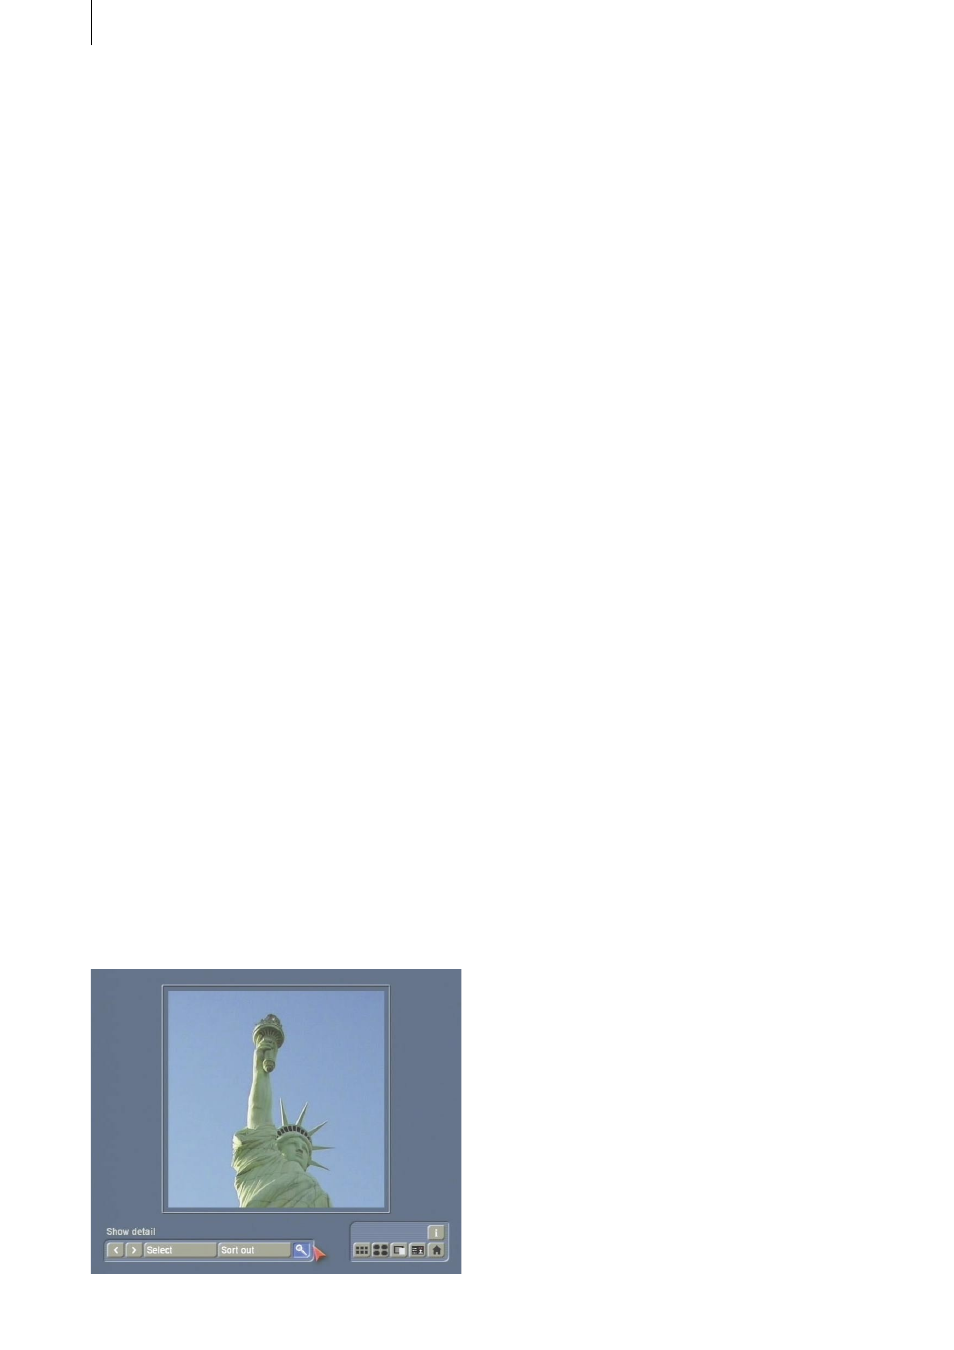
5.2.2 Show detail
After you have opened the detailed view, you
will see a new menu similar to the Import
Preview menu. A large view of the currently
selected photo is displayed in the center of the
screen after a moment. If a large view of the
photo has been displayed once already it will
appear more quickly the second time, since it
already exists in the cache. This will not be the
case, however, if you have previewed too many
other pictures in the meantime.
- < and >: You can use these two buttons to
move to the previous or next picture in the
photo list.
- Select: If you click on this button, the photo list
will open in which you can select the photo that
you want and confirm your choice by pressing
Ok. To open a closed directory, activate the
directory and click on the small right trackball
button.
- Sort out: If you click on this button, the
currently selected photo or the active directory is
sorted out. A separate directory is created called
Sorted out and is displayed at the end of the
photo list in all menus.
You can, of course, access this directory
whenever you need to or you can delete it at any
time in the Sort menu.
- Magnifier: If you click on the magnifier icon,
a dashed frame will appear on the photo. You
can use the trackball to position this frame over
the area of the photo that you want to magnify.
If you then click on the big left trackball button,
the framed area will be displayed magnified
showing all the image’s pixels – this is ideal
when you want to take a close look at an image
to assess its details (e.g. the picture sharpness).
The pixels are displayed 1:1 in the magnifier.
This view might, however, result in a distorted
aspect ratio depending on the display mode
(especially in the case of 16:9).
- i button: If you click on this Information button
you will be shown information on the selected
photo.
- Menu icons: If you click on these five menu
icons, you can switch to the Sort, Compare, Edit
and Filter menus as well as to the main menu.
5.2.3 Compare
If you click on this button, a menu opens
containing enlarged images of four different
photos so that you can compare them with one
another, e.g. to simplify the task of choosing
between similar pictures motifs. Initially, the