MacroSystem Photo-Studio 2 User Manual
Page 22
22
23
color selection, a pattern selection and color
gradients which you can use to customize the
appearance of the box. You can find further
information on this in Chapter 6.1 Palette
window.
Afterwards you can specify the Border size
in mm or pixels (depending on which unit of
measurement you activated in Options) and the
Blur of the border in percent. You can close the
Border menu using the icon at the bottom right
or by clicking the right trackball button.
Please note that the mm value relates to a
printout that you might print later on and the
pixel value relates to the display on the TV
screen!
If you click on the Shadow button in the Edit
box section of the Collage menu, a new toolbar
appears. Here, you can open the color box
(see Chapter 3.2 in the SMART EDIT manual
or chapter 5.2 in the Louvre manual) to define
a shadow color. Select one of eight possible
directions in which you want the shadow to fall
by clicking on the Orientation button and specify
a Size for the shadow using the slider control.
If you move the slider control all the way to the
left, the shadow is switched off.
Afterwards you can close both the Shadow
menu and the Edit box toolbar using the menu
icon.
- To front and To back: If the boxes overlap, you
can use this button to specify which box should
be in the foreground and which should be in the
background. If there are already several boxes
in the collage, you can keep pressing the button
until you have achieved the desired order.
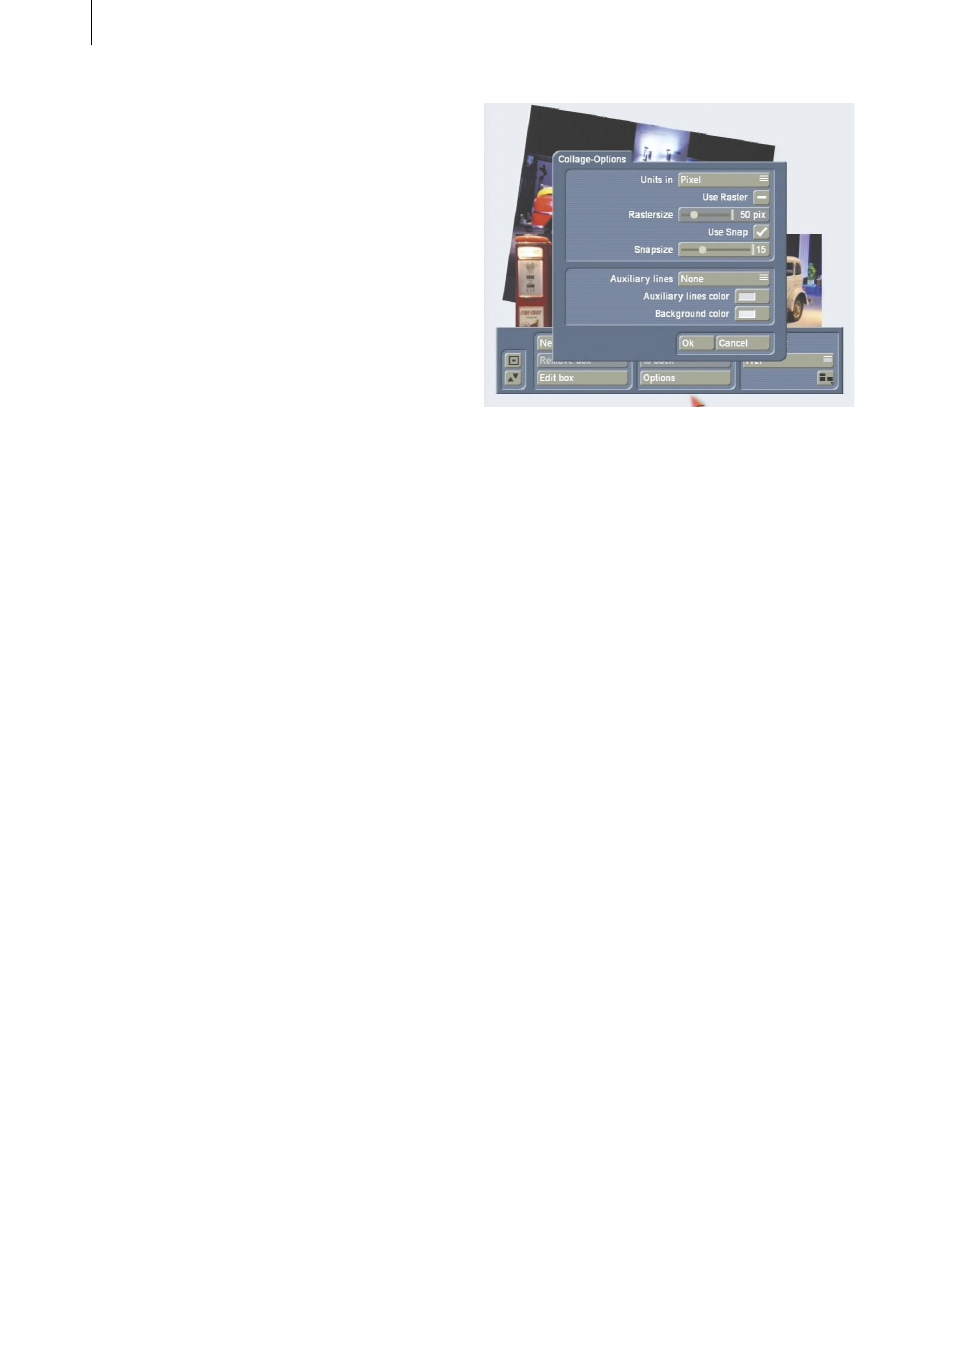
- Options: The following window is displayed
when you click on this button:
With the Units in function, you can select
whether the spacing and width dimensions
should be displayed in mm or in pixels. We
recommend you activate mm if you want to
print out the picture later and pixels if you intend
displaying the picture on a TV screen.
You can activate an invisible grid by activating
the Use raster function. Then when you create
your boxes, you can align their edges with this
invisible grid and so simplify the process of
positioning them. If you click on the checkbox
again, you will deactivate the checkmark and
thus switch off the grid again.
You can use the Raster size control to specify
which spacing (measured in mm or pixels
depending on the setting) the lines of the
invisible grid should have.
If you activate the Use snap function, you can
position the boxes more easily since they will
align automatically with the default lines and/
or the lines of an existing box. This option is
similar to the “snap to grid” function that you
may already be familiar with from using a PC.
Using the Snap size control, you can set the
distance in pixels that the edge of a box should
have before it “snaps” (i.e. engages with) a
auxiliary line.
The Auxiliary lines function offers various
options. You can deactivate the auxiliary lines by
selecting None. With the Presentation function
you can activate auxiliary lines that show you