MacroSystem Photo-Studio 2 User Manual
Page 13
12
13
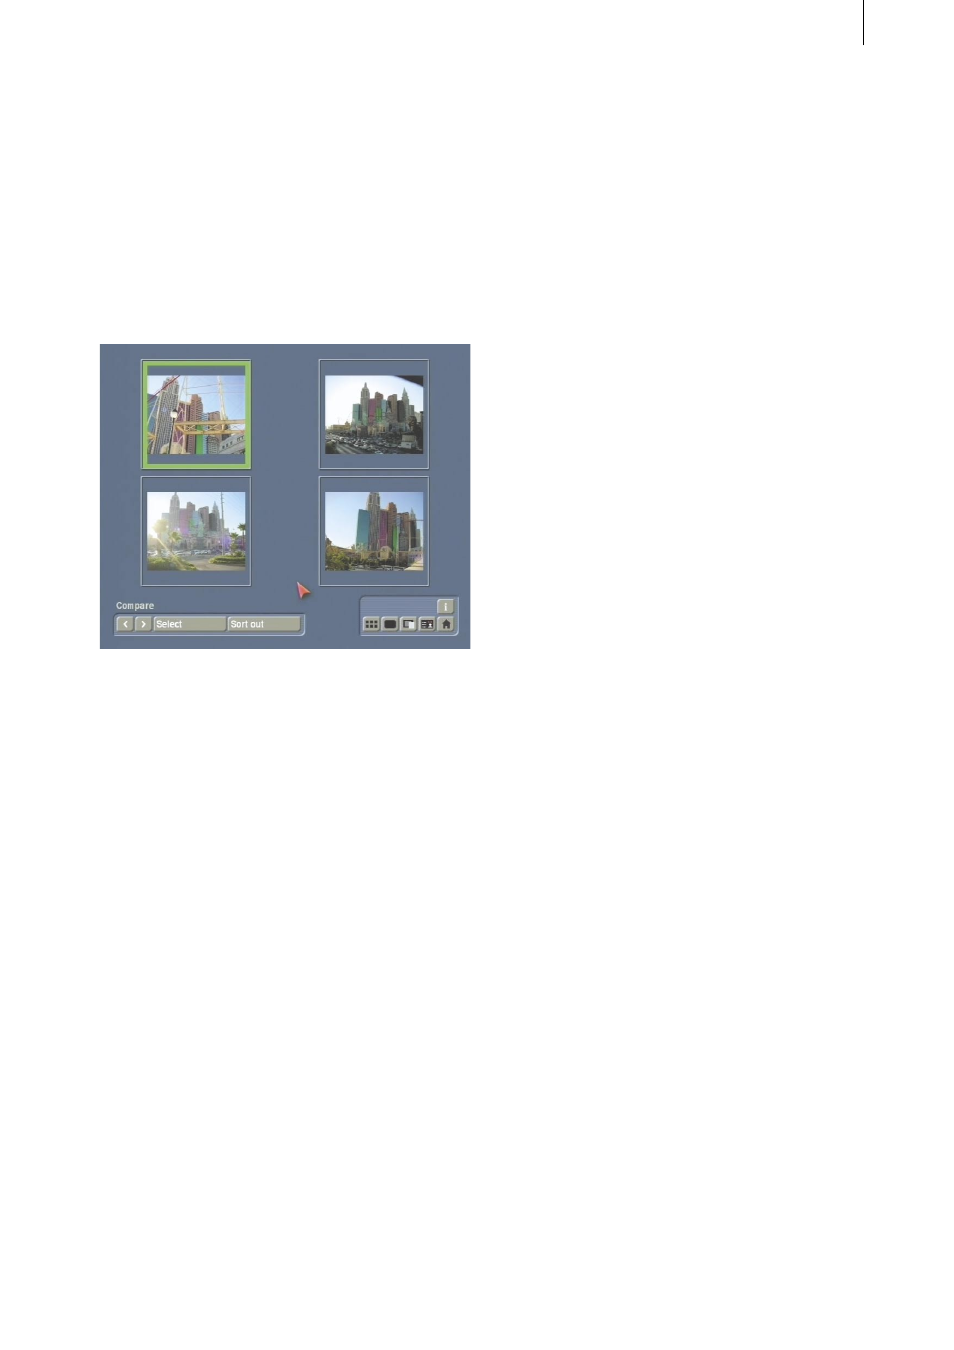
photo that was activated last in another menu
is displayed at the top left and the three photos
that follow this activated photo in the photo list
are displayed in the other three boxes.
You can of course use the buttons described
below to choose the images that you want to
display enlarged. First, click on one of the four
boxes in which you want your choice of picture
to appear. The selected box is indicated by a
green border.
- < and >: You can use these two buttons to
move to the previous or next picture in the
photo list. The picture is displayed in the
activated box after a moment.
- Select: If you click on this button, the photo list
will open in which you can select a photo and
confirm your choice by pressing Ok. The photo
appears in the selected box after a moment.
- Sort out: If you click on this button, the
currently selected photo or the activated
directory is sorted out. A separate directory is
created called Sorted out and is displayed at the
end of the photo list in the other menus.
You can, of course, access this directory
whenever you need to or you can delete it at any
time in the Sort menu.
- i button: If you click on this Information button
you will be shown information on the selected
photo.
- Menu icons: If you click on these five menu
icons, you can switch to the Sort, Show detail,
Edit and Filter menus as well as to the main
menu.
Tip: You can use the Show detail button to
display an enlarged view of the photo that is
within the active border and afterwards return
directly to the Compare menu.
5.2.4 Edit
If you click on this button, a menu opens in
which you can do such things as crop your
photos. The menu has the same structure as the
Sort menu.
At the top edge of the menu you see the Open/
Close, Special and Size buttons again. At the
bottom right you see the Information button.
Additionally, this menu contains the following
buttons:
- Description: If you click on the long line, the
on-screen keyboard appears and you can enter
the name that you want to give the photo or
directory (for further details on this, please refer
to Chapter 3.2 in the SMART EDIT manual or
chapter 5.1 On-screen keyboard in the Louvre
manual). If a directory has been selected, the
date of the photos that it contains is initially
displayed as the directory name – though you
can clear this by clicking on the keyboard’s
Delete button and replacing it with a name of
your choice.
- Crop: If you click on the Crop button, a large
view of the active photo will be displayed
after a moment. You can now position the
screen pointer over the dashed frame so that
the pointer turns into a double-headed arrow.
Next, click the left trackball and roll the trackball
towards the centre of the screen to move the
edge of the frame – by moving this edge you are
setting the position at which you want the photo
to be cropped. You can adjust the positions of
all four edges and corners of the frame. In the
background you will see the “cropped” area
of the picture displayed darkened. Click the left
trackball button to confirm the changes.
(You can cancel the cropping procedure by
clicking on the right trackball button.)
Note: Please note that if you are intending to