MacroSystem Photo-Studio 2 User Manual
Page 17
16
17
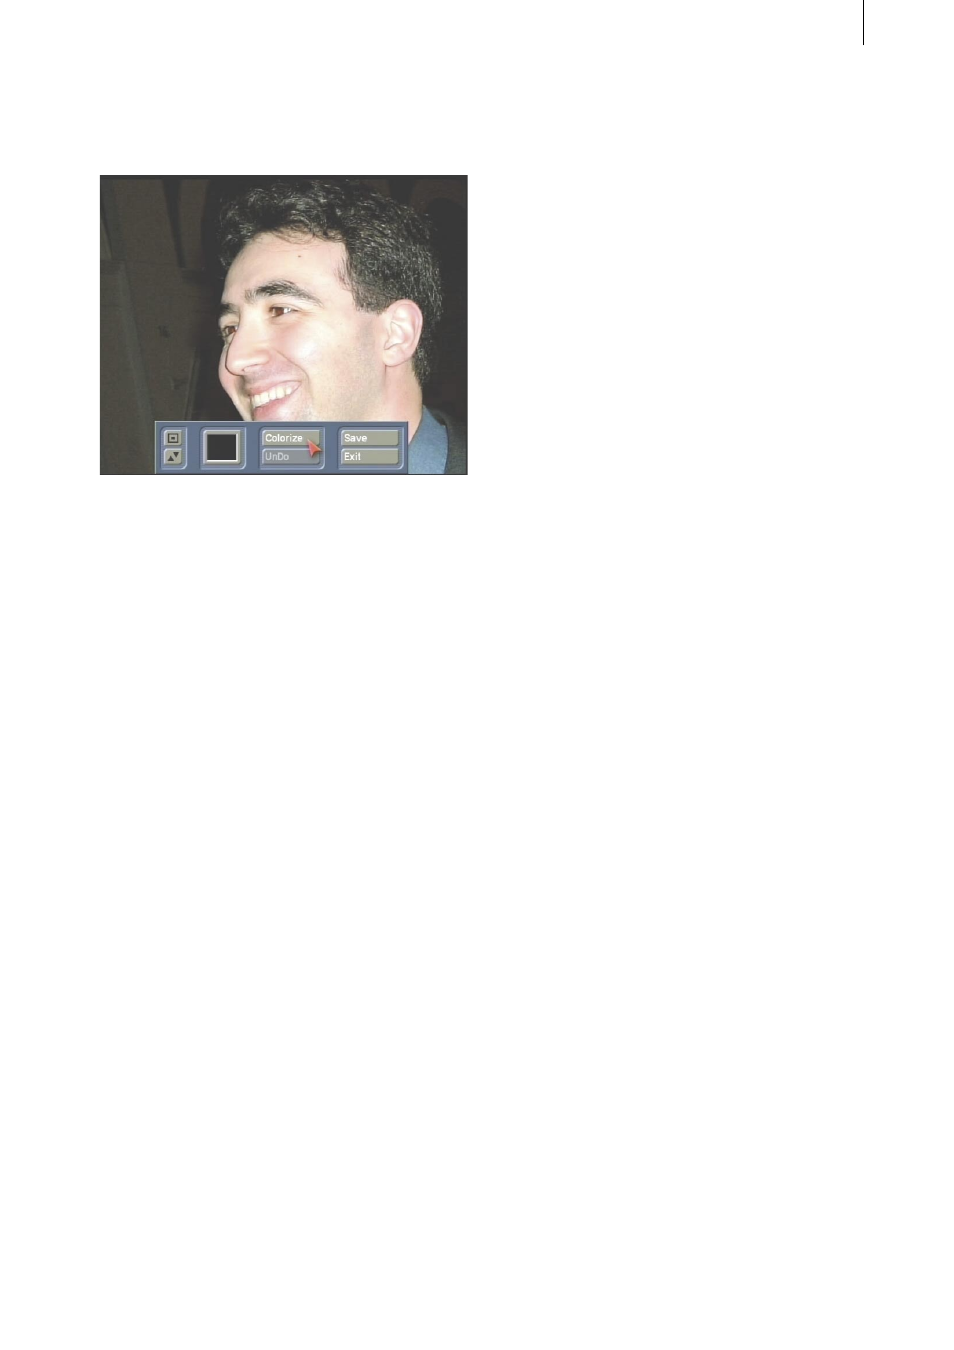
on the left trackball button. You will now see
the selected area enlarged and a new toolbar
appears at the bottom edge of the screen.
- You will see the two buttons that you are
already familiar with from the Retouch menu for
minimizing and moving the toolbar.
- If you click on the little color palette, a color
box opens in which you can define a color that
will be used to replace the red eyes. In most
cases this will be a dark brown or black.
For details on the color box, please refer to
Chapter 3.2 in the SMART EDIT manual or
chapter 5.2 Color box in the Louvre manual.
- After you click on Colorize you will be given a
clear view of the photo. You can use the trackball
pointer to move to the area in question (i.e.
the eyes) and then click on the big left trackball
button. The selected area (and, if applicable,
the surrounding area of the same color) is
subsequently filled in with the previously
specified color and you will see the toolbar
appear again. If you set the Alpha slider in the
color box to a value less than 100%, the selected
color is mixed in with the original background
accordingly. If the area cannot be colored in (i.e.
it is not a distinct red color), the toolbar appears
again without any changes having been made.
- You can undo the last color change by clicking
on the Undo button. The more often you click on
this button, the more color changes are undone.
If you click on the Save option, the changes
you made to the picture are saved. If you click
on Cancel, you will leave the Red Eyes menu
and only the changes that you already saved
beforehand are applied.
In the Filter menu, you will see the icons for
switching directly to the Sort, Show detail,
Compare and Edit menus as well as to the main
menu.
5.3 Special
Various functions are combined in the Special
section and are explained below.
5.3.1 Animation
This function allows you to create an animation
simulating a camera panning across your photo
so that the photo looks like a video film. If you
click on the Animation button a new menu
opens.
In the upper area you see the photo list again
together with the Open/Close, Special and Size
buttons.
In the lower area you will see the following
buttons:
- New: If you click on this button, the photo
selection will open in which you can select the
photo that you want and confirm your choice by
pressing Ok. If you want to open a directory in
this window, activate the directory and click on
the Open button or on the small right trackball
button (four button mode) or on the big, right
button (two button mode).
After you have clicked on Ok, the selected photo
appears as a close-up shot and you will see a
new toolbar in the foreground.