MacroSystem Photo-Studio 2 User Manual
Page 11
10
11
the progress bar), the photos that have been
imported up to that point will of course remain
on the hard drive. The number given, for
example 4/5, tells you that you have already
imported 4 out of 5 photos from the directory.
- Delete: After the system displays a warning
message, the marked photo or marked directory
including the photos therein will be deleted
from the storage medium (if the card’s write
protection has not been activated). If the photos
are stored on a CD you will not be able to press
this button.
- Preview: If you click on this button a new menu
appears. A large view of the photo that you
marked previously will be displayed, though
it might take a moment to appear. If you have
already displayed the preview for this photo
once before, it will appear more quickly the
second time because it is stored in the cache.
This will not be the case, however, if you have
previewed too many other pictures in the
meantime.
The < and > buttons allow you to display the
previous or next photo. The Select button
provides a complete overview of all the photos
(from open directories!). You can select one of
them and confirm your choice by clicking on
Ok. Clicking on Import will cause the picture
that is displayed enlarged to be imported from
the memory card into the system, i.e. stored on
the hard drive. If you click on the Delete photos
from card button, the displayed photo will be
deleted from the memory card. It will not be
possible to press this button if you have inserted
a CD.
You can close the Preview menu and return
to the Import photos menu by clicking on the
menu icon in the bottom right corner or by
pressing the right trackball button.
- i button: If you click on this Information button,
a separate window opens displaying information
on the selected photo (e.g. camera, resolution,
creation date, etc.).
- Menu icon: If you click on this menu icon, you
will return to the Photo-Studio 2 main menu.
Once the photos have been imported, you can
remove the memory card or CD.
5.2 Photos
Several options are grouped together in
the Photos section and are explained in the
following subchapters.
5.2.1 Sort
You will see the photo list displayed in the upper
screen area of this menu too. Only the photos
that are present on the hard drive are shown
here.
In this menu – as in many other menus – you
can sort the photos and directories according to
your preferences (see Chapter 5: Operating the
device).
At the top edge of the menu you see the Open/
Close, Special and Size buttons again. At the
bottom right you see the Information button.
Additionally, this menu contains the following
buttons:
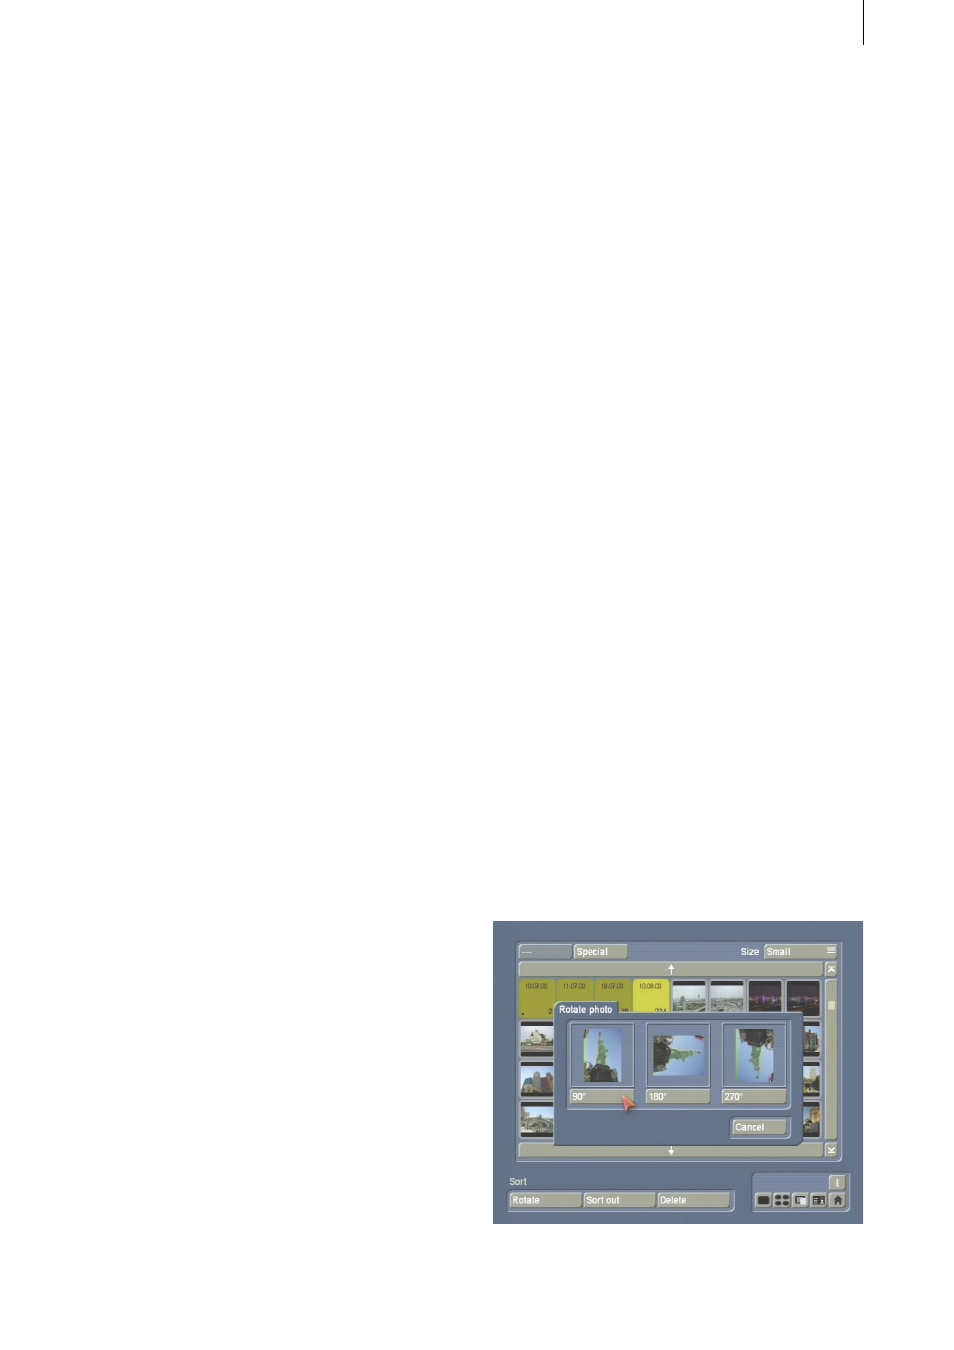
- Rotate: If you click on this button, a window
opens offering you three options to rotate
the currently active photo or all the photos
contained in the selected directory. The photos
can be rotated in steps of 90° and you are shown
a preview of the rotation.