MacroSystem Photo-Studio 2 User Manual
Page 24
24
25
integrate the animation into the presentation
and then burn it to DVD.
Warning: If you use Photo-Studio 2 under
SMART EDIT, then the presentation cannot be
burned to DVD or transferred to the SMART
EDIT Edit menu. Furthermore, effects cannot be
inserted and no audio created.
Alternatives to editing under SMART EDIT are
discussed in section 2.1.
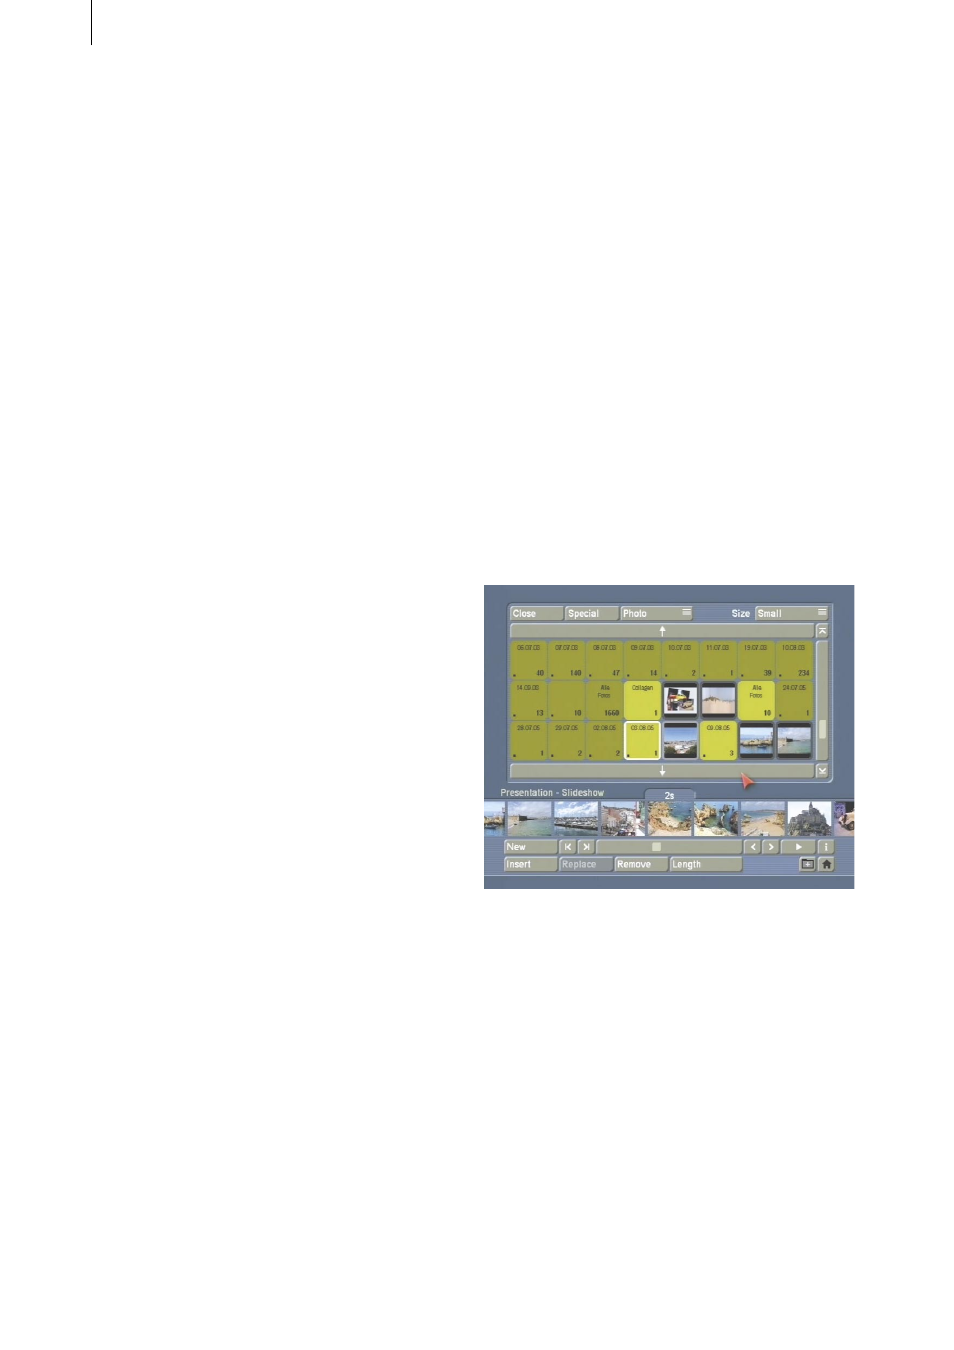
5.4.1 Edit
If you click on this button, a new menu is
displayed. The top area of the menu contains the
list again as well as the Open/Close, Special and
Size buttons.
The objects that you want to insert into your
presentation (i.e. photos, collages or animations)
are shown in the list.
If you are using SMART EDIT, then animations
cannot be inserted into the Photo-Studio
2 presentation, but can still be put into the
storyboard.
You can move through the presentation
displayed at the bottom of the screen using the
slider control or the arrow buttons. You can also
directly click on an object which then jumps to
the center of the display.
The buttons that you are not yet familiar with
are described here:
- Photo/Collage/Animation: This selection
button at the top edge of the screen allows you
to specify whether your photos or the collages/
animations you created earlier should be
displayed in the list.
- New: The Palette window, which you are
already familiar with from the Collage menu,
opens when this button is clicked. Please refer
to the exact usage in Chapter 6.4. The Palette
window lets you create colors or patterns that
can, for instance, be used as ideal separators
between individual photos, collages or
animations.
- Insert: After clicking on this button, the
selected photo (or the active collage or
animation) in the top list is inserted in the
presentation bar at the bottom of the screen.
You can insert the other objects that you want to
appear in the presentation one after another, i.e.
photos, collages or animations.
Furthermore, it is also possible to insert a whole
directory in the presentation bar. To do so, click
on the directory in the top selection list and then
activate the Insert function.
When using this function, please bear the
following in mind: if there is only a single object
in the bar or if the first image (i.e. the one you
inserted on the extreme left) of this bar is in the
middle (the display duration is always shown
for the photo in the middle), you will be asked
by the system when inserting another object
whether you would like to place this new object
before or after the object displayed at the
bottom of the screen.
- Replace: Here you can replace an object in the
presentation list at the press of a button. After
clicking on this button, the object in the middle
of the presentation bar will be replaced by the
activated object in the top list. Though beware,
this happens without a warning message being
displayed!
- Remove: After clicking this button, the object
in the middle of the presentation bar is deleted
without warning. You do, of course, still have
access to the object in the list at the top.
- Length: If you click on this button a new
window opens. In the top area of the window,