MacroSystem Photo-Studio 2 User Manual
Page 16
16
17
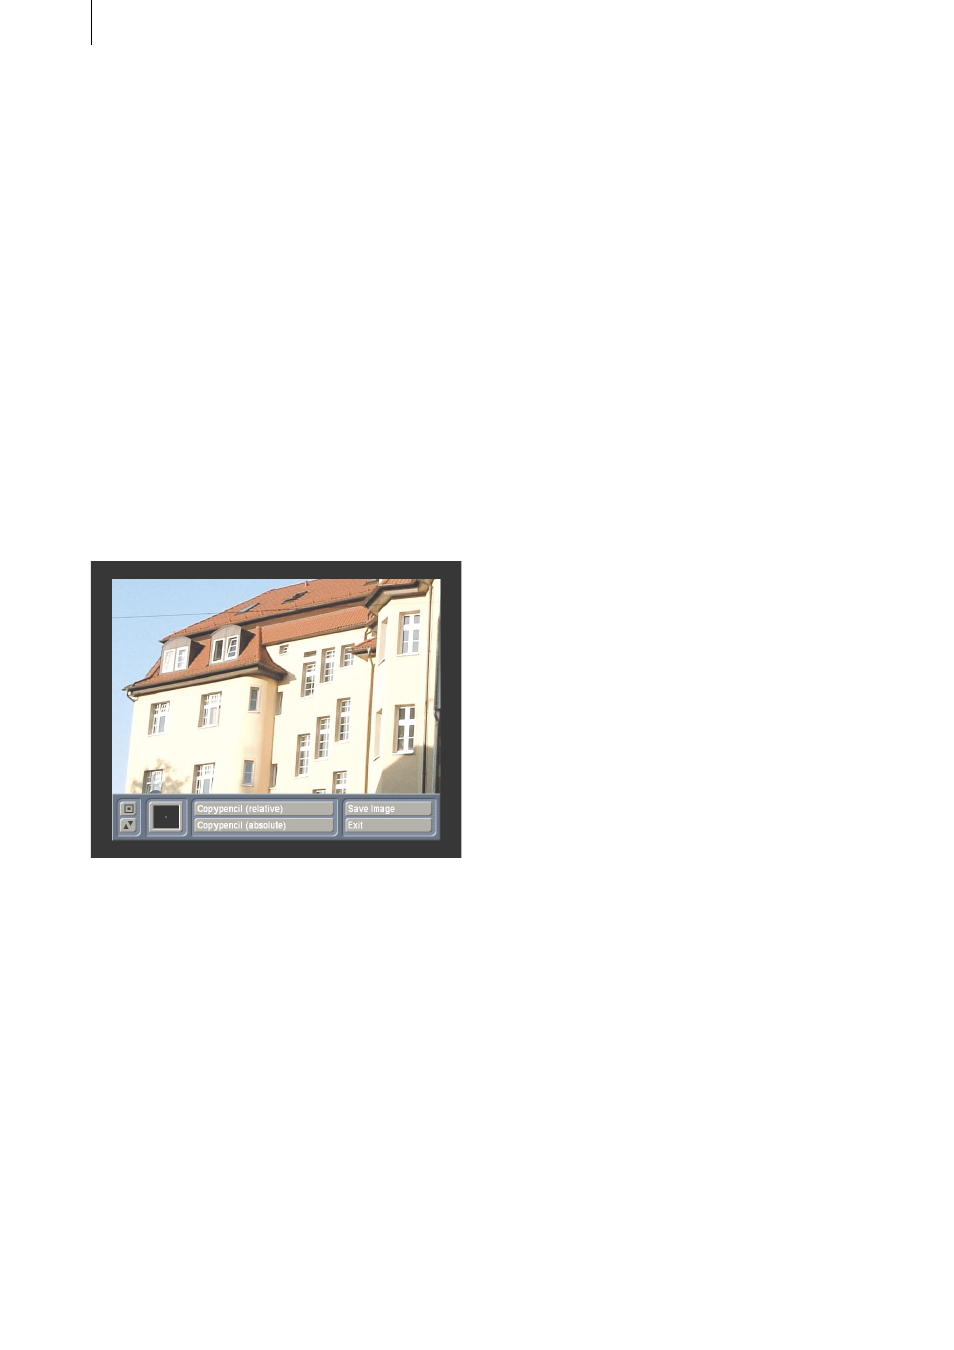
- Retouch: This function allows you to retouch
the active photo, e.g. to correct a blemish. After
you click on this button, a large view of the
photo is displayed. A text at the lower edge of
the screen asks you to select the area that you
want to modify.
You will see a cross inside a small box initially
located in the top left corner of the picture. Now
roll the trackball to place the frame over the area
in question, i.e. the blemish. It is not possible
to adjust the size of the little box! Confirm the
new position of the box by clicking on the left
trackball button. You will now see the selected
section displayed enlarged and a new toolbar
appears at the bottom edge of the screen. If the
photo is very small, you might not see a text
asking you to select an area; instead you will see
a new toolbar appear immediately at the bottom
edge of the screen.
The lower left button on this toolbar allows you
to move the toolbar to the opposite edge of the
screen. The upper left button lets you minimize
the toolbar so that it only displays these two
buttons.
Clicking on the little black box opens a window
in which you can define a pen for retouching.
The upper line contains four predefined
square pens and on the lower line you will
see four round pens. Select the desired pen
by clicking on the appropriate box and define
its appearance by adjusting the Blur and Size
attributes as necessary. To do so, click on the
slider control to activate it and then roll the
trackball.
You will be shown a preview of the settings
changes you have made in the area on the
right. After you have created a pen, confirm
your selection with Ok. You can now determine
whether your copying pen is relative (i.e.
the selected source area to be copied moves
relative to the target area to be retouched while
maintaining the same distance) or absolute (the
source area to be copied is stationary). After
you have decided on a function and then clicked
on the appropriate button, you will see a green
marker with a stamp icon. Roll the trackball until
the marker is on the area to be copied and then
confirm this selection by clicking on the left
trackball button.
After the stamp symbol disappears, roll the
trackball until the marker (which has now turned
red) is over the area that you want to retouch,
e.g. on the blemish. Once you have reached the
desired position, click on the left trackball button
and then roll the trackball back and forth to
retouch the selected area with the area that you
copied in the previous step.
Marked items on the other hand, are displayed
in blue.
You can cancel this copying operation by
clicking the left trackball button again, and the
item will be displayed in red once more. You
can now select another area that you want
to retouch and then continue with copying.
Afterwards, open the menu bar again by clicking
on the right trackball button.
If you click on the Save option, the changes you
made to the photo are saved. If you click on
Cancel, you will leave the menu and only the
changes that you already saved beforehand will
be applied.
- Red Eyes: If you click on this button a large
view of the photo will be displayed. This is
where you can correct the red eyes that often
appear on photos. If the photo in question is a
large picture, you will see a text at the bottom
edge of the screen asking you to select the area
you want to change.
Now roll the trackball to place the frame over
the area in question, i.e. the red eyes. It is not
possible to adjust the size of the little box!
Confirm the new position of the box by clicking