Loading a project, Loading individual tracks – Tascam MMR-8 User Manual
Page 70
TASCAM MMR-8 Owner’s Manual • Chapter 4 • MMR-8 Operation
70
Loading a Project
Press LOAD TRACK to show list of Projects, Sessions, or Compositions from all mounted drives. The
list is shown in alphanumeric order.
Example: To load 2B Project
From Disk:
1 (MMR/WaveFrame)
A Project
1 (MMR/WaveFrame)
Dialogue Export 1.omf
2 (Macintosh)
Mix Stems 1
1 (MMR/WaveFrame)
Pro Tools Session RWF
2 (Macintosh)
Pro Tools Session SW
2 (Macintosh)
WaveFrame CDoo
1 (MMR/WaveFrame)
Press STO [YES] to load the first eight tracks from the desired Project into MMR Track Index 1 – 8
Loading Individual Tracks
After pressing LOAD TRACK (as above), choose (scroll to) the Project, Session, or Composition
containing the tracks you wish to load. Press LOAD TRACK again to show the list of tracks in the
Project, Session, or Composition (if Project is WaveFrame, it may also show Episode, Act, Reel, or Dub).
Example: Track list for project: 2B Project
MMR Trk2 00251
MMR Trk3 00252
MMR Trk4 00253
MMR Trk5 00254
MMR Trk6 00255
MMR Trk7 00256
MMR Trk8 00257
TRK 1
SEL
TRK 2
SEL
TRK 3
SEL
TRK 4
SEL
TRK 5
SEL
TRK 6
SEL
TRK 7
SEL
TRK 8
SEL
•
Press the appropriate SEL key to choose the desired Track index into which the track will be loaded.
•
Press STO [YES] to load the displayed track from the list into the currently selected Track index.
•
Use the arrows or wheel to scroll to a different track from the list of available tracks in the project.
•
To facilitate loading tracks in succession, the MMR will automatically increment the selected Track
index and advance the display to the next track in the list of available tracks after a track is loaded.
After pressing the LOAD TRACK key twice, the first Track name will be displayed in the bottom line of
the LCD preceded by a small box (the STOP character) in the first character of the display to indicate the
track has not been loaded yet (it is “unloaded”). To load tracks individually in succession starting with
Track 1, first press the Track 1 SEL key. The LED on Track 1 will be lit to indicate that when STO is
pressed the displayed track will load onto track 1. After track 1 is loaded, the next track name in the list
will automatically display, and the LED on track 2 will turn on to indicate pressing STO will store that
track onto track 2. Any target track may be selected manually by pressing the appropriate SEL key before
STO is pressed. Typically, a hard drive will contain eight or more tracks for one project, and thus tracks
can be loaded in rapid sequence by simply pressing STO eight times in a row. After a track is loaded, the
track index number into which the sound file has been loaded will precede the track name.
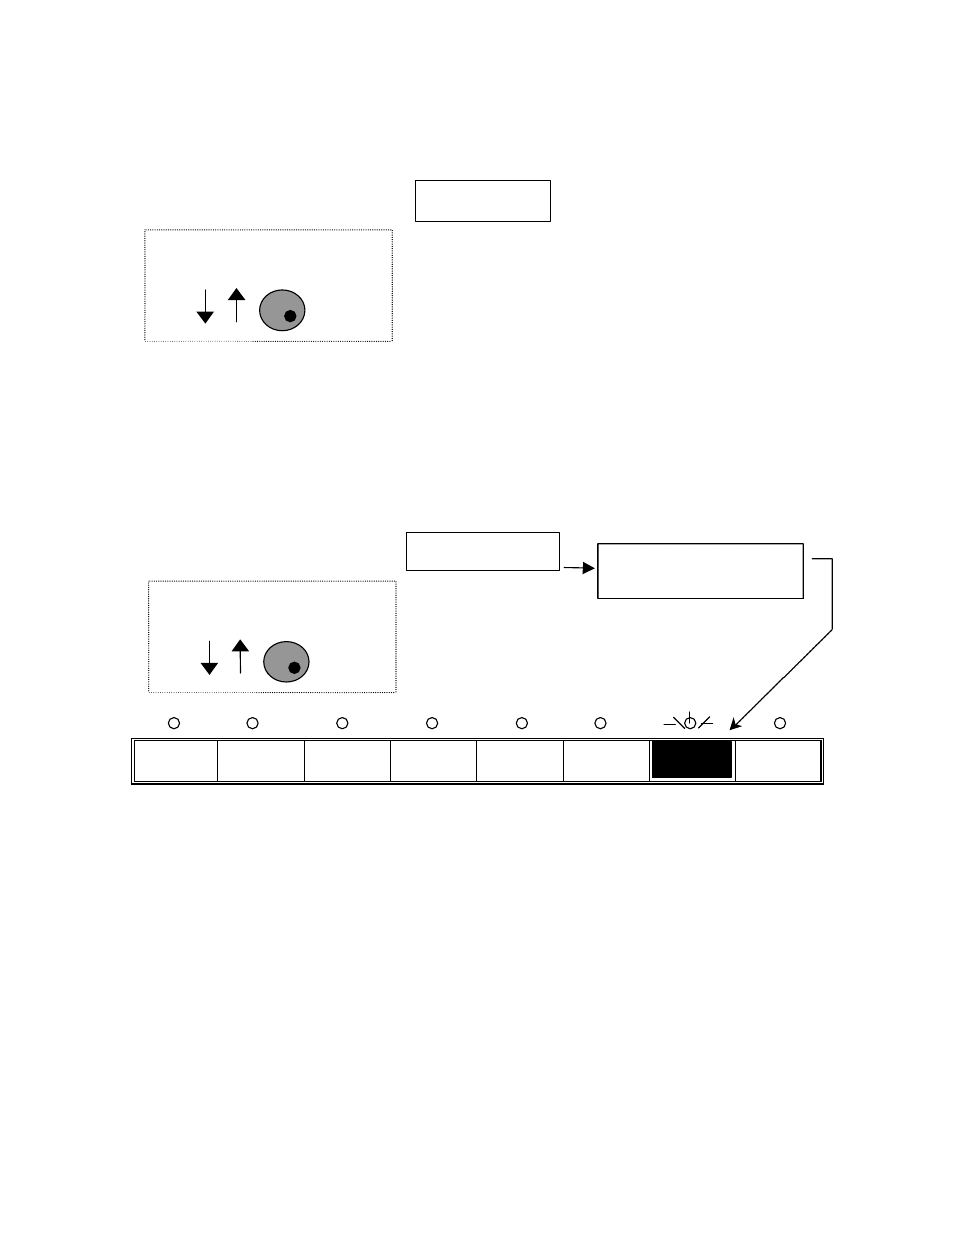
Project
2B Project
Use Arrows or Wheel to Scroll
Project list in LCD display
Load into Track 7:
MMR Trk1 00250
Use Arrows or Wheel to Scroll
Track list in LCD display
Loads into any
Selected Track Index