Installing a fan tray – H3C Technologies H3C S5800 Series Switches User Manual
Page 59
49
CAUTION:
The S5800-60C-PWR and S5800-32F switches have only one fan tray slot. To ensure good ventilation,
follow these guidelines:
•
Do not operate the switch without a fan tray.
•
If the fan tray has problems during operation, replace it within 2 minutes while the switch is operating.
CAUTION:
The S5800-54S switch requires two same direction air flow fan trays to function correctly.
•
Do not operate the system with only one fan tray for more than 24 hours
•
Do not operate the system without any fan tray for more than 2 minutes.
•
Do not operate the system outside of the temperature range 0°C to 45°C (32°F to 113°F) degrees.
Failure to comply with these operating requirements may void the warranty.
Installing a fan tray
1.
Wear an ESD-preventive wrist strap and make sure it makes good skin contact and is well
grounded.
2.
Unpack the fan tray and check that the fan tray model is correct.
3.
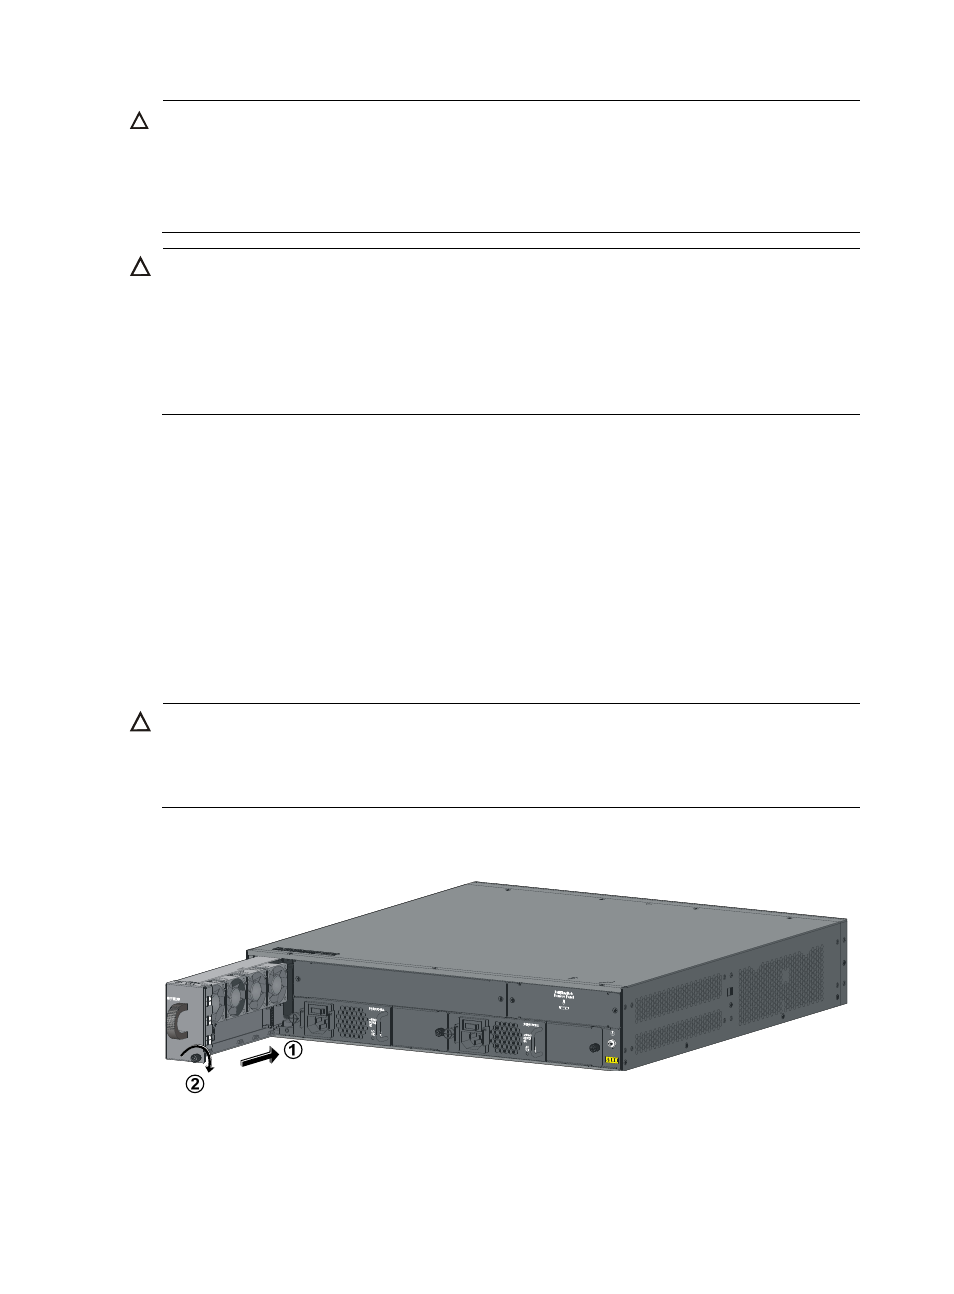
Grasp the handle of the fan tray with one hand and support the fan tray bottom with the other, and
slide the fan tray along the guide rails into the slot until the fan tray seats in the slot and has a firm
contact with the backplane (see callout 1 in
, or
).
4.
Fasten the captive screw on the fan tray with a Philips screwdriver until the fan tray is securely fixed
into the chassis (see callout 2 in
,
CAUTION:
•
To prevent damage to the fan tray or the connectors on the backplane, insert the fan tray gently. If you
encounter a hard resistance while inserting the fan tray, pull out the fan tray and insert it again.
•
If the captive screw cannot be tightly fixed, check the installation of the fan tray.
Figure 44 Install an LSW1FAN fan tray