Marking in and out points, Setting up a split edit, Marking in and out points setting up a split edit – Grass Valley Aurora Edit LD v.6.3 User Manual
Page 48
48
Aurora Edit LD User Guide
September 14, 2007
Chapter 4 Editing in the Timeline
Marking In and Out Points
You can set the Mark Points using the Mark In and Mark Out buttons in either the
Timeline Tool or the Source Tool. The steps to create a mark point are the same
regardless of which tool you are using, but you will be setting different mark points
in the two tools. In the Timeline Tool, you are setting mark points for your sequence;
in the Source Tool, you are setting mark points for the input source.
When you make the first edit in a sequence, you can mark In and Out points if you
want to. If you don’t set a Mark In point, recording starts at the current position of the
cursor. If you don’t set a Mark Out, Aurora Edit LD creates an Out when you stop
recording and the clip is edited into the Timeline. The Timeline automatically moves
the cursor to the end of each edit in preparation for the next edit.
To Mark In and Out Points:
1. Move to the Mark In or Mark Out point in one of the following ways:
2. Click the point on the Timeline where you want to place the points.
3. Press the
A
,
S
,
D
, or
F
keys on the keyboard to jog through clips in 1-frame or
10-frame increments.
4. Press
I
on the keyboard to Mark In and press
O
to Mark Out.
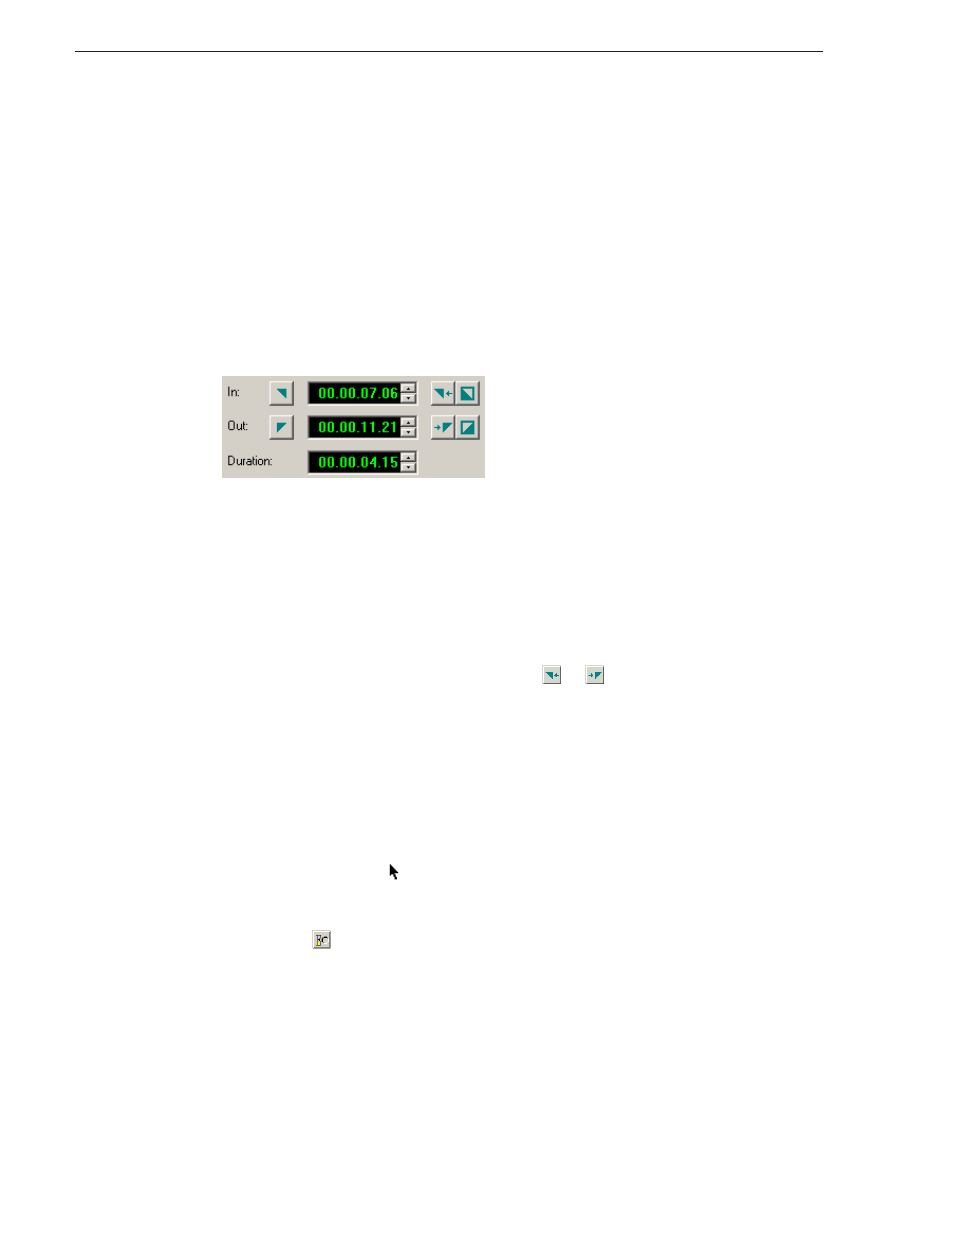
You can also enter an In or Out time and click
or
to go to that point in the clip.
Setting Up a Split Edit
Aurora Edit LD lets you set In and Out points to create a pre-defined split edit from
the Timeline Tool. To delay one of the tracks at the beginning of a clip, set different
In points for the video and audio, with one starting after the other. You can also extend
one track after the other at the end of a clip.
To create a split edit:
1. Press
1
(or click the
Timeline Tool
button) to select the Timeline Tool.
2. Press
I
on the keyboard to mark an In point for the video track.
3. Click the
Show Audio Marks
button.
Blue icons indicate audio mark in and out points.
4. Select a Mark In Point for the audio track.
5. The duration of the split appears in the Duration field.
6. Set an Out point and copy to timeline.