Moving clips in the timeline, Moving audio clips – Grass Valley Aurora Edit LD v.6.3 User Manual
Page 56
56
Aurora Edit LD User Guide
September 14, 2007
Chapter 6 Fine Tuning
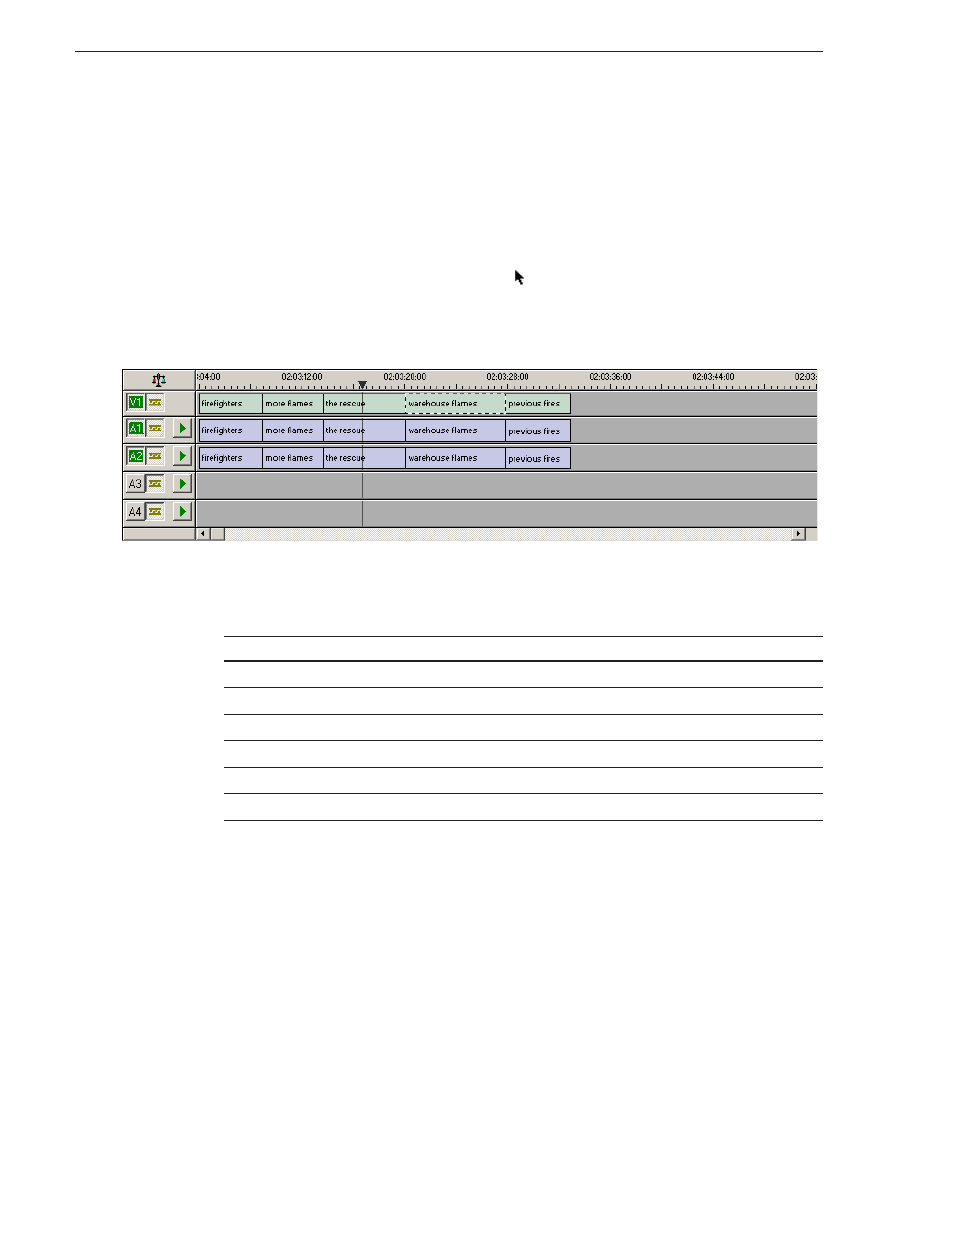
Moving Clips in the Timeline
When you move clips in the Timeline, the result differs slightly based on the current
edit mode. If you are in Overwrite Edit Mode, a moved clip covers other clips. If you
are in Splice Edit Mode, a moved clip pushes other clips out.
To move a clip:
1. Press
1
on your keyboard (or click the
Timeline Tool
button) to choose the
Timeline Tool.
2. Click once on the clip in the Timeline you want to move.
An outline appears around the clip you selected.
3. Drag the clip to its new location.
You can also use the following keyboard keys to move clips:
Moving Audio Clips
You can move an audio clip to any of the four Aurora Edit LD audio tracks.
To move an audio clip to a different track:
• Drag the audio clip to the desired track.
This keyboard key...
Moves the selected clip...
Numberpad
4
one frame to the left on the Timeline.
Numberpad
6
one frame to the right on the Timeline.
Ctrl + Numberpad
4
10 frames to the left on the Timeline.
Ctrl + Numberpad
6
10 frames to the left on the Timeline.
Z
to the previous cut point.
X
to the next cut point.