Using the trim tool, Changing the end points between clips – Grass Valley Aurora Edit LD v.6.3 User Manual
Page 52
52
Aurora Edit LD User Guide
September 14, 2007
Chapter 5 Trimming Clips
Using the Trim Tool
After you create clips in the Bin or directly in the Timeline, you may need to trim a
clip to fit or edit out extra frames. You will often need to shorten your clips or change
the starting or ending frame. In Aurora Edit LD you trim clips by changing the Mark
In and Mark Out points using the Trim Tool.
To select the Trim Tool, press
3
on your keyboard or click the
Trim Tool
button in
the Timeline Toolbar.
You can also double-click on the video track for the clip you want to trim.
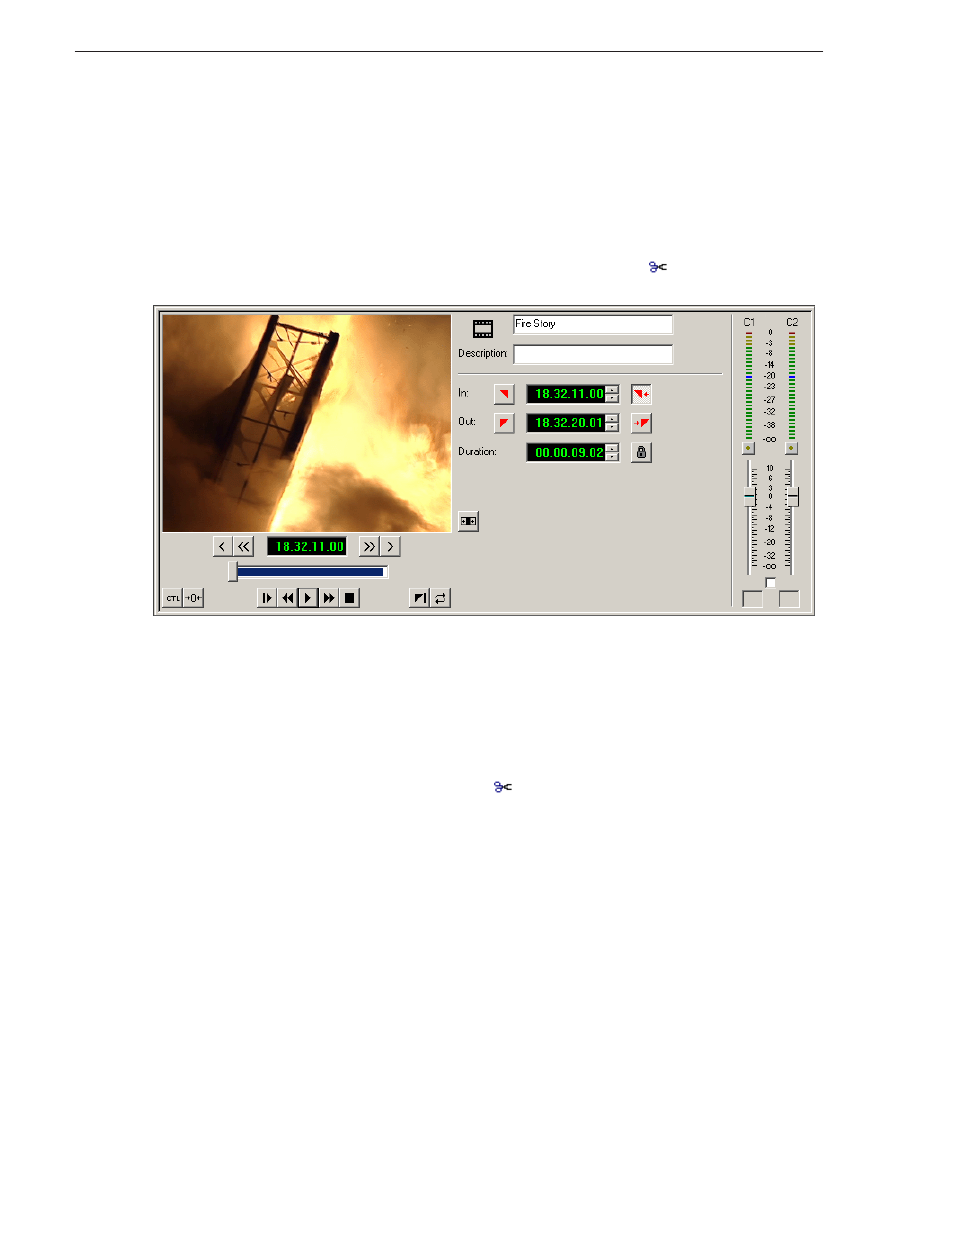
Changing the End Points Between Clips
You trim your clips by marking new In and Out points for each clip:
1. Click once on the clip you want to trim to select it.
2. Press
3
on the keyboard or click the
Trim Tool
button in the Timeline toolbar.
The Trim window appears.
3. To trim the beginning of a shot, press the spacebar to play the clip and press the
spacebar
again to stop at the frame where you want the clip to start.
You can also use the slider to find the approximate In point and then use the
A
,
S
,
D
, and
F
keys on the keyboard to find the exact spot.
4. Press
I
on the keyboard to mark a new In point.
5. To trim the end of the same clip, play the clip again and stop at the frame where
you want the clip to end.
6. Press
O
on the keyboard to mark a new Out point.
7. Continue trimming other clips in your sequence.
NOTE: You can also trim an individual track in a clip by turning off the tracks you
don’t want, clicking on the desired track, and trimming the clip.