Aligning the print head, Aligning the print head - control panel – Epson WorkForce Pro WF-R8590 DTWF User Manual
Page 144
1.
Turn off the printer, and then press the
P
button and the
y
button at the same time to display the
confirmation window.
2.
Follow the on-screen instructions to run the power ink flushing feature.
Note:
If you cannot run this feature, solve the problems that are displayed in the window. Next, turn off the printer, and then
run this feature again.
3.
After running this feature, run the nozzle check to make sure the nozzles are not clogged.
Related Information
&
“Replacing a Maintenance Box” on page 129
Aligning the Print Head
If you notice a misalignment of vertical lines or blurred images, align the print head.
Aligning the Print Head - Control Panel
1.
Load A4-size plain paper in the printer.
2.
Enter Setup from the home screen.
3.
Select Maintenance > Print Head Alignment.
4.
Select one of the alignment menus and follow the on-screen instructions to print a pattern for alignment.
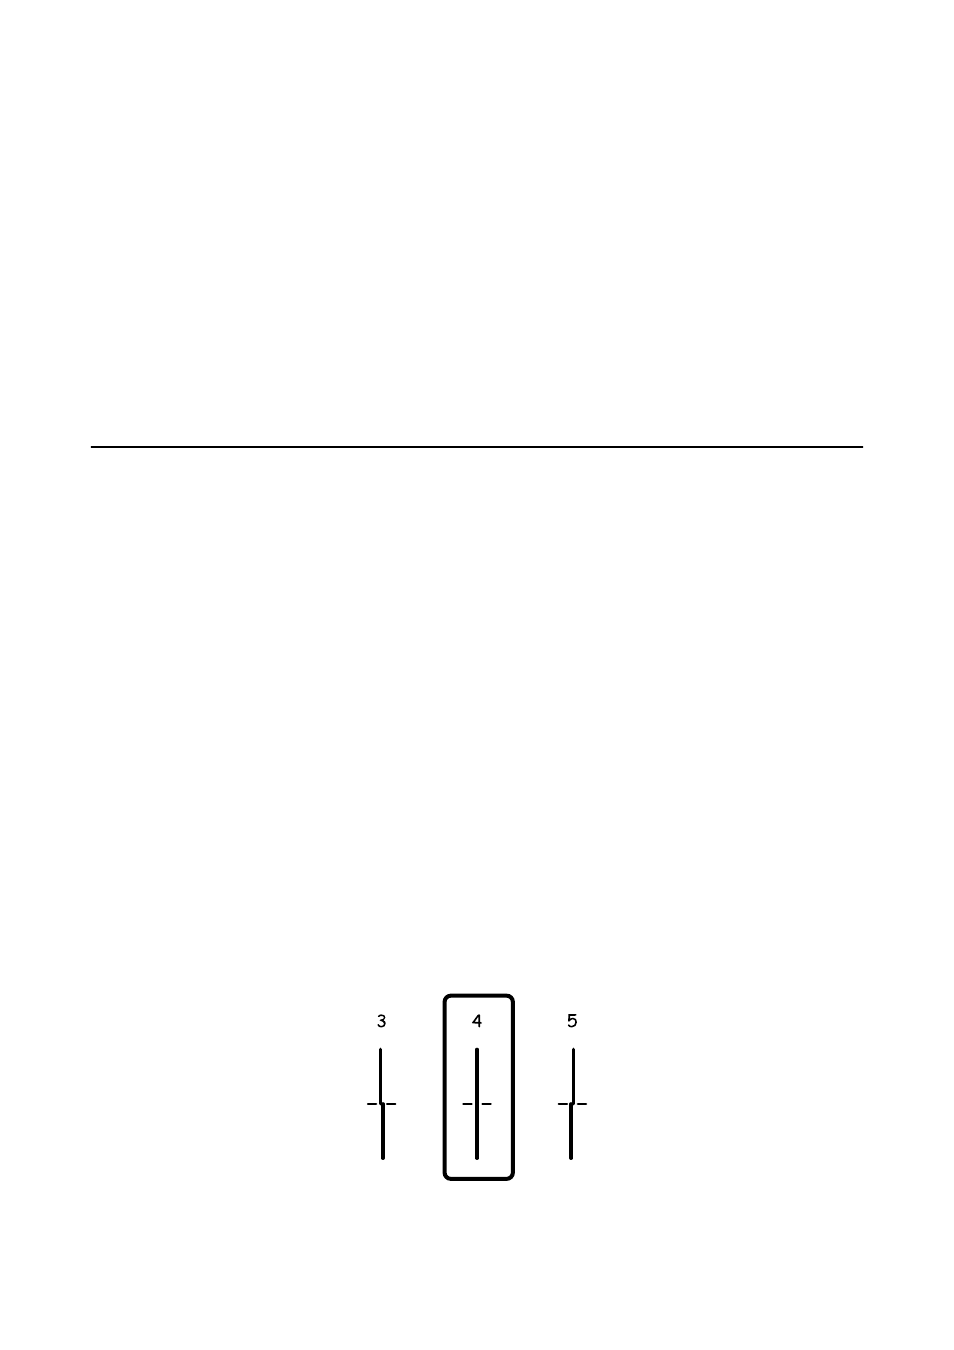
❏ Ruled Line Alignment: Select this if vertical lines look misaligned.
❏ Vertical Alignment: Select this if your printouts look blurry.
❏ Horizontal Alignment: Select this if you see horizontal banding at regular intervals.
5.
Follow the on-screen instructions to align the print head.
Note:
The alignment patterns may be slightly different from the actual ones, but the procedures are the same.
❏ Ruled Line Alignment: Find and enter the number for the pattern that has the least misaligned vertical line.
User's Guide
Improving Print and Scan Quality
144