Correcting lens vignetting / chromatic aberration – Canon EOS M10 User Manual
Page 80
80
Before Use
Basic Guide
Advanced Guide
Camera Basics
Auto Mode /
Hybrid Auto Mode
Other Shooting Modes
Tv, Av, and M Mode
Playback Mode
Wi-Fi Functions
Setting Menu
Accessories
Appendix
Index
P Mode
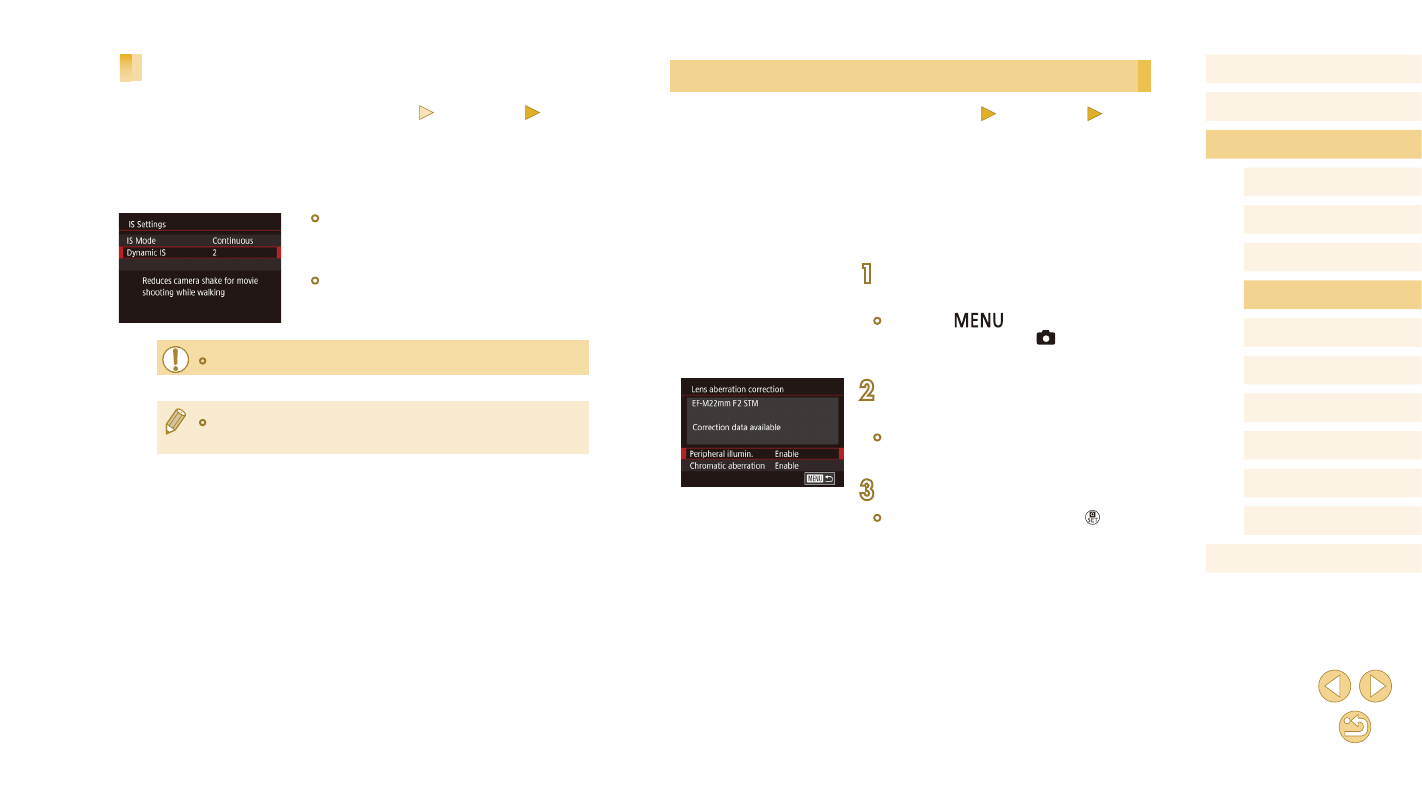
Correcting Lens Vignetting / Chromatic Aberration
Still Images
Movies
Correct both vignetting and color fringing around subjects due to lens
characteristics.
Correction values for 30 lenses are already on the camera, and you can
use EOS Utility to check these and add data for other lenses, as needed.
For details, refer to the EOS Utility instruction manual (= 152).
* Note that there is no need to add EF-M lenses.
1
Choose [Lens aberration
correction].
●
Press the [
] button, choose [Lens
correction data] on the [ 2] tab, and
2
Confirm that correction data is
available.
●
Make sure [Correction data available] is
displayed under the lens name.
3
Apply correction.
●
Choose an item and press the [ ] button
Recording Movies with Subjects at the Same Size
Shown before Shooting
Still Images
Movies
Normally, once movie recording begins, the image display area changes
and subjects are enlarged to allow for correction of significant camera
shake. To shoot subjects at the same size shown before shooting, you can
choose not to reduce significant camera shake.
●
Follow the steps in “Changing the IS
Mode Settings” (= 79) to access the
[IS Settings] screen.
●
Choose [Dynamic IS], and then choose
[2] (= 32).
●
[Dynamic IS] is displayed only for lenses supporting this feature.
●
You can also set [IS Mode] to [Off], so that subjects are recorded
at the same size shown before shooting.