Sending images to another camera – Canon PowerShot ELPH 360 HS Digital Camera (Silver) User Manual
Page 104
104
Before Use
Basic Guide
Advanced Guide
Wi-Fi Functions
Camera Basics
Auto Mode /
Hybrid Auto Mode
Other Shooting Modes
P Mode
Playback Mode
Setting Menu
Accessories
Appendix
Index
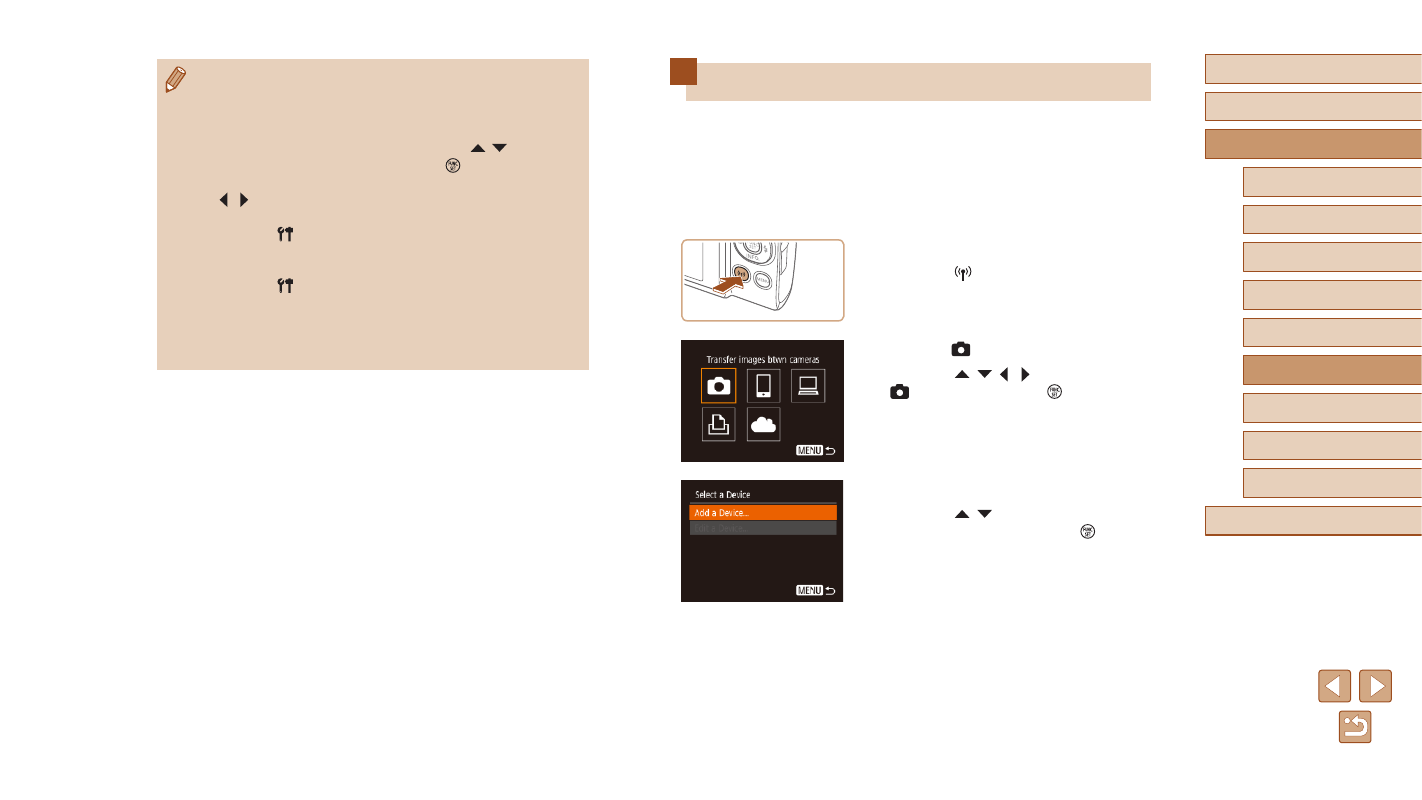
Sending Images to Another Camera
Connect two cameras via Wi-Fi and send images between them as
follows.
●
Only Canon-brand cameras equipped with a Wi-Fi function can be
connected to wirelessly. You cannot connect to a Canon-brand camera
that does not have a Wi-Fi function, even if it supports Eye-Fi/FlashAir
cards.
1
Access the Wi-Fi menu.
●
Press the [ ] button.
2
Choose [ ].
●
Press the [ ][ ][ ][ ] buttons to choose
[ ], and then press the [ ] button.
3
Choose [Add a Device].
●
Press the [ ][ ] buttons to choose [Add
a Device], and then press the [ ] button.
●
Follow steps 1 – 3 on the target camera
too.
●
Camera connection information will be
added when [Start connection on target
camera] is displayed on both camera
screens.
●
Connections require that a memory card with saved images be in
the camera.
●
Once you have connected to devices via the Wi-Fi menu, recent
destinations will be listed first when you access the Wi-Fi menu.
You can easily connect again by pressing the [ ][ ] buttons to
choose the device and then pressing the [ ] button. To add a
new device, display the device selection screen by pressing the
[ ][ ] buttons, and then configure the setting.
●
If you prefer not to display recent target devices, choose MENU
(
25) ► [ ] tab ► [Wireless settings] ► [Wi-Fi Settings] ►
[Target History] ► [Off].
●
To connect without entering a password in step 4, choose MENU
(
25) ► [ ] tab ► [Wireless settings] ► [Wi-Fi Settings]
► [Password] ► [Off]. [Password] is no longer displayed on the
SSID screen (in step 3).
●
To use another access point, follow steps 3 – 4 in “Using Another
Access Point” (