Available layout options printing id photos, Printing movie scenes, Movie printing options – Canon PowerShot ELPH 360 HS Digital Camera (Silver) User Manual
Page 130
130
Before Use
Basic Guide
Advanced Guide
Accessories
Camera Basics
Auto Mode /
Hybrid Auto Mode
Other Shooting Modes
P Mode
Playback Mode
Wi-Fi Functions
Setting Menu
Appendix
Index
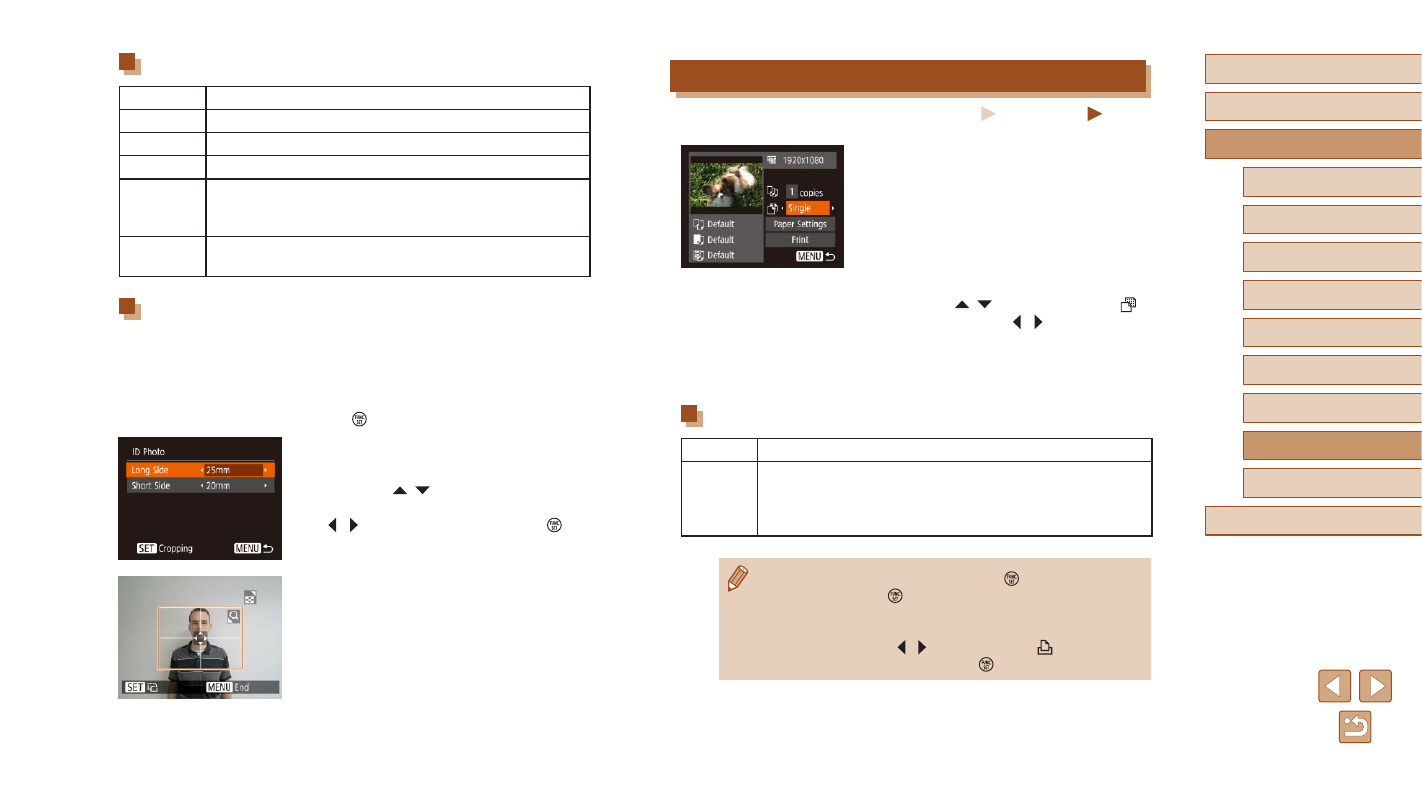
Printing Movie Scenes
Still Images
Movies
1
Access the printing screen.
●
Follow steps 1 – 6 in “Easy Print”
127) to choose a movie. This screen
is displayed.
2
Choose a printing method.
●
Press the [ ][ ] buttons to choose [ ],
and then press the [ ][ ] buttons to
choose the printing method.
3
Print the image.
Movie Printing Options
Single
Prints the current scene as a still image.
Sequence
Prints a series of scenes, a certain interval apart, on a single
sheet of paper. You can also print the folder number, file
number, and elapsed time for the frame by setting [Caption]
to [On].
●
To cancel printing in progress, press the [ ] button, choose [OK],
and then press the [ ] button again.
●
After displaying a scene to print as described in steps 2 – 5 of
“Viewing” (
64), you can also access the screen in step 1
here by pressing the [ ][ ] buttons to choose [ ] in the movie
control panel and then pressing the [ ] button.
Available Layout Options
Default
Matches current printer settings.
Bordered
Prints with blank space around the image.
Borderless Borderless, edge-to-edge printing.
N-up
Choose how many images to print per sheet.
ID Photo
Prints images for identification purposes.
Only available for images with a recording pixel setting of L
and an aspect ratio of 4:3.
Fixed Size
Choose the print size.
Choose from 3.5 x 5 in., postcard, or wide-format prints.
Printing ID Photos
1
Choose [ID Photo].
●
Following steps 1 – 4 in “Choosing
Paper Size and Layout before Printing”
129), choose [ID Photo] and press
the [ ] button.
2
Choose the long and short side
length.
●
Press the [ ][ ] buttons to choose an
item. Choose the length by pressing the
[ ][ ] buttons, and then press the [ ]
button.
3
Choose the printing area.
●
Follow step 2 in “Cropping Images before
area.
4
Print the image.