Shooting display options using the func. menu, Using the func. menu, Shooting display options – Canon PowerShot ELPH 360 HS Digital Camera (Silver) User Manual
Page 24
24
Before Use
Basic Guide
Advanced Guide
Camera Basics
Auto Mode /
Hybrid Auto Mode
Other Shooting Modes
P Mode
Playback Mode
Wi-Fi Functions
Setting Menu
Accessories
Appendix
Index
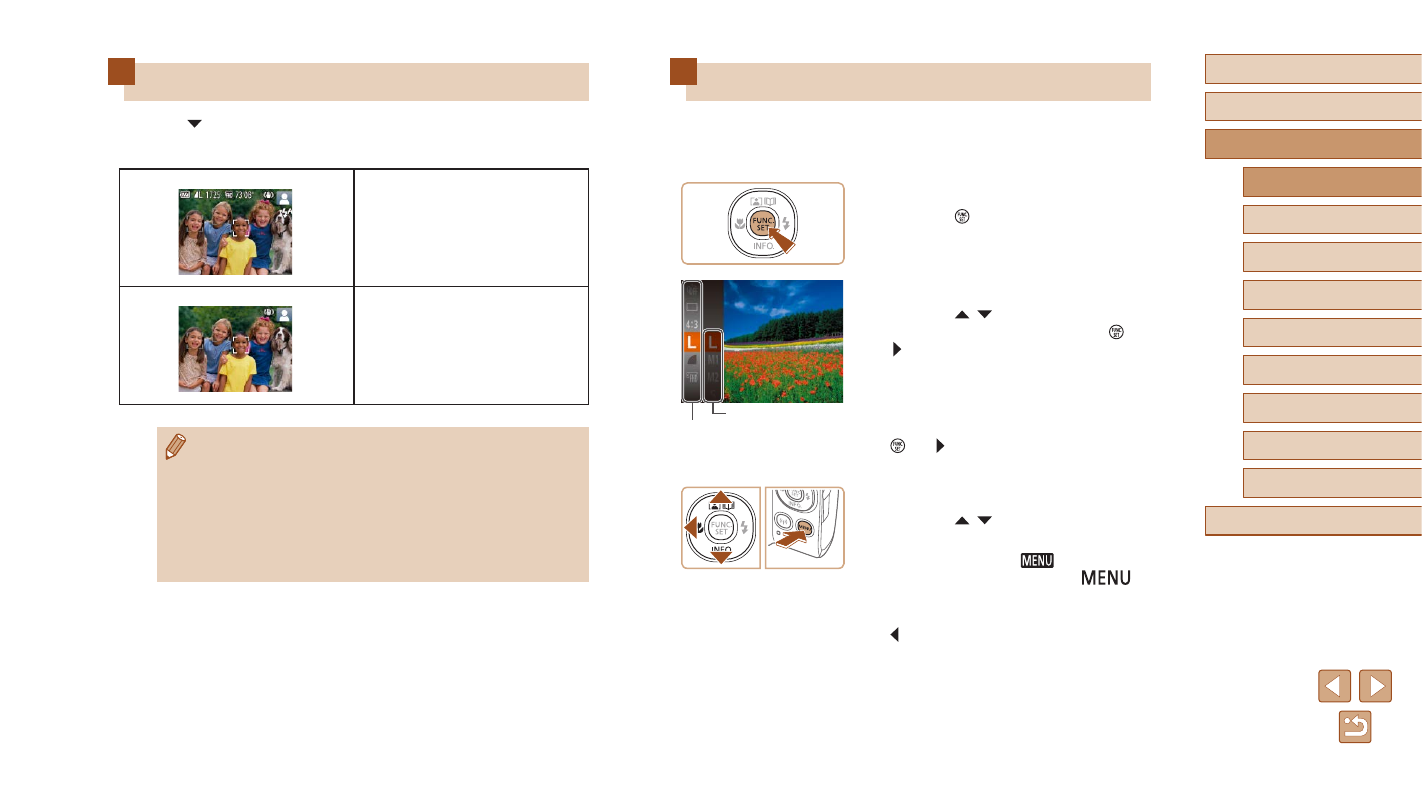
Using the FUNC. Menu
Configure commonly used functions through the FUNC. menu as follows.
Note that menu items and options vary depending on the shooting mode
(
1
Access the FUNC. menu.
●
Press the [ ] button.
2
Choose a menu item.
●
Press the [ ][ ] buttons to choose a
menu item (1), and then press the [ ] or
[ ] button.
●
Available options (2) are listed next to
menu items, on the right.
●
Depending on the menu item, functions
can be specified simply by pressing the
[ ] or [ ] button, or another screen is
displayed for configuring the function.
3
Choose an option.
●
Press the [ ][ ] buttons to choose an
option.
●
Items labeled with a [
] icon can
be configured by pressing the [
]
button.
●
To return to the menu items, press the
[ ] button.
(1)
(2)
Shooting Display Options
Press the [ ] button to view other information on the screen, or to hide
the information. For details on the information displayed, see “On-Screen
Information is displayed
No information is displayed
●
Screen brightness is automatically increased by the night view
function when you are shooting under low light, making it easier
to check how shots are composed. However, on-screen image
brightness may not match the brightness of your shots. Note that
any on-screen image distortion or jerky subject motion will not
affect recorded images.
●
For playback display options, see “Switching Display Modes”
(