Transferring embroidery designs to machines 10 – Baby Lock Palette 10 (ECS10) Instruction Manual User Manual
Page 251
250
Des
ign
Databas
e
Transferring Embroidery Designs to Machines
10
When a message appears, indicating that
writing is finished, click [OK].
• To rewrite the embroidery files written on
the original card, click
to select
those files, and move files to the writing list
in the same manner.
• To check the embroidery design file being
written to the original card, click
.
appears in the folder pane, and
all embroidery designs written to the
original card appear in the contents pane.
■
Sending
embroidery
designs to
machines by using
the Link function
An embroidery machine
compatible with the Link function must be running in
Link mode.
cc
"Using the Link Function to Embroider
From the Computer" on page 204
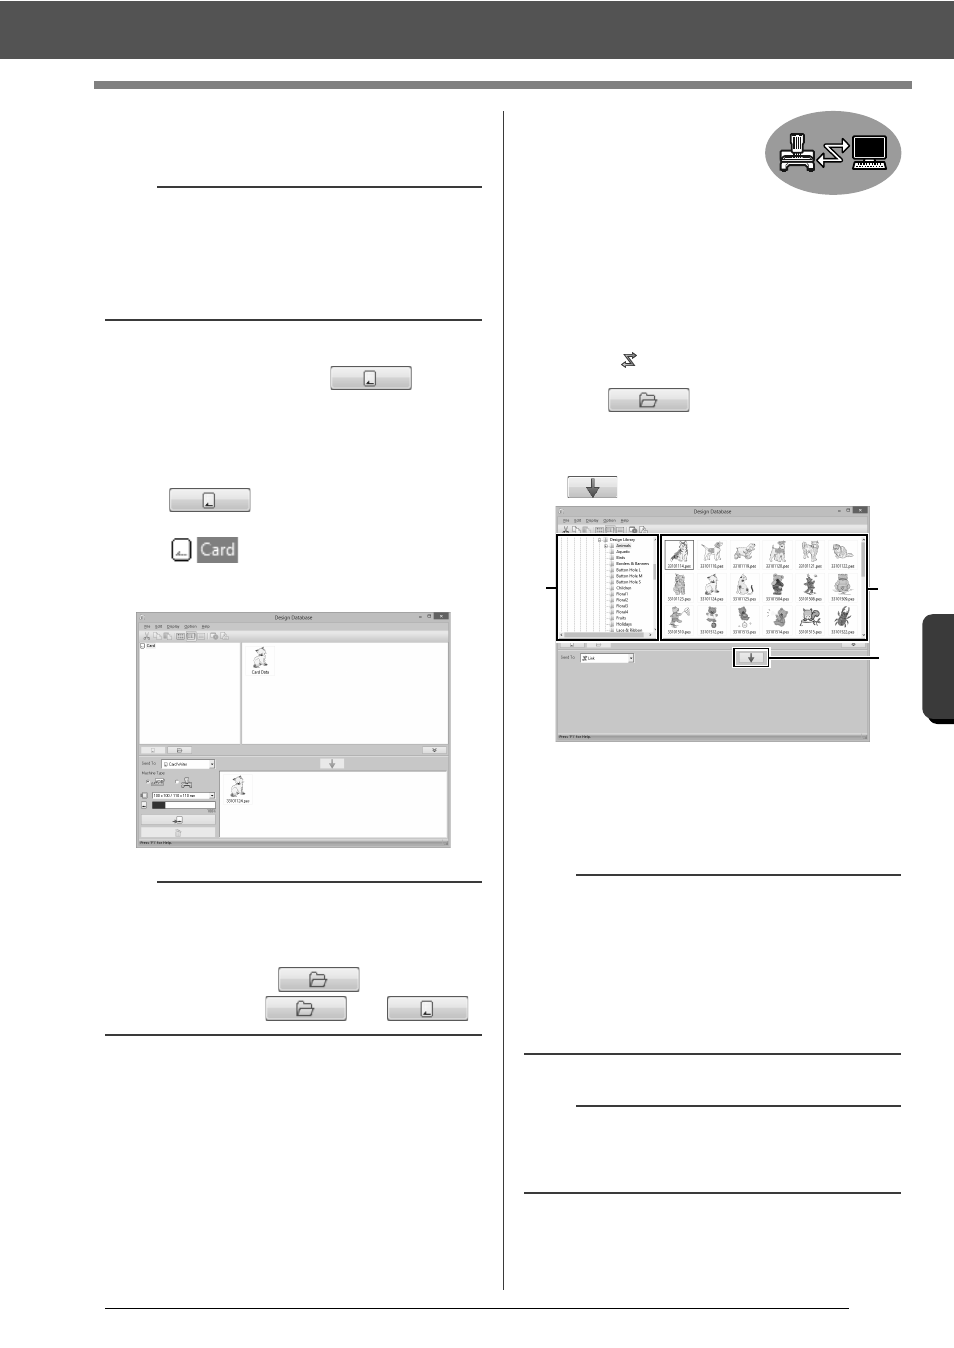
4.
Select
from
the
[Send To] selector.
5
Click .
6
Select a folder in
a
, select an embroidery file
from the contents pane
b
, and then click
.
7
Continue the procedure as described in
Step
5
of "Using the Link Function to
Embroider From the Computer" on page 205.
b
Patterns created on a custom-sized Design Page
are written to cards split into their various hoop
sections.
cc
Note of "Transferring to a machine by using an
original card" on page 202
b
• Embroidery designs written to the original card
appear as [Card Data] in the contents pane.
• To display the contents of the folder in the
contents pane, click
. Switch the
display by clicking
and
.
a
Files in the .dst, .exp and .phc formats cannot be
transferred with the Link function. When [Link] is
selected in the [Send To] box, .dst, .exp and .phc
files do not appear in the contents pane.
In addition, embroidery files with the Design Page
size set to [Custom Size] or with [Hoop Size] set
to 360 × 360 mm (Jumbo Frame) do not appear
in the contents pane.
b
To display the [Link] dialog box again after the
computer has been restarted, click [Link] in the
[Option] menu.
a
b
c