Honestech VHS to DVD 4.0 Deluxe User Manual
Page 35
35.
VHS to DVD™ 4.0 Deluxe
Step Two
– Split Clip
Once you have located a section in your video that requires an edit, whether it is a cut, a
transition, or a special effect, you will want to split your clip as a way to isolate the section that
requires editing. Splitting a clip divides it in two, leaving you with two clips that are
automatically placed in the Video Clipboard. By repeating this procedure you can further
isolate sections of your video that require editing, leaving you with smaller clips that can be
rearranged or paired with other clips.
Split
– Use the Split button to split your video clip at its current play position. The
video will be divided into two segments, and the segments will then be automatically placed in
the Video Clipboard. To split a segment again, select the clip in the Clipboard, locate your split
point in the Preview Panel and click the Split button.
Tip: The Preview Panel allows you to split video clips at the Playhead, or at the
video frame appearing in the panel. The split process works by dividing a video in
two, precisely at the video frame currently being displayed in the preview panel.
This process is made easy with the use of the Pause, Previous Frame, and Next
Frame controls.
Step Three
– Arrange Clips
After splitting your video into smaller segments, you can begin to arrange them in the
Storyboard Panel.
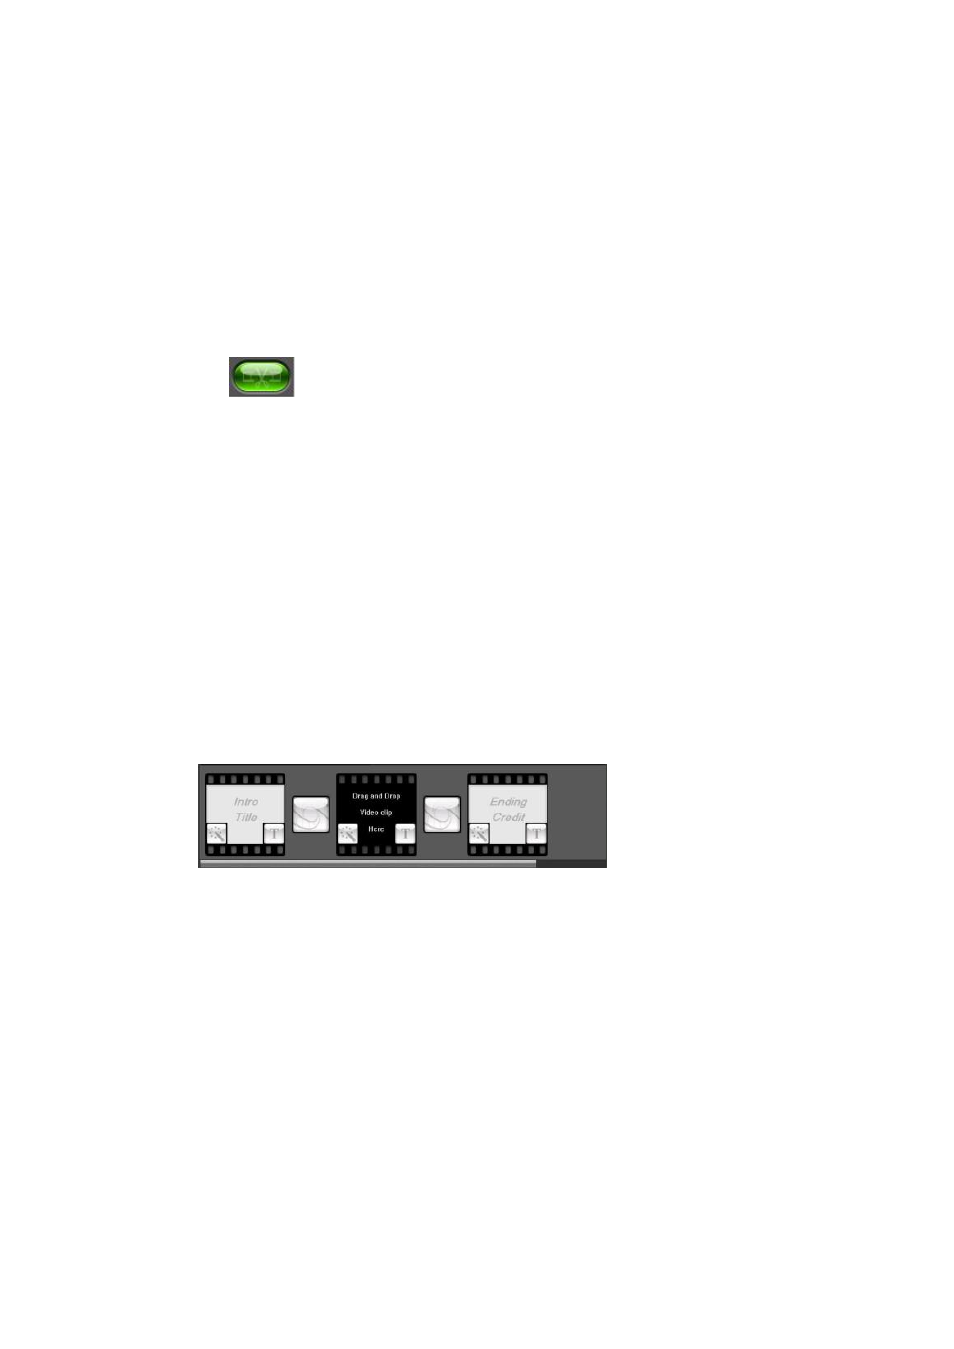
You may have noticed that the Storyboard already contains three items that look like film
frames.
The first and last items are provided for you to create custom Intro and Ending Titles for your
video. *They can be removed by selecting the specific title frame and pressing Delete on your
keyboard. The deleted item will remain in a grayed out form
The middle frame is where you should add your first clip into the Storyboard.
To move your clips to the Storyboard, select a segment from the Video Clipboard and drag it to
the Storyboard Panel at the bottom of the edit screen. Drop the first clip segment onto the
middle frame. Additional clips can be added around the middle clip, but not before or after the
Intro and Ending Title frames.
You can also move clips within the Storyboard Panel by dragging and dropping. Dragging a clip
to the right or left will change its sequence. A vertical red bar will appear to indicate where the
clip will be placed in the timeline.
Tip: To preview your clip arrangement within the Storyboard, select the clip you
want to preview from in the Storyboard Panel and click Play in the Preview Panel.