LSC Lighting EKO User Manual
Page 33
EKO Dimmer
Menus
Operator Manual V2.3
LSC Lighting Systems (Aust) Pty. Ltd
Page 29
EKO model with 1 Module.
7.6.2 Beeper
The EKO can be set to “Beep” in
acknowledgment to every key press on the
touch screen.
To switch off the beeper, press; [Menu]
[Options] [Beeper is On].
To switch on the beeper, press; [Menu] [EKO]
[Beeper is Off].
7.6.3 About
Pressing [Menu] [Options] [About] reveals
information about the software version, model
and voltage of the EKO.
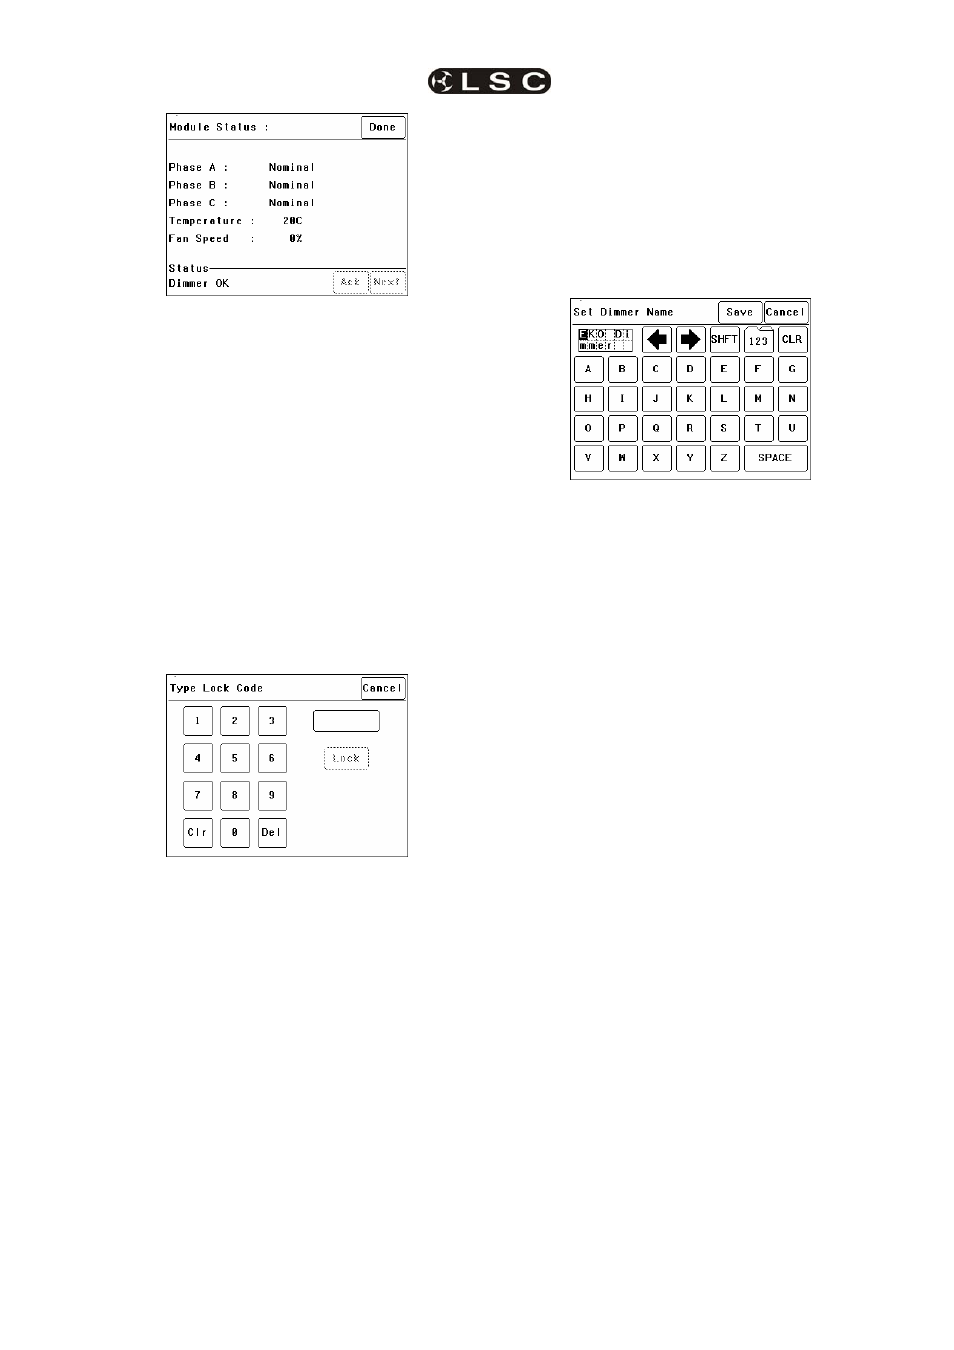
7.6.4 Lock / Unlock
To lock the touch screen of the EKO and
prevent unauthorised access press [Menu]
[Options] [Lock Dimmer].
Using the keypad, type in the current 4 digit lock
code then press [Lock]. The EKO is shipped
from the factory with the lock code set to 0000.
The menu returns to the home screen and the
[Unlock] button appears instead of the [Menu]
button.
To unlock the touch screen of the EKO press
[Unlock] then type in the current 4 digit code
then press [Unlock].
7.6.5 Change Lock Code
To change the lock code, press [Menu]
[Options] [Change Lock Code].
Type in the current 4 digit lock code then press
[Enter]. (The EKO is shipped from the factory
with the lock code set to 0000).
Type in your new lock code then press [Enter].
To confirm, re type the new lock code then press
[Set Code].
7.6.6 Name
The name of each EKO dimmer is shown on the
home screen of the LCD touch screen. The
default name is EKO Dimmer but you can give
the dimmer a name of your choice. Naming each
dimmer is useful in installations of more than
one EKO. To change the name of a dimmer
press;
[Menu] [Options] [Dimmer Name].
To start a new name press [CLR]. Use the § or
¨buttons to move the flashing cursor Type in
your name. For numbers press [123]. When
finished press [Save] [Done] [Done].
7.6.7 Time and Date
The EKO keeps a log of its status that is time
and date stamped. To set the time and date
used by the log press;
[Menu] [Options] [Date & Time].
The screen shows the current time and date
settings.
To change the Time, press [Time]. Use the
keypad that appears to enter the time in 24 hour
format then press [Set].
To change the Date, press [Date]. Use the
keypad that appears to enter the date then press
[Set].
When finished press [Done].
7.6.8 Net Playback
If the EKO is only to be controlled by DMX then
it is possible to disable (dim out) all memory
menus and other network functions and hence
simplify the menu operations. In addition, when
“Net Playback” is disabled, all dimmer channels
are controlled by DMX, irrespective of their
previous “Control Source” settings.
Press [Menu] [Options] [Net Playback].
Choose either [Enable] or [Disable] then press
[Set].
7.6.9 Reset
The EKO provides two different types of reset
function. SYSTEM reset and TOTAL reset.
7.6.9.1 SYSTEM RESET
In the unlikely event that the EKO fails to
respond, the operating system may be reset so
that the software may initialise and recommence
normal operation. Performing a system reset will
not
affect any of the settings or memory.