Recording, Selecting the file type and sampling frequency, Setting the maximum file size – Teac DR-1 User Manual
Page 19: 8–recording
TASCAM DR-1
19
8–Recording
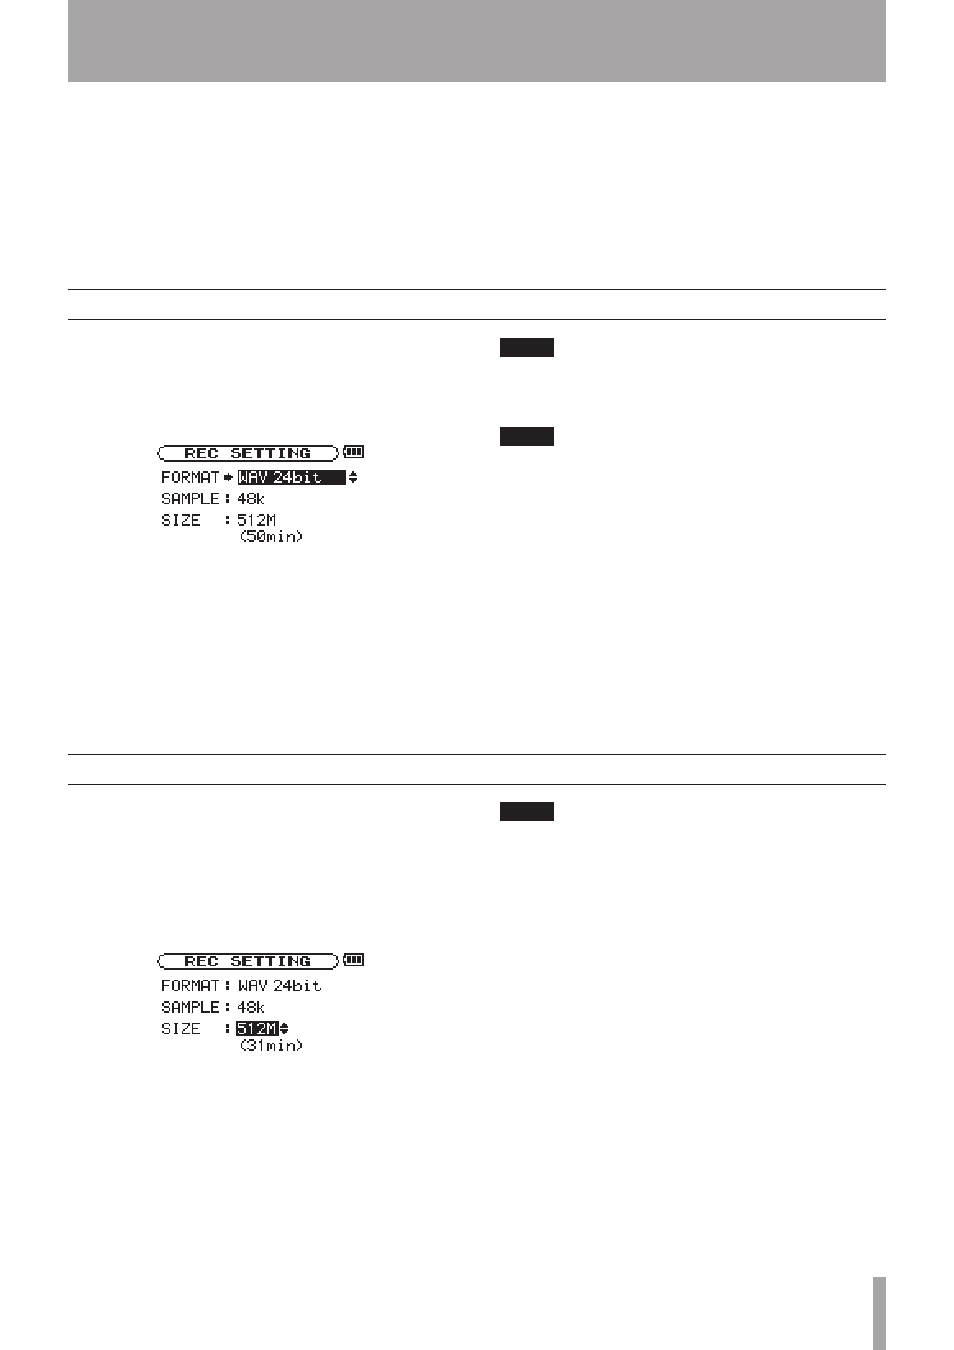
Selecting the file type and sampling frequency
Setting the maximum file size
In addition to using the built-in microphone, you can
record using an external microphone or record the
output signal from a mixer or other audio source. You
can select among MP3 (44.1/48 kHz, 32–320 kbps)
and WAV (44.1/48 kHz, 16/24-bit) audio recording
formats. Moreover, with this unit, you can mix and
record a sound input through the built-in mic or one of
the input jacks with an audio file that is played back
using the overdubbing function.
Select the audio file type that you want to record
before you start recording.
1 Press the
MENU
key to open the Menu Screen.
2 Select the
REC SETTING
item to open the
Recording Settings Screen.
3 Use the
FORMAT
item to select the file type from
the following options: WAV at 16-bit (factory
setting) or 24-bit, or MP3 at 32 kbps, 64 kbps, 96
kbps, 128 kbps, 192 kbps, 256 kbps, or 320 kbps.
4 Use the
SAMPLE
item to select a sampling
frequency of 44.1 kHz (factory setting) or 48 kHz.
NOTE
For overdubbing, set the file type to WAV. You cannot
•
use overdubbing when the setting is MP3. (See
“Overdubbing” on page 23.)
TIP
WAV files do not use data compression and are truer to
•
the character of the sound, but they use much memory.
Since MP3 files use data compression, they do not use
nearly as much memory. For example, ordinary audio
CD tracks are 16-bit, 44.1 kHz WAV files. A 3.5–minute
CD track uses about 35 MB of space when copied to a
hard drive. The same track converted to a 128 kbps MP3
file uses only about 3.2 MB.
If you are making a recording that you intend to use in
•
the production of a CD, it is a good idea to record WAV
files. If you have enough space, 24-bit recording gives
you extra head room, allowing you to capture a greater
dynamic range. When recording rehearsals, lectures
and songwriting ideas, for example, and higher quality
audio is not as important as smaller file size, MP3 may
be a better choice. There are many excellent books (and
resources on the Internet) about digital recording if you
want to learn more about these formats.
On the Recording Settings Screen, where you select
the audio file type as described above, you can also
set the maximum size of the audio file. Recording
automatically stops if the maximum file size is
reached while recording audio.
1 Press the
MENU
key to open the Menu Screen.
2 Select the
REC SETTING
item to open the
Recording Settings Screen.
3 With the
SIZE
item, select the maximum file size
from the following options: 64 M, 128 M, 256 M,
512 M, 1 G and 2 G (factory setting)
Under the file size value, the possible recording time
for the selected size, format and sample rate appears.
NOTE
For the same file size, the possible recording time differs
depending on the file type selected. Furthermore, if the
possible recording time is 24 hours or more, this will be
displayed as 23:59:59.